OAKLEY JULIET Dismantling Guide (2)
This is a continuation of the previous article.
For those who have not yet read Part 1, please read it from the link below.

"This blog post was written by LINEGEAR in「 November 2020 」and has been translated into English"
"This is the "OAKLEY JULIET Dismantling Guide (Collector's Edition)." It covers the disassembly and assembly of the Juliet frame."
2020/11/23
Theme: Blog
Now, let's start assembling.
This time, we will use hardness 90 (dark gray) for the nose bridge parts.


![]() Make sure to align it here
Make sure to align it here ![]() .
.
⭐️⭐️ This is a crucial point ⭐️⭐️.

To ensure the pin goes straight in, use a bamboo skewer or similar to press the internal parts a bit firmly, making sure they do not interfere with the pin.
Now, press the nose pin into place.

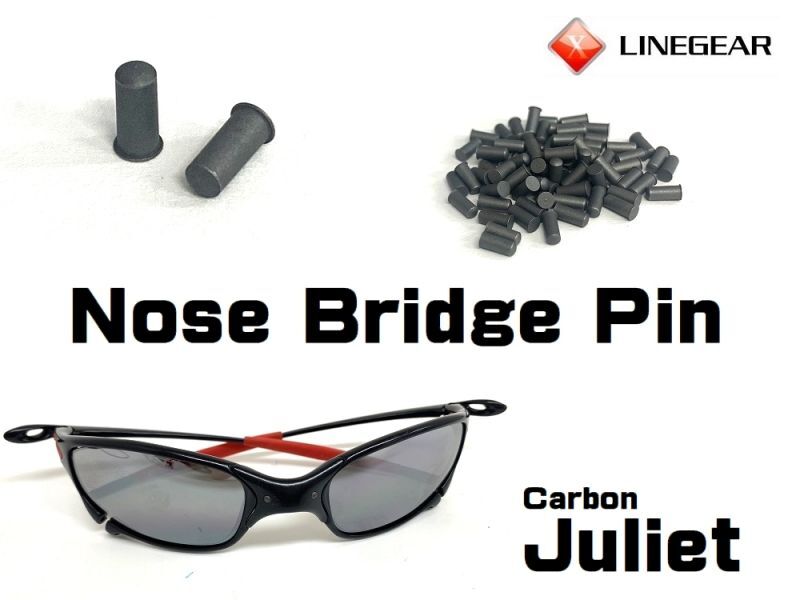
Since this is an X-METAL frame, attach the dedicated dark gray pin.
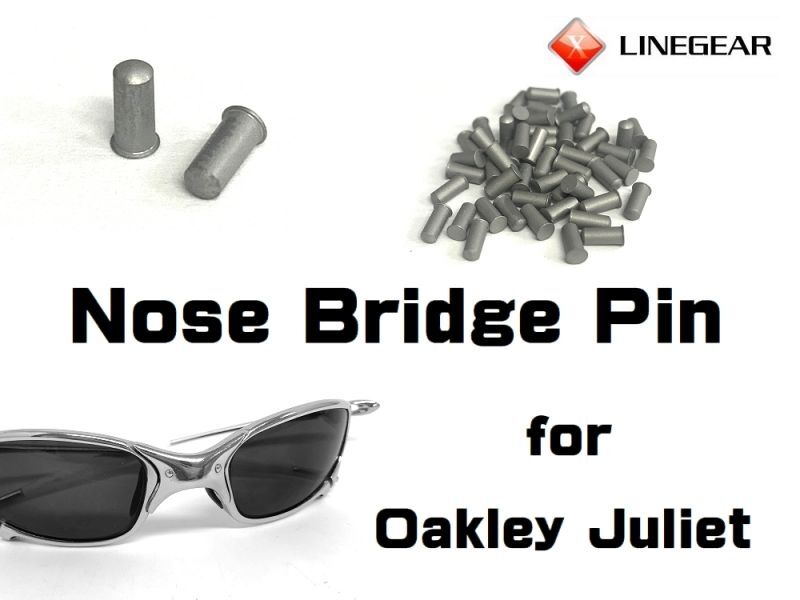
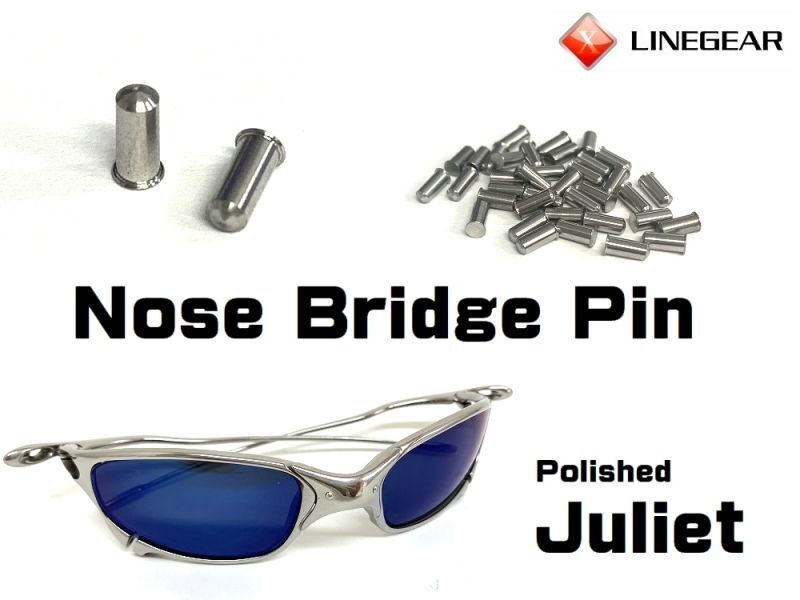
By the way, LINEGEAR also sells Matte Silver pins and Polished pins.
Press it in until it's snug by hand.

We will press-fit it with a pin removal machine in the end.
To prevent scratches on the front of the frame, we fold the sticky paper and place it between them as a cushion substitute. ![]()

*Before pressing in the pin, please replace the Pin Pusher tool's rod with a flat-tipped one and then insert the pin.
![]()


Phew, for now, one side went well. ![]()

Then let's do the same way on the other side.


The repair of the nose is now complete. ![]()
![]()
________________________________________________________________________________________
Pushing the pin in can be a bit tricky, but if you follow the steps, I think it should be okay.
However, it's not a matter of just forcing it in, so don't apply too much force. If you feel like, "Hmm, it's not going in, ![]()
![]() " stop pushing once and realign the parts before trying again.
" stop pushing once and realign the parts before trying again.
"When it goes in, the pin should slide in smoothly."
![]() If you push too hard, the nose might bend and break.
If you push too hard, the nose might bend and break.
It's not about the pin being too thick or the hole in the nose being too small ; it's more about lacking the skill to push the pin in properly ![]() . So, please understand this point and proceed with caution.
. So, please understand this point and proceed with caution.
When it comes to repairs, please take full responsibility.![]()
If you're not confident, please consider ordering from LINEGEAR.
__________________________________________________________________________________________
The conversation drifted a bit, but anyway,
Now, let's proceed with attaching the arm.
Some people call it an arm, while others refer to it as a stem, ![]() .
.
First, we'll need this washer.

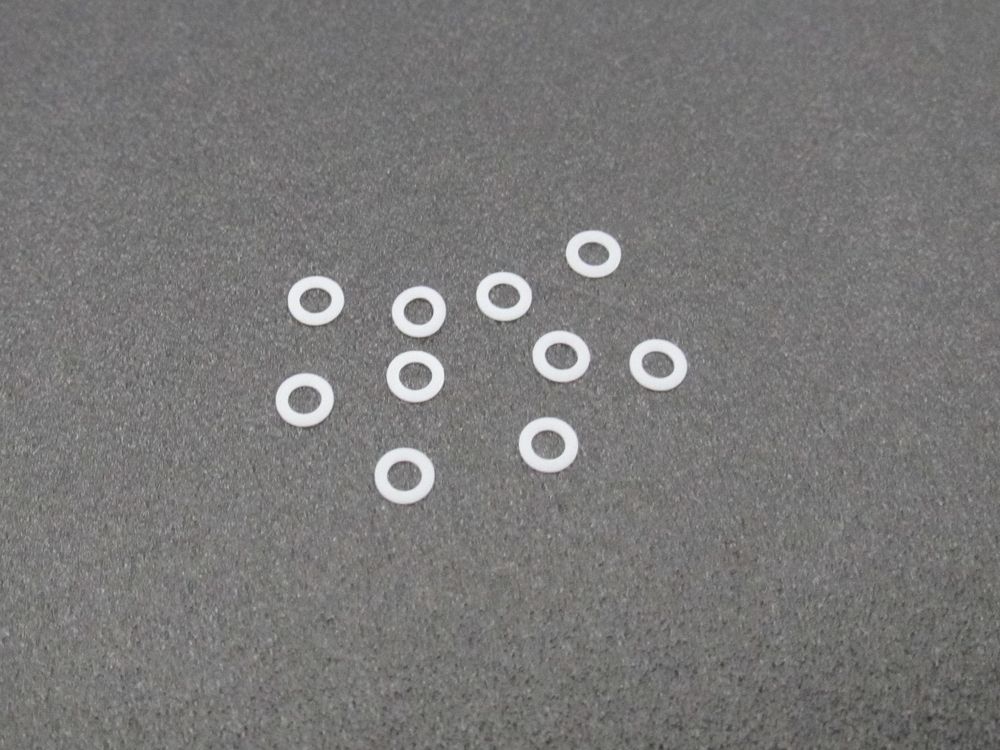
Use a large flathead screwdriver to slightly open the orbital and secure some space.


Place one washer on it. (When wet with water, it sticks to the frame.)

Place one washer on the back side as well.

![]() In the gap that you widened earlier with the flathead screwdriver,
In the gap that you widened earlier with the flathead screwdriver,

Afterward, insert a bamboo skewer or a toothpick to temporarily secure it in place.

Remove the flathead screwdriver.

Remove the bamboo skewer.

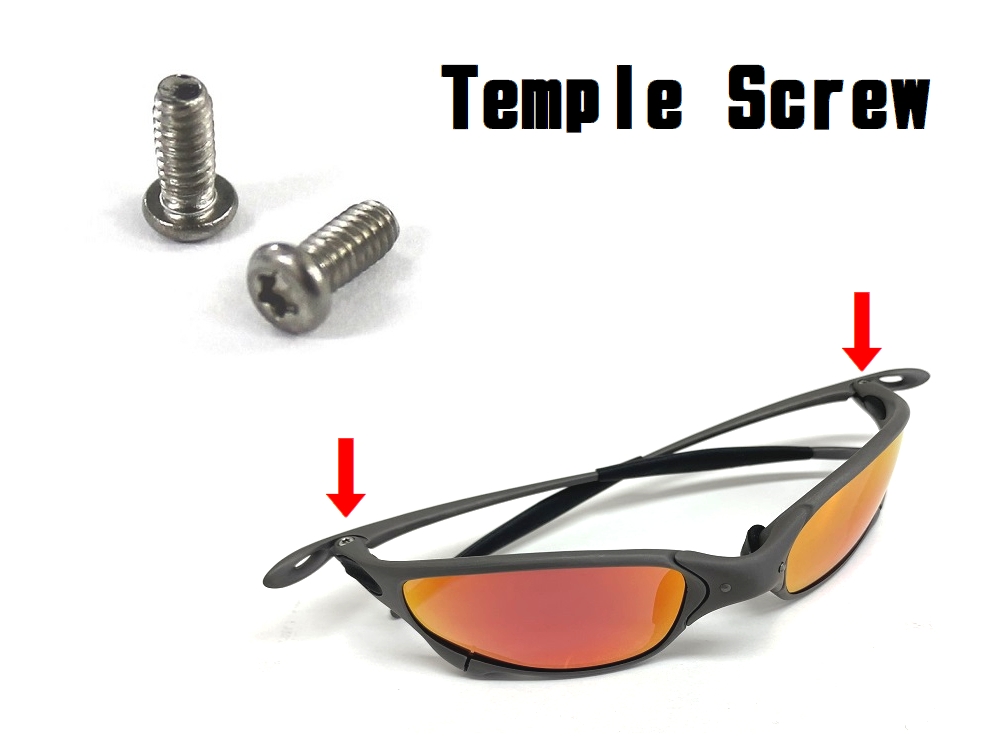
Attach the temple screw.

Please perform the same procedure on the opposite side as well.
With this, the assembly is nearly complete.

_________________________________________________________________________________________
Afterward, attach the rubber parts and secure the lenses, and you'll be finished.
Just a little more effort!
Attaching the rubber parts:
Attach the Complete Rubber Set in black.
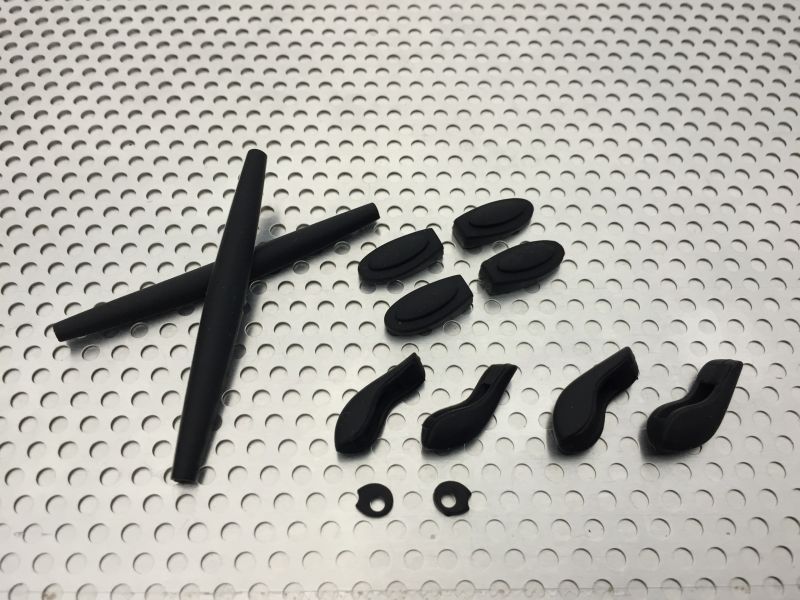

As I explained during the removal process earlier, please attach them in the same manner.
For reference (please read):
The ear socks have been attached.

Temple shocks

There are two sizes of temple shocks available.
They adjust the opening of the arms according to the thickness.

Most Japanese people should be fine with the thinner option (S), I believe.
I've attached the thinner option (S). ![]()

M Size

![]() If the temple shocks are too thick, it can cause stress during wear as the arms may press against the head. This necessitates forcefully widening the frame to fit on the face, leading to stress on the nose and potentially causing loosening of the nose pads.
If the temple shocks are too thick, it can cause stress during wear as the arms may press against the head. This necessitates forcefully widening the frame to fit on the face, leading to stress on the nose and potentially causing loosening of the nose pads.
![]() Conversely, if you feel some wobbling in the glasses, it might be due to the nose pads being too loose. In this case, changing the temple size to M (25) can help tighten the arms and eliminate the wobbling.
Conversely, if you feel some wobbling in the glasses, it might be due to the nose pads being too loose. In this case, changing the temple size to M (25) can help tighten the arms and eliminate the wobbling.
Please understand the role of temple shocks and choose the best size accordingly.
_____________________________________________________________________________________
Now, finally,
Attaching the lenses.

From the nose side.


Gasket

Insert the gasket into the gap of the orbital.

Orbital Screw


Tighten the orbital.

Please perform the same procedure on the other side as well.
![]()
![]()
![]()
It's completed. ![]()
![]()
![]()
![]()


How did it go?
While you could consider outsourcing the repair of the nose to LINEGEAR, I believe you can handle the Juliet and other parts replacements yourself with just a single screwdriver.
The frame itself is quite sturdy, so I think breakage or bending is unlikely unless it's severe.
I hope you find this article helpful and continue to enjoy using your Juliet comfortably.![]()
Unfortunately, Oakley's support for Juliet has ended. However, LINEGEAR has developed and sells all parts for Juliet as its own products. So, for future maintenance or repair needs to prolong the use of your Juliet, please consider utilizing LINEGEAR.
Revive X-METAL

______________________________________________________________________________________
![]() Finally, one last point:
Finally, one last point:
About the differences between Juliet and X-Metal XX:
Juliet and X-Metal XX are very similar.
I'd like to explain how to distinguish between them.
![]() The upper part is the Juliet we assembled earlier, and the lower part is the X-Metal XX.
The upper part is the Juliet we assembled earlier, and the lower part is the X-Metal XX.

The first difference is the height of the lenses. The X-Metal XX has a wider height.
Additionally, all X-Metal XX frames come with hammer stems.
(As mentioned earlier, most Juliets have straight stems. Only polished Juliets come with hammer stems.)

Left side: Juliet Right side: X-METAL XX (Double X)
If you would like to know more to delve deeper into the differences, please read the link below:
Alternatively, you can check using the serial number.
_______________________________________________________________________________________
Then I would like to conclude here.
Please also check out the homepage when you have a chance.
Revive-X-Metal
#ジュリエット #juliet #oakley #オークリー #エックスメタル #LINEGEAR #修理#ノーズブリッジ #ペニー #マーズ