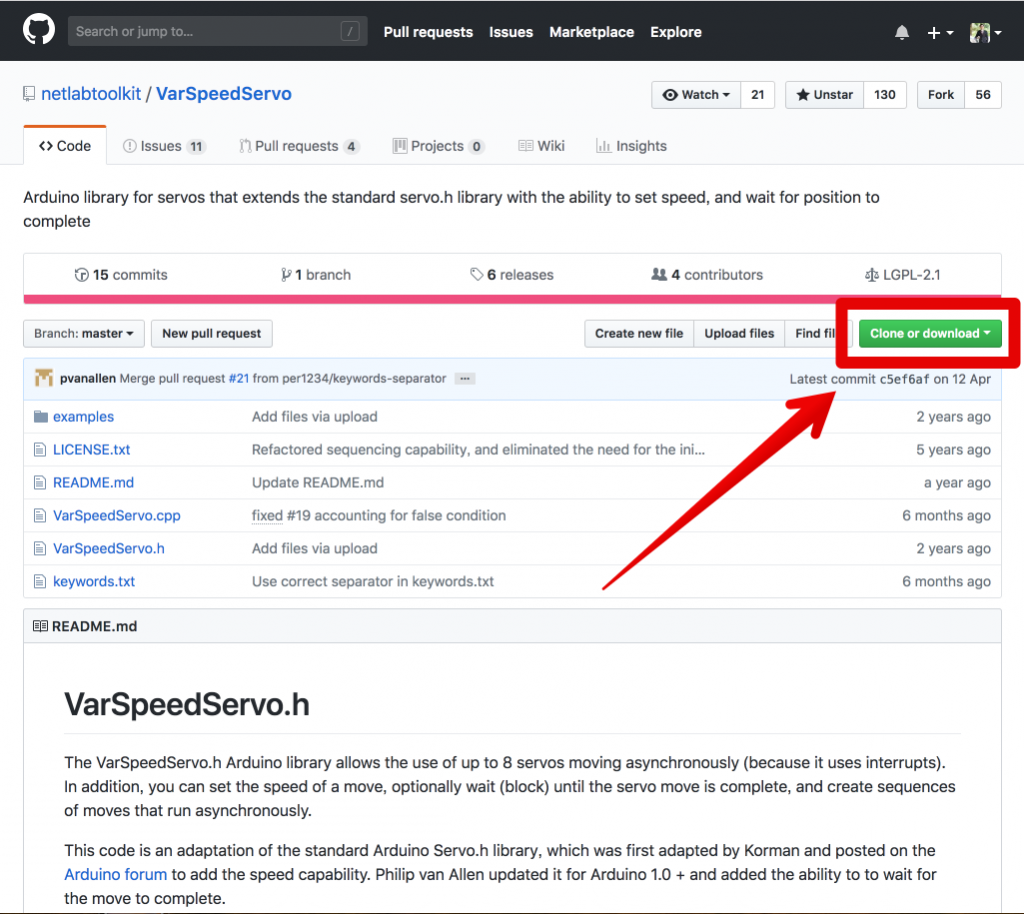
githubのサイトからzipファイルをダウンロードする
https://github.com/netlabtoolkit/VarSpeedServo

ダウンロードしたファイルはそのまま解凍せずに
次は、Arduino IDEを開いて
SKETCHメニュー > ライブラリーを追加 > Zipライブラリーを追加 > ここで先ほどダウンロードしたZipファイルを選んであげればOKです。
そうすると、Arduinoがこのライブラリーを使えるように配置してくれるはずです。(私は今回UnbuntuでArduinoでやりましたので、できました。MacとWindowsのかたは、GitHubの説明等にご参考ください。)
プログラム
プログラムも至って簡単
下は、GitHubのサンプルです、そのまま実行できます
#include <VarSpeedServo.h>

VarSpeedServo myservo;    // create servo object to control a servo

void setup() {
  myservo.attach(9);  // attaches the servo on pin 9 to the servo object
}

void loop() {
  myservo.write(180, 30, true);        // move to 180 degrees, use a speed of 30, wait until move is complete
  myservo.write(0, 30, true);        // move to 0 degrees, use a speed of 30, wait until move is complete
}
配線
サーボは3本のワイアがあります。
サーボGND(黒か、ブラウン) > Arduino GND
サーボV(赤か、オレンジ) > Arduino 3.3V/5V
サーボS(黄色か、白) > Arduino 9か11(プログラムの指定によります)
2つのサーボを動かす
プログラムは下記となります。
#include <VarSpeedServo.h>

VarSpeedServo myservo;    // create servo object to control a servo

void setup() {
  myservo.attach(9);  // attaches the servo on pin 9 to the servo object
}

void loop() {
  myservo.write(180, 30, true);        // move to 180 degrees, use a speed of 30, wait until move is complete
  myservo.write(0, 30, true);        // move to 0 degrees, use a speed of 30, wait until move is complete
}