今回はアメリカ 155mm自走砲 M40 ビッグショット (タミヤ 1/35)を作ります。This time I will make an American 155mm self-propelled gun M40 big shot (Tamiya 1/35).

今回のジオラマは鉄道築堤にあるトンネルから砲撃準備をする自走砲の設定です。This diorama is a self-propelled artillery setting that prepares for shooting from a tunnel on the railroad embankment.


シャーシとサイドパネルの組み立て。キューポラのクリアパーツは取り付け後にマスキングします。Assembling the chassis and side panels. The clear parts of the cupola will be masked after installation.


装備品の取り付けと戦闘室の組み立て。Installation of equipment and assembly of battle room.

カノン砲の組み立て。Assembling the cannon.

砲を取り付けたら自走砲の組み立ては終了です。After installing the gun, the assembly of the self-propelled gun is complete.

今回のベースはタミヤのディスプレイベース・ラージ(300×160mm)を使います。The base used this time is Tamiya's Display Base Large (300 x 160 mm).
コルクシートをゴム系接着剤で貼り合わせて、ペンでアウトラインを描きます。Stick the cork sheets together with a rubber adhesive and draw an outline with a pen.
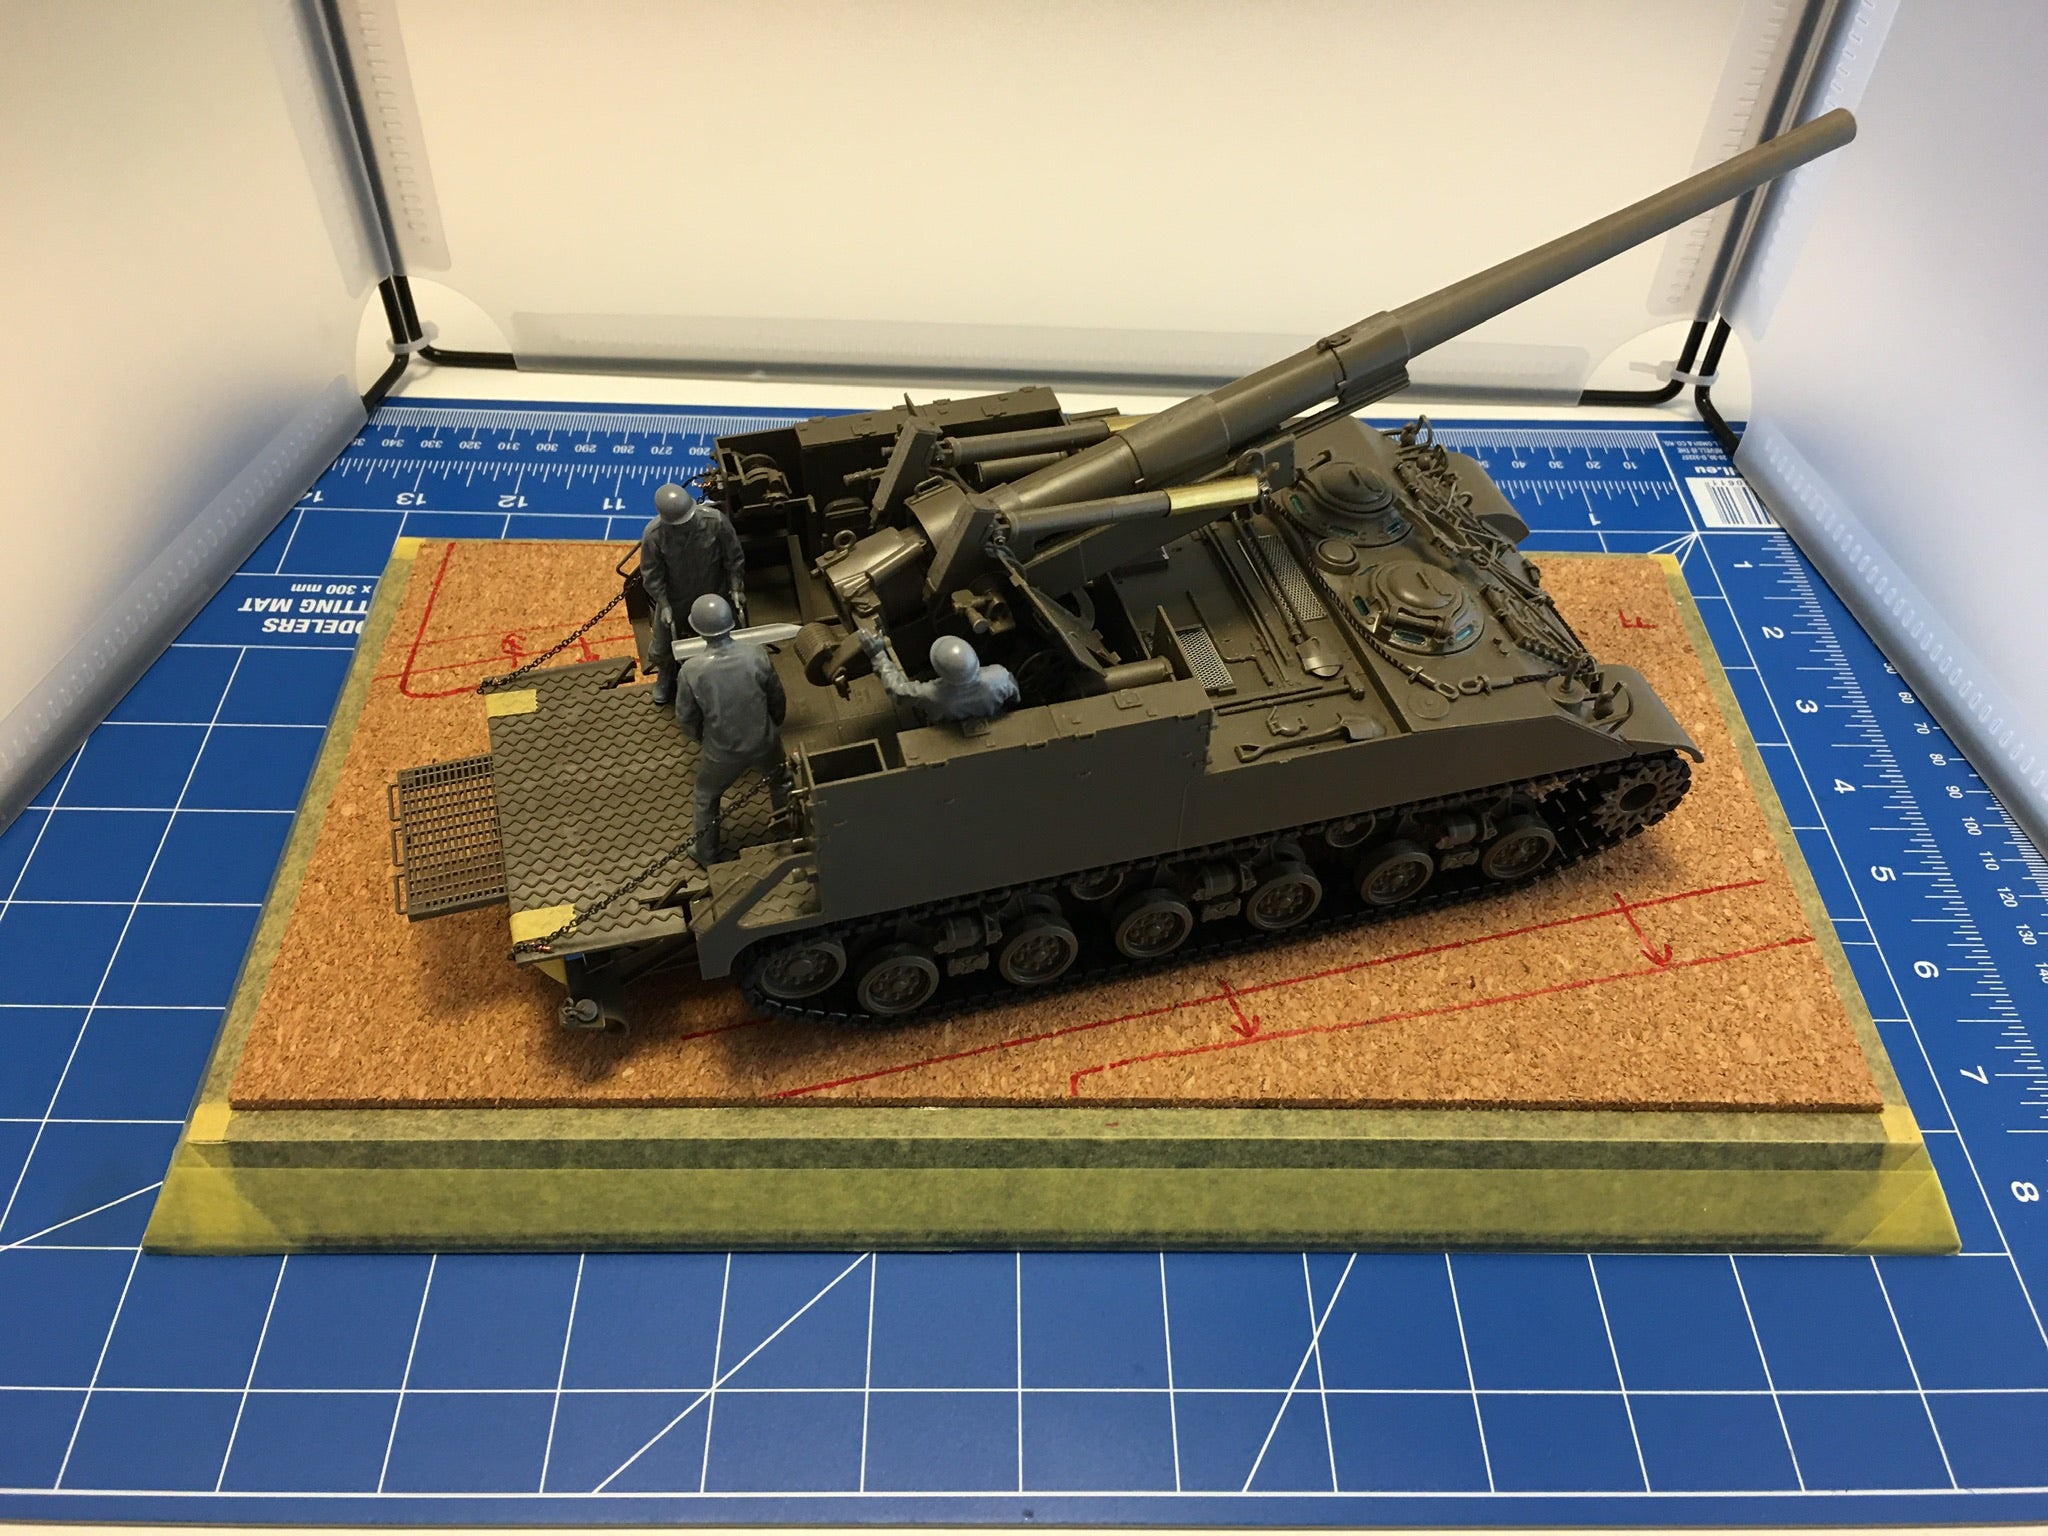
自走砲を置いてみて配置場所を調整します。Try placing the self-propelled gun and adjust the placement location.


コルクシートに描いたアウトラインをトレーシングペーパーに写し取ります。Copy the outline drawn on the cork sheet onto tracing paper.
トレーシングペーパーを発泡スチロールにマスキングテープで貼り付けて、スチロールカッターでペーパーごと切り出します。Attach tracing paper to Styrofoam with masking tape, and cut out the entire paper with a styrofoam cutter.

切り出した発泡スチロールはコンクリートのトンネルの壁になります。The cut out Styrofoam will be the wall of the concrete tunnel.

壁の高さが足りないのでスタイロフォームで嵩上げします。Since the wall is not high enough, I will raise it with Styrofoam.


線路を敷設するスラブは厚さ20ミリのポリスチレンフォームを使います。道床にコルクシートを敷いてミニアート製の線路キットを組み立て接着します。The slab for laying the track uses polystyrene foam with a thickness of 20 mm. Place a cork sheet on the trackbed to assemble and glue a mini art track kit.

地面は木粉粘土を使い、丸めたアルミホイルや自走砲の履帯を押し付けて地面の表現をしています。The ground is made of wood powder clay, and rolled aluminum foil and tracks of self-propelled artillery are pressed to express the ground.

線路バラストはポポンデッタ製の会津バラストのLサイズを撒き木工用ボンドで固着します。砕石周りはタミヤの情景テクスチャーのダークアースを筆塗りします。For the track ballast, sprinkle the L size of Aizu ballast made by Popondetta and fix it with a woodworking bond. Around the crushed stone, brush the dark earth of Tamiya's scene texture.

自走砲の塗装はタミヤアクリルのNATOブラック (XF-69)の上に車体色のオリーブドラブ(XF-62)、ハルレッド(XF-9)は色味に変化を出す為にエアブラシでそれぞれ塗装します。The self-propelled gun is painted on Tamiya acrylic NATO black (XF-69) with the body color olive drab (XF-62) and hull red (XF-9) with an airbrush to change the color. increase.

一回の塗装では全体的に薄い色でしたので再度同じ色を様子をみながら重ねて塗装します。Since it was a light color overall in one painting, I will paint the same color again while watching the situation.

線路と枕木の塗装はタミヤアクリルのハルレッド(XF-9)をベースに、線路はダークアイアン(XF-84)、枕木と砕石はバフ(XF-57)をエアブラシで塗装します。The railroad tracks and sleepers are painted based on Tamiya acrylic Hull Red (XF-9), the railroad tracks are painted with dark iron (XF-84), and the sleepers and crushed stones are painted with buff (XF-57) with an airbrush.

フィギュアを組み立て塗装します。Assemble and paint the figure.

自走砲にデカールを貼りクレオスのプレミアム・トップコート(つや消し)をスプレーします。Apply decals to the SPG and spray Creos Premium Top Coat (matte).

クレオスのMr.ウェザリングカラーのグランドブラウン(WC02)で全体にフィルタリングを施します。The entire area is filtered with Creos's Mr. Weathering Color Grand Brown (WC02).

クレオスのMr.ウェザリングカラーのラストオレンジ(WC08)でさび汚れを施します。アイシャドウチップの先端で色を載せ、チップ全体で車体の上から下方向へ塗料をのばします。Rust stains with Creos's Mr. Weathering Color Last Orange (WC08). Place the color on the tip of the eyeshadow tip and spread the paint from the top to the bottom of the car body with the entire tip.


タミヤアクリルのNATOグリーン(XF-67)、メタリックグレイ(XF-56)とフラットブラウン(XF-10)の順に車体のエッジにスポンジによるチッピングでさび汚れや塗装の剥がれ表現を追加します。Tamiya acrylic NATO green (XF-67), metallic gray (XF-56) and flat brown (XF-10) are added to the edge of the car body in the order of rust stains and paint peeling expression by chipping with a sponge.

クレオスのMr.ウェザリングペーストのマッドホワイト(WP02)とマッドブラウン(WP01)で転輪周りを中心に土汚れを施します。Creos's Mr. Weathering Paste Mad White (WP02) and Mad Brown (WP01) are used to stain the area around the wheels.

タミヤアクリルのバフ(XF-57)をエアブラシで軽く乗せる程度に塗装して埃っぽい感じになったら自走砲は完成です。Paint the Tamiya acrylic buff (XF-57) lightly with an airbrush and when it feels dusty, the self-propelled gun is complete.


砕石周りにタミヤの情景テクスチャーのダークアースで土を盛り上げます。Around the crushed stone, the soil is raised with the dark earth of Tamiya's scene texture.
クレオスのMr.ウェザリングカラーのグランドブラウン(WC02)で砕石に濃い色を追加します。Add a darker color to the crushed stone with Creos's Mr. Weathering Color Grand Brown (WC02).
クレオスのMr.ウェザリングカラーのラストオレンジ(WC08)で明るいさび汚れを追加します。Add bright rust stains with Creos's Mr. Weathering Color Last Orange (WC08).
タミヤアクリルのメタリックグレイ(XF-56)を線路やボルトのエッジにドライブラシで金属光沢を施します。Apply Tamiya acrylic metallic gray (XF-56) to the edges of tracks and bolts with a dry brush to give a metallic luster.

トンネル壁のコンクリート表現は、ホルベインのモデリングペーストをパレットナイフで盛り付けます。壁の内側はパミスで、外側はコースパミスを塗っています。For the concrete representation of the tunnel wall, use a palette knife to serve Holbain's modeling paste. The inside of the wall is painted with pamisu, and the outside is painted with course pamisu.
壁の塗装はタミヤアクリルのNATOブラック(XF-69)をエアブラシで軽く吹いて薄らとした汚れを、壁の内側はジャーマングレー(XF-63)とニュートラルグレイ(XF-53)をドライブラシの要領で壁の上から下へ雨だれ汚しを施します。For painting the wall, lightly blow Tamiya acrylic NATO black (XF-69) with an airbrush to remove dirt, and inside the wall, use German gray (XF-63) and neutral gray (XF-53) with a dry brush. Apply raindrop stains from the top to the bottom of the wall in the same way.
ベースに自走砲を固定するビス穴(3ミリ)を開けビスを通しておきます。Make a screw hole (3 mm) to fix the self-propelled gun on the base and put the screw through it.

自走砲は戦闘室にフィギュアを配置してベースにビス留めします。For self-propelled artillery, place the figure in the battle room and screw it to the base.
線路があるコンクリートスラブを壁の上に載せ接着します。Place a concrete slab with railroad tracks on the wall and glue it.
外側の壁もタミヤアクリルのNATOブラック(XF-69)をエアブラシで軽く吹いて、RLMグレイ(XF-22)とライトグレイ(XF-66)をドライブラシで雨だれ汚しを施します。For the outer wall, lightly blow Tamiya acrylic NATO black (XF-69) with an airbrush, and dry brush RLM gray (XF-22) and light gray (XF-66) to stain the raindrops.

最後にタミヤアクリルのバフ(XF-57)をエアブラシで軽く乗せる程度に塗装して埃っぽい感じになったら完成です。Finally, paint the Tamiya acrylic buff (XF-57) with an airbrush to the extent that it feels dusty, and you're done.


最後までご覧いただきありがとうございました。