いらっしゃいませ る~む335 です
少し時間が空いてしまいました(;^_^A
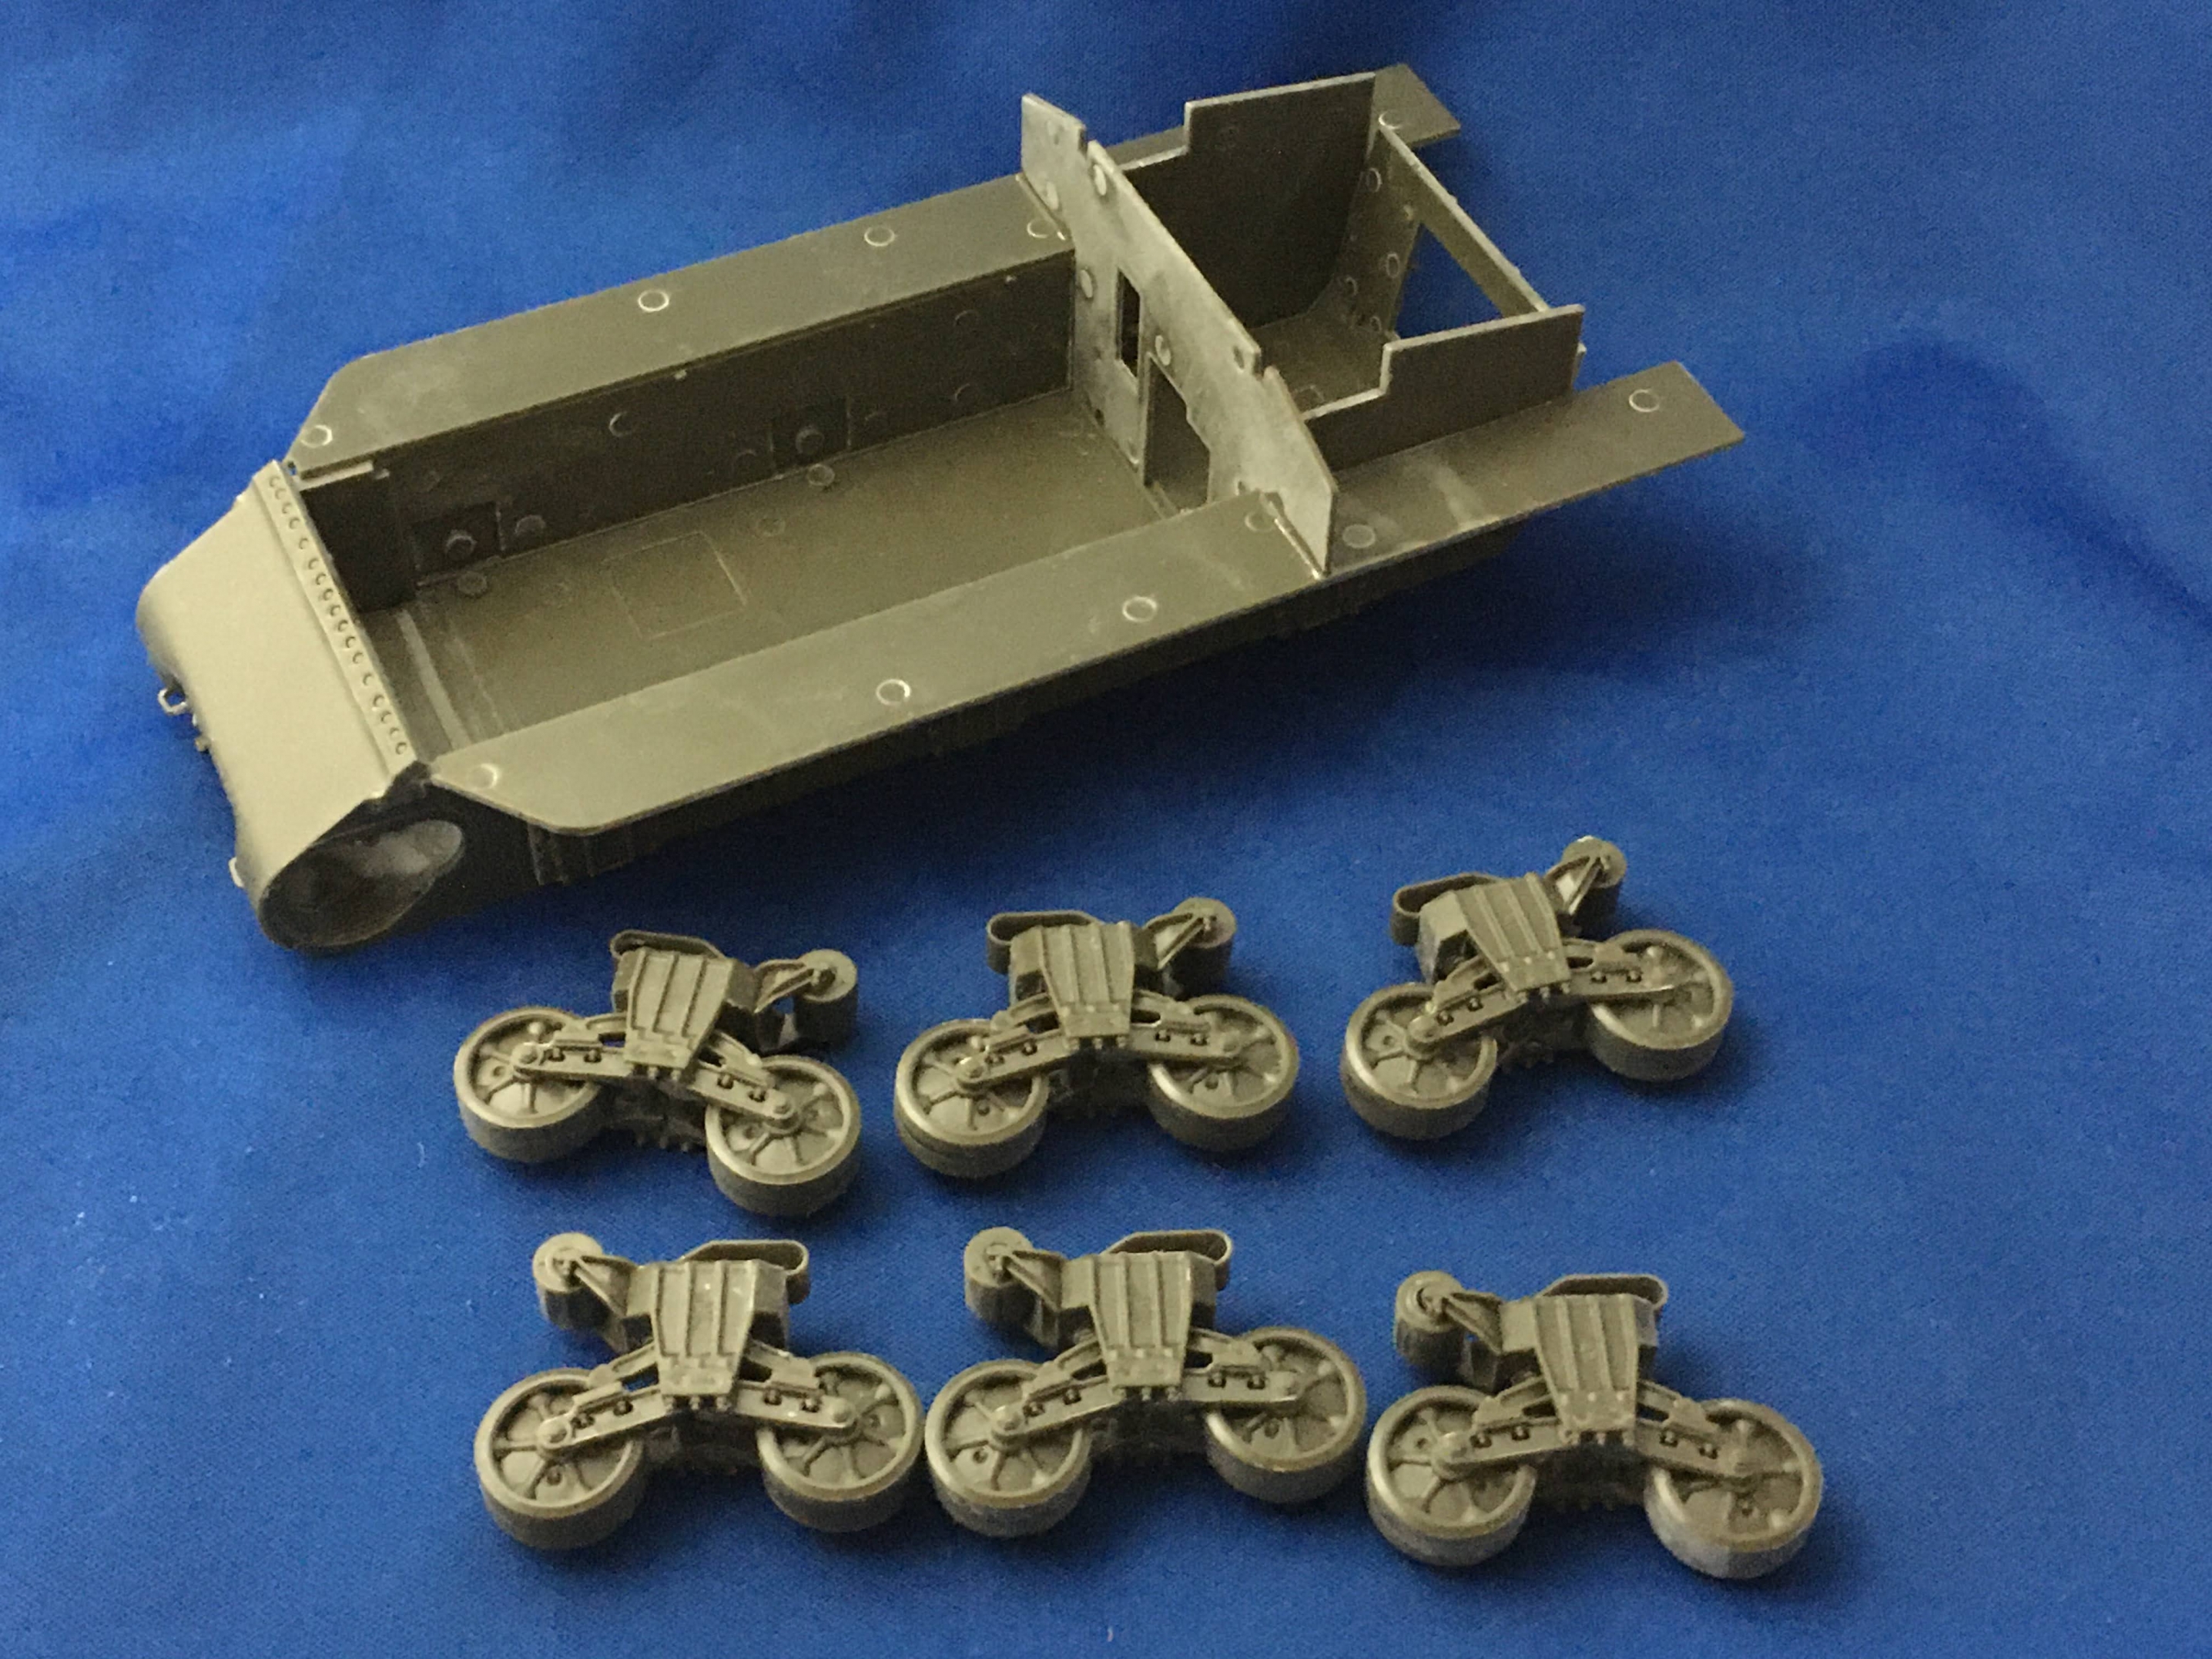
ゆっくりながらもM4 Compositeは組みあがっています
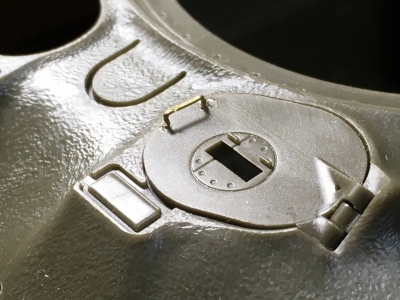
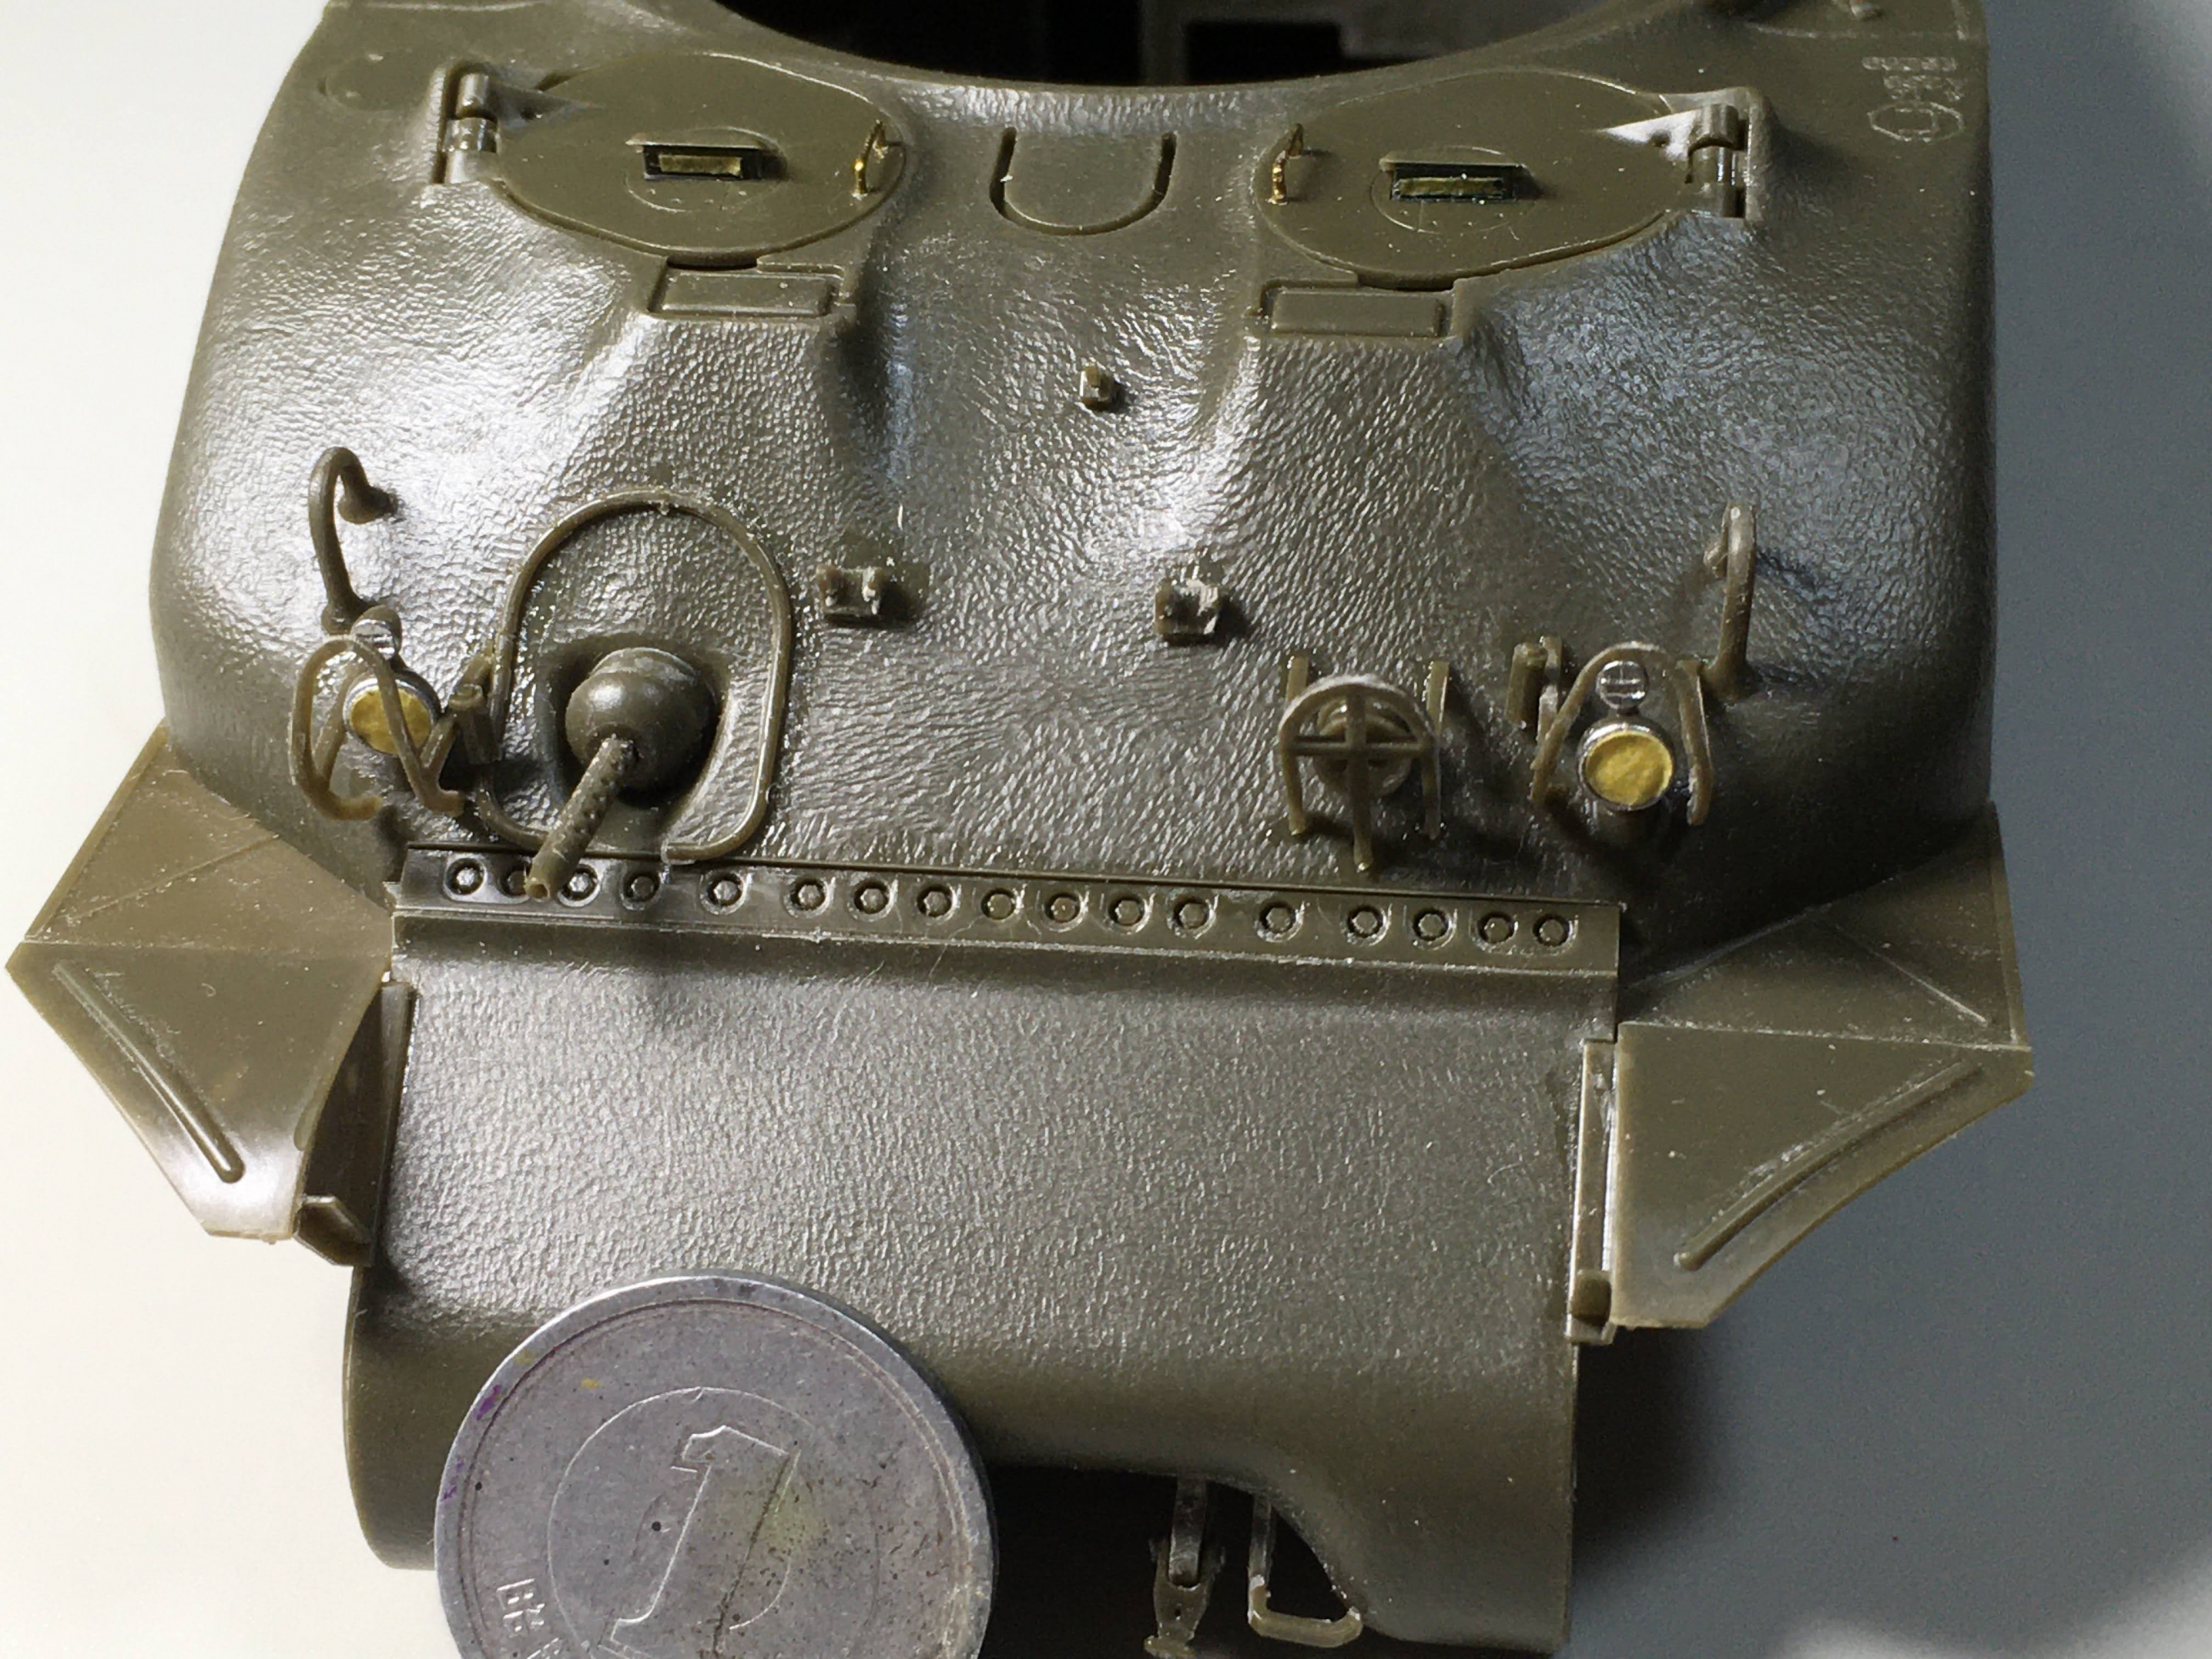
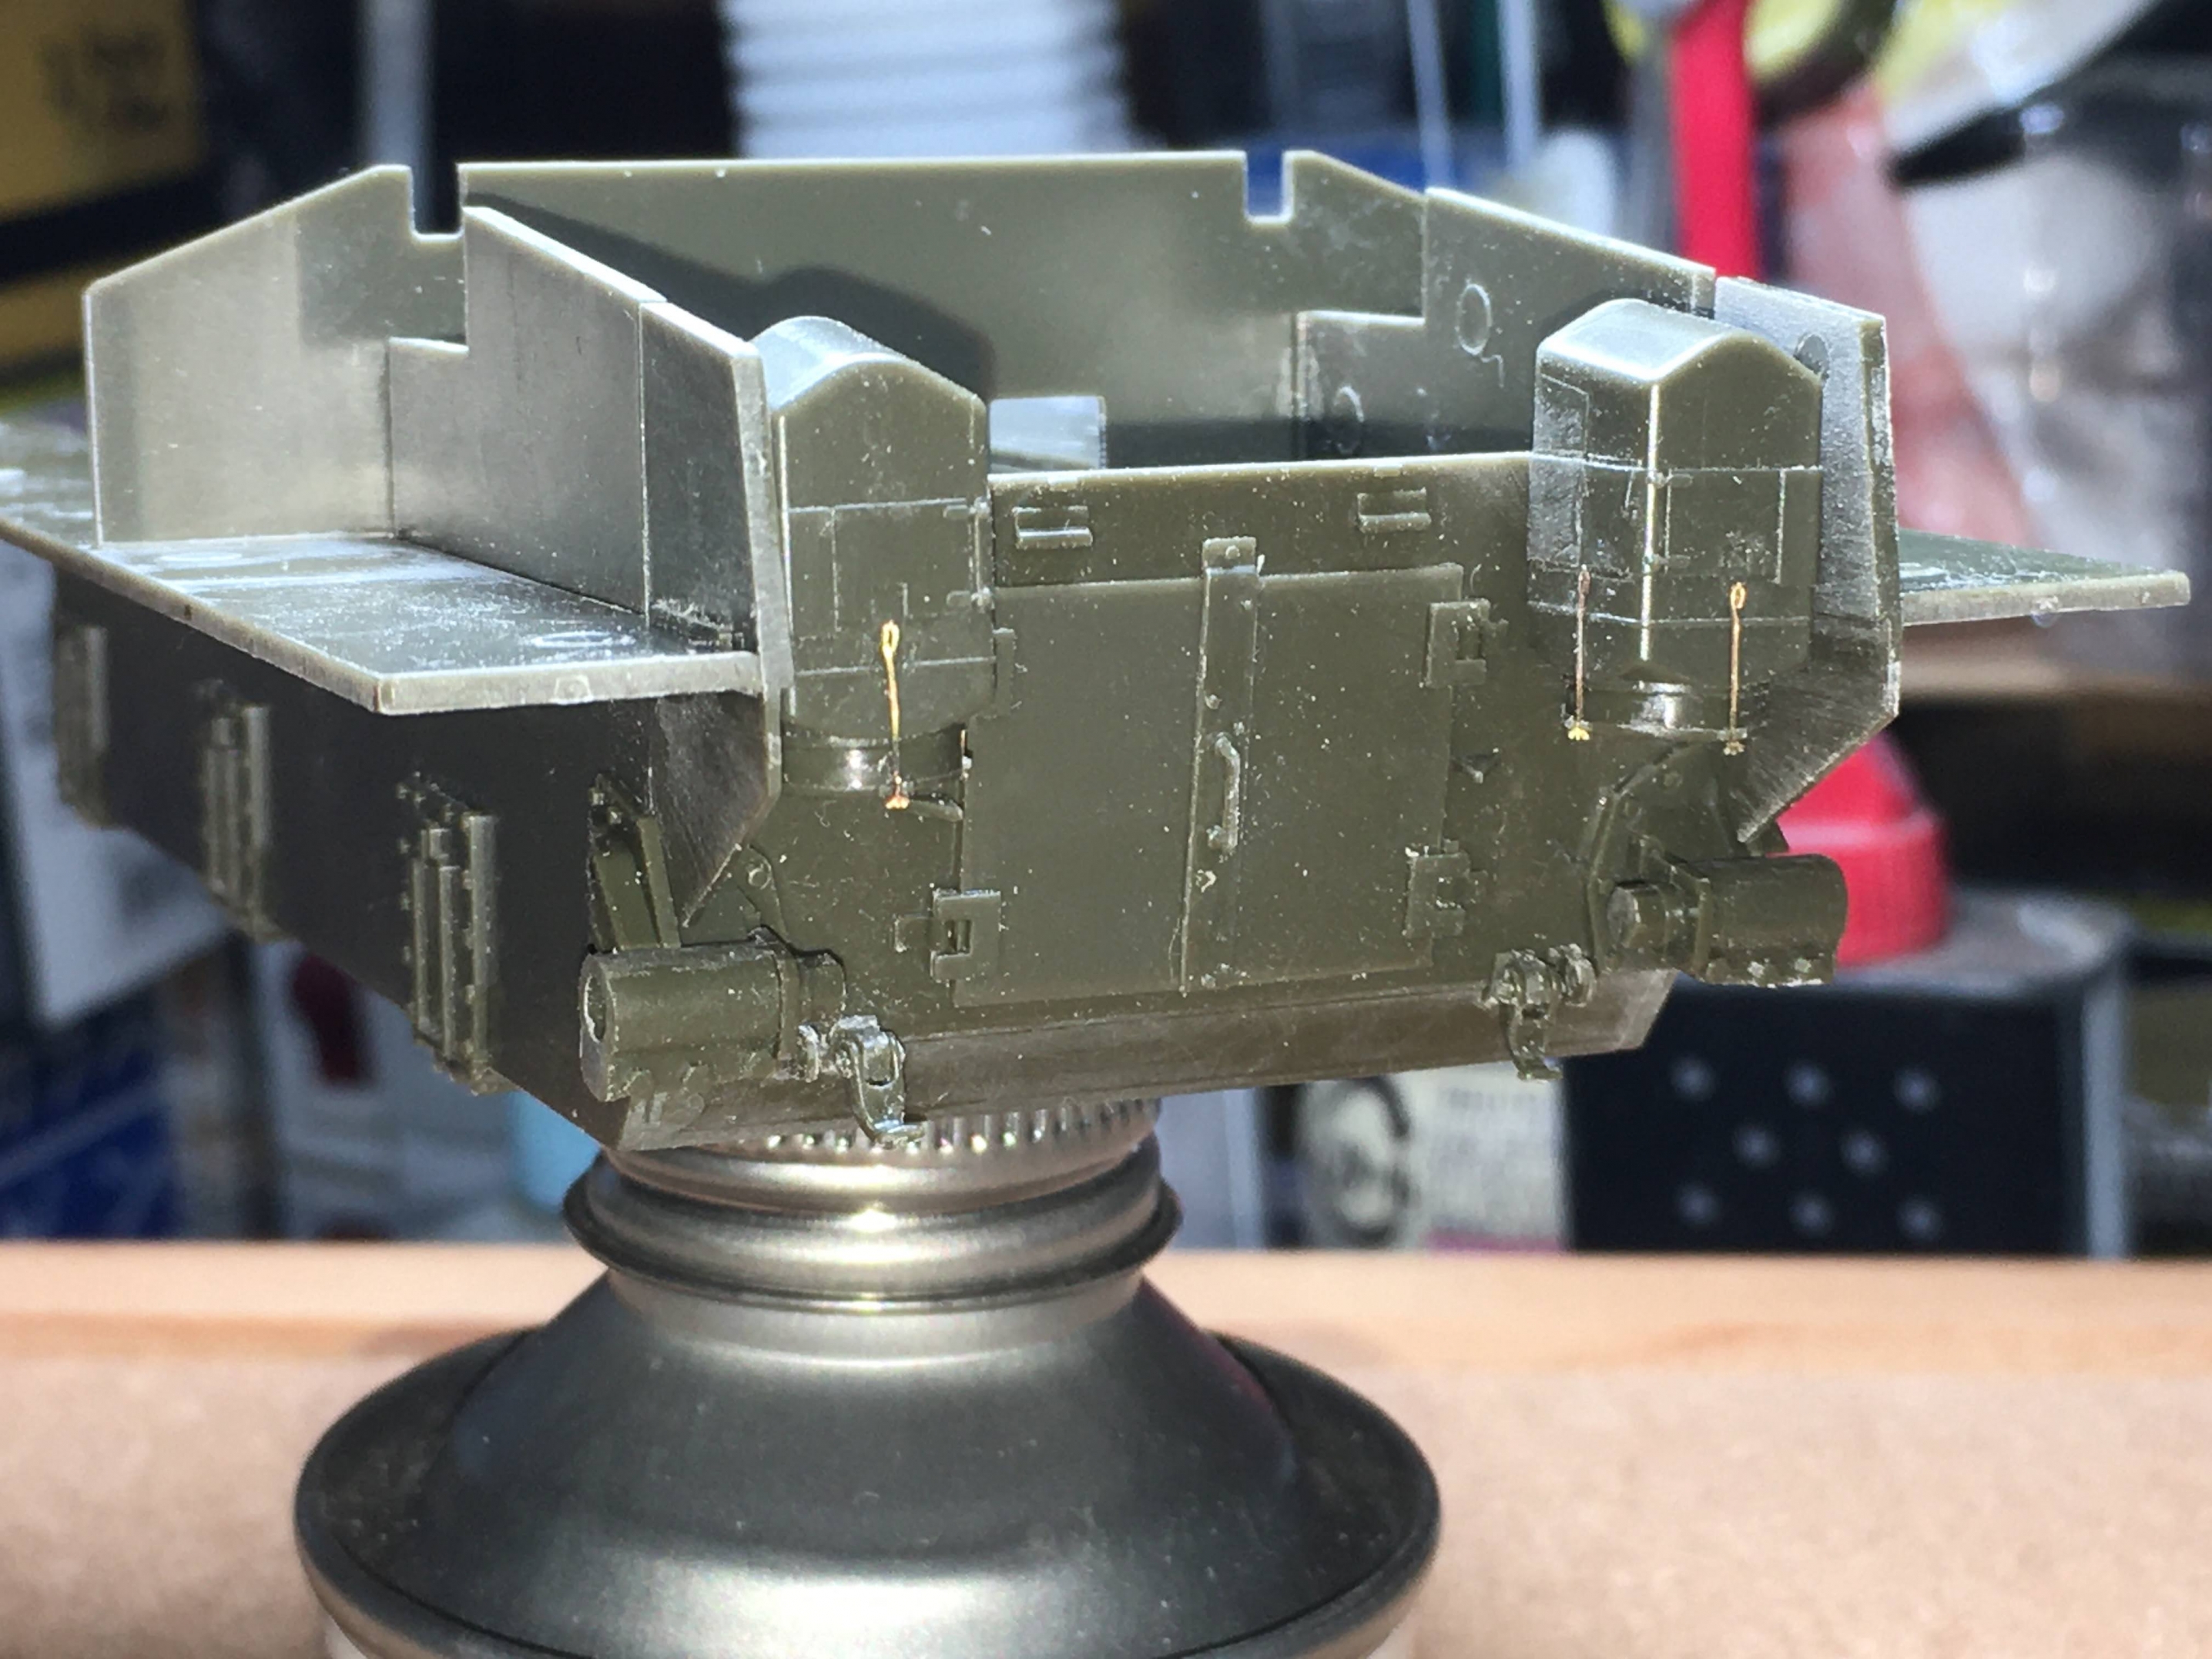
▲ドライバーズハッチの手摺。毎度のことながら
真鍮線に置き換えはテッパンですね。

▲左右できました。ペリスコープを入れたら感じよくなります。

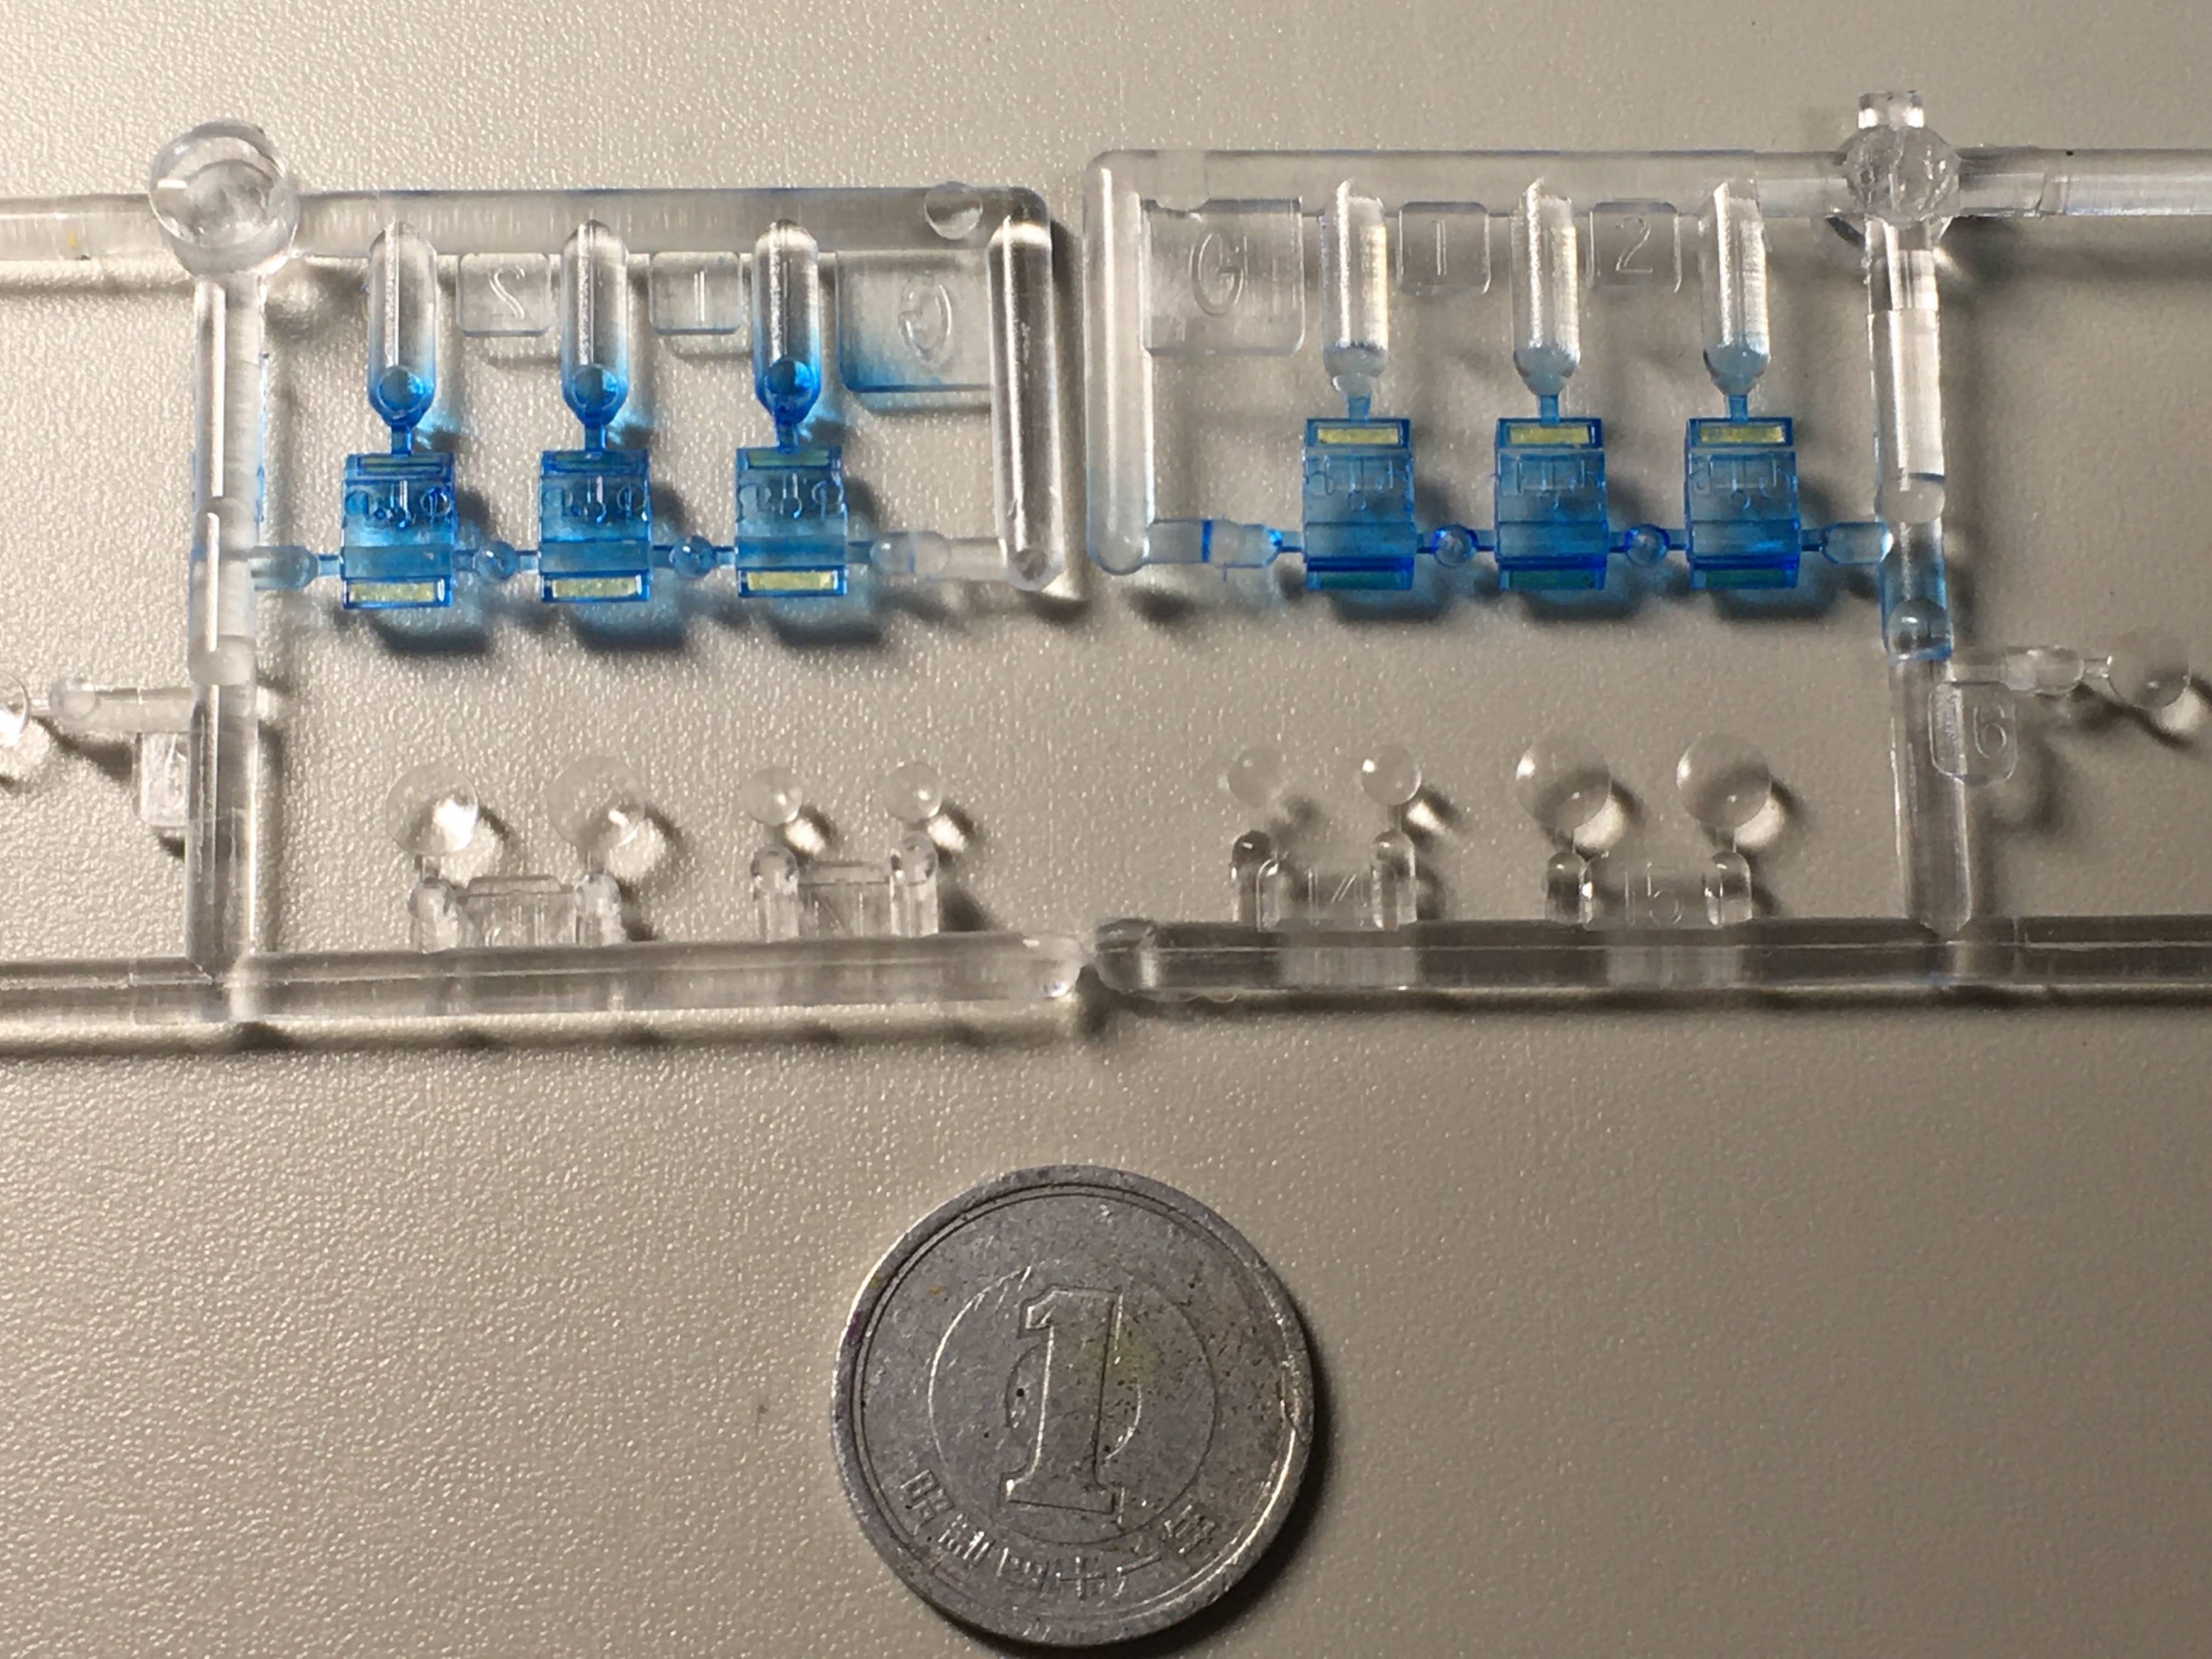
▲その、ペリスコープガラス部分をクリアブルーにて塗装。
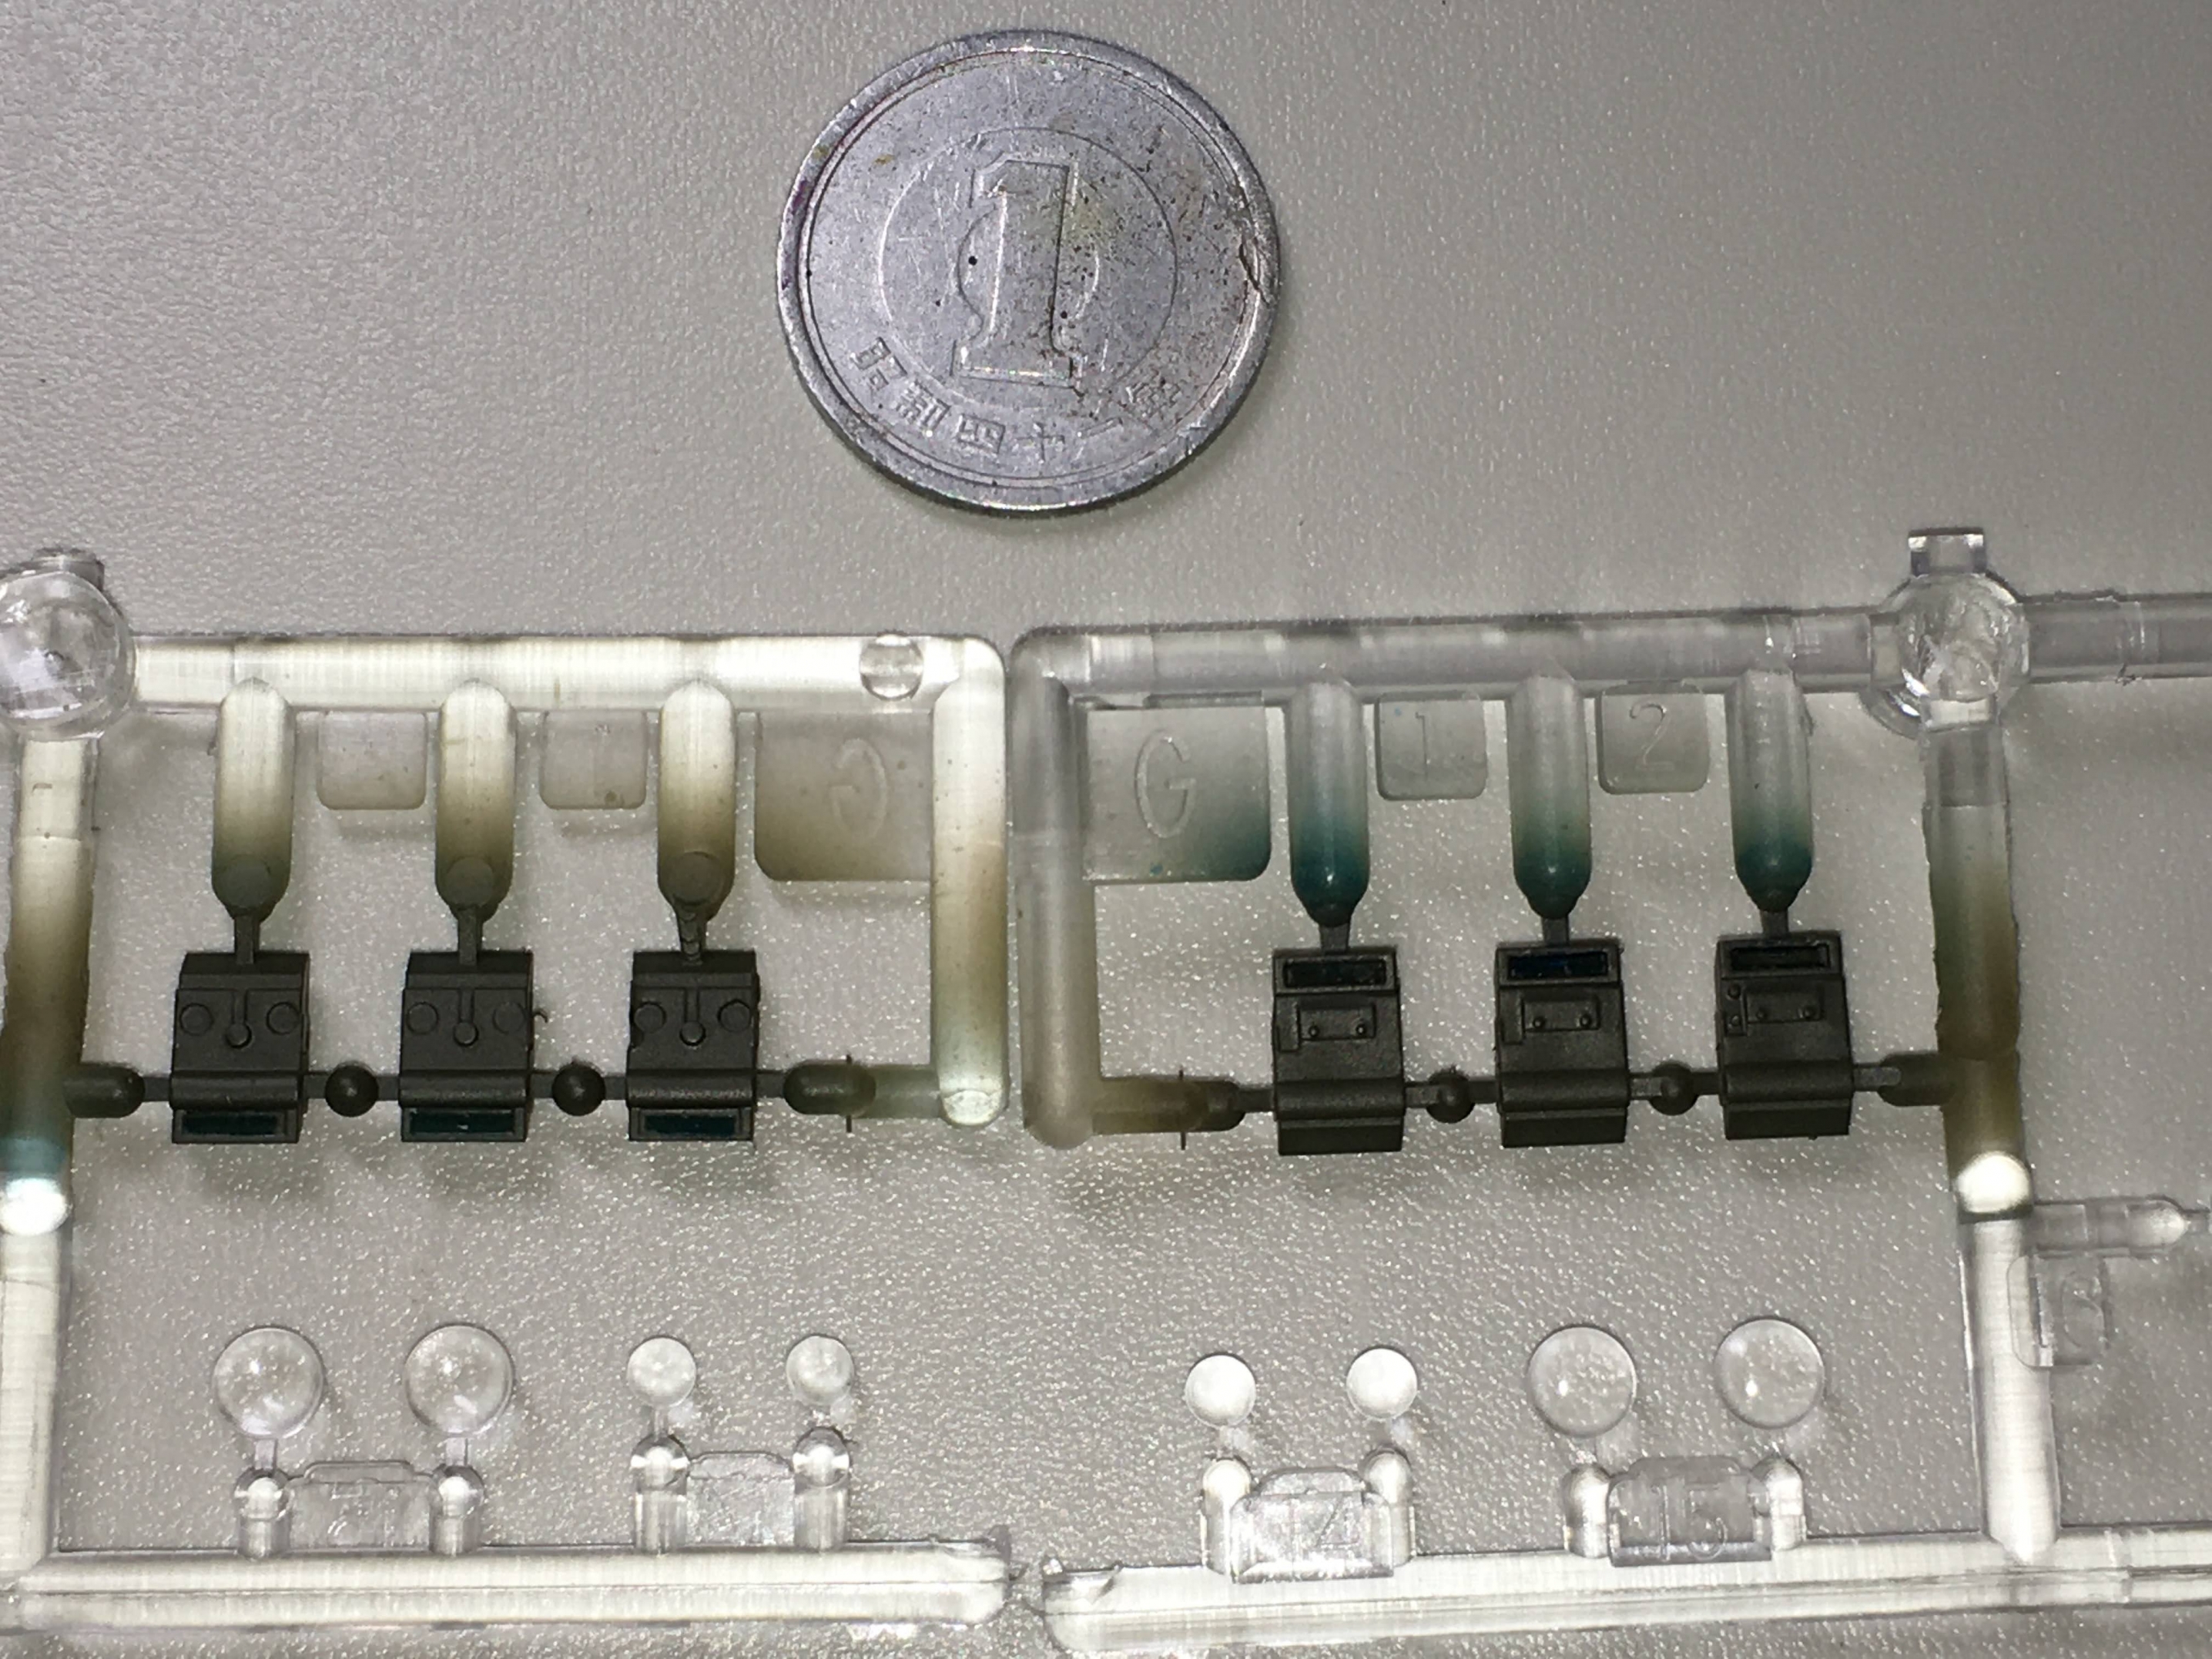
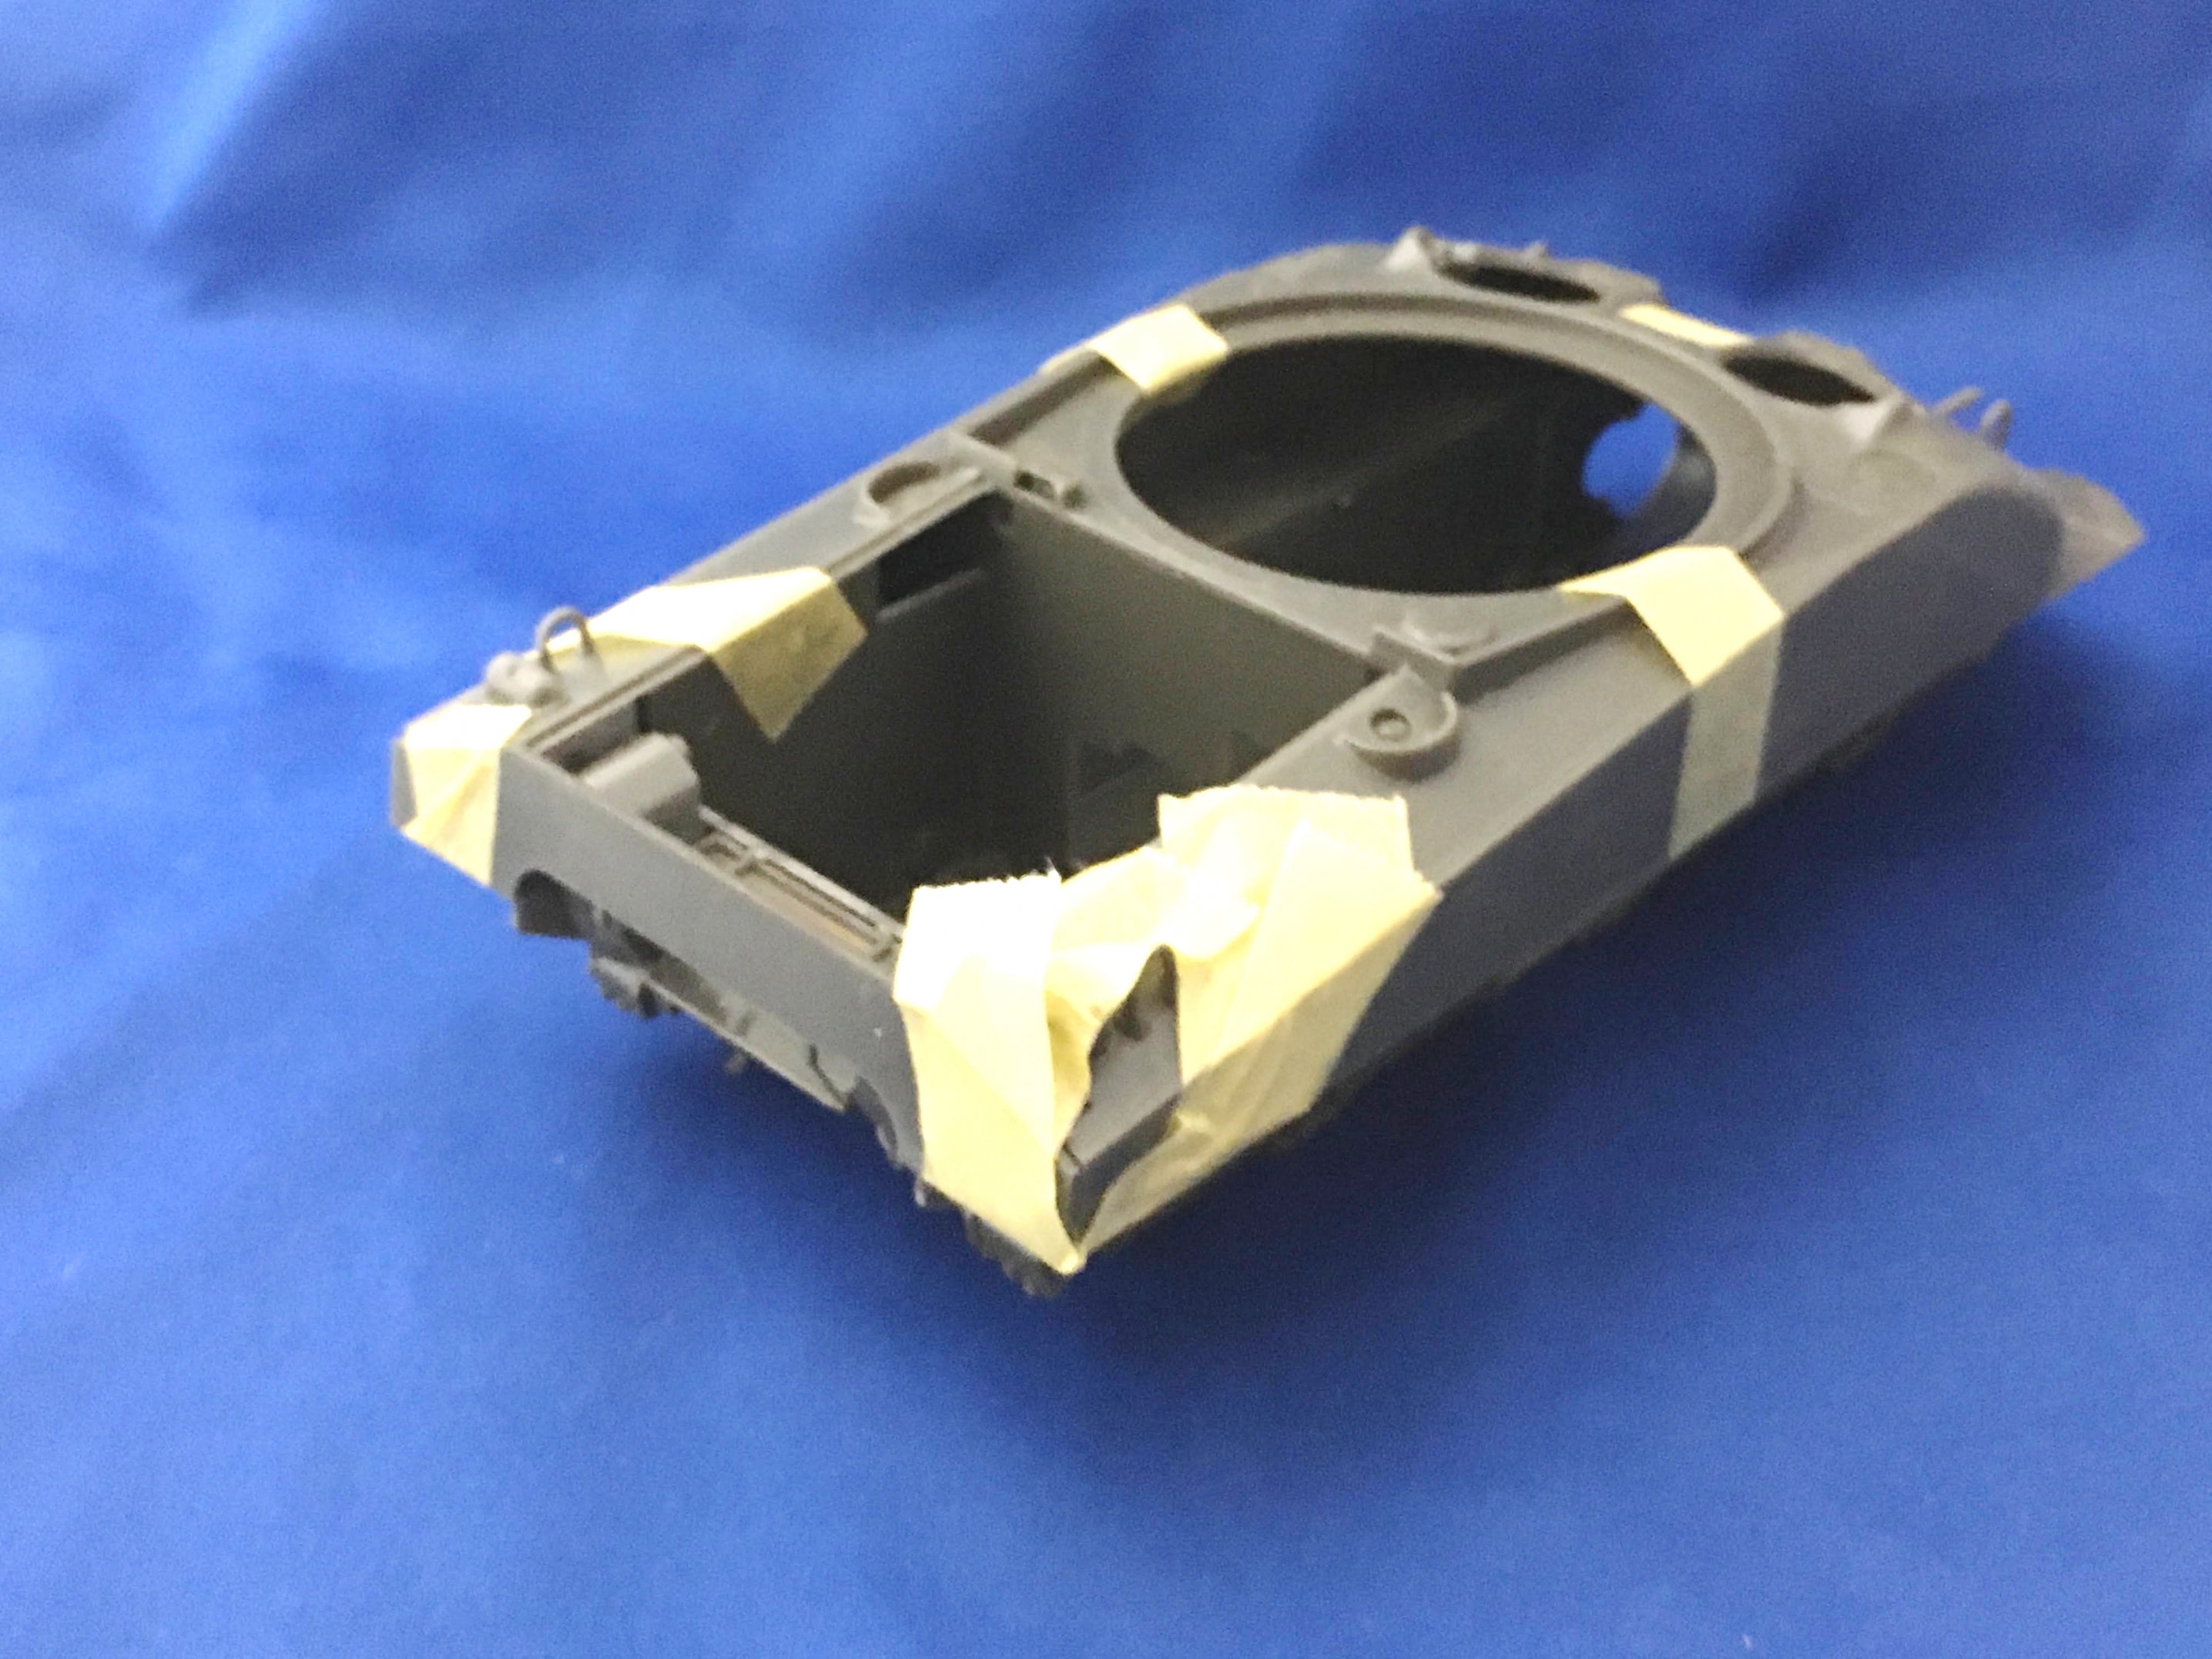
マスキングしてOD色に塗装します。

▲OD色に塗りました。
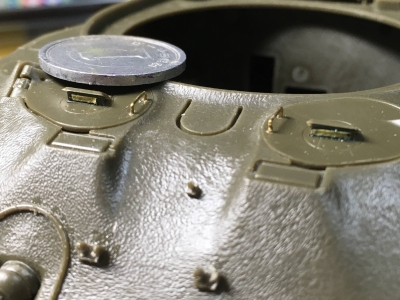
▲ドライバーズハッチにペリスコープ入れました。

▲ライトやライトカバー・ホーン等細かな部品を付けていきました。

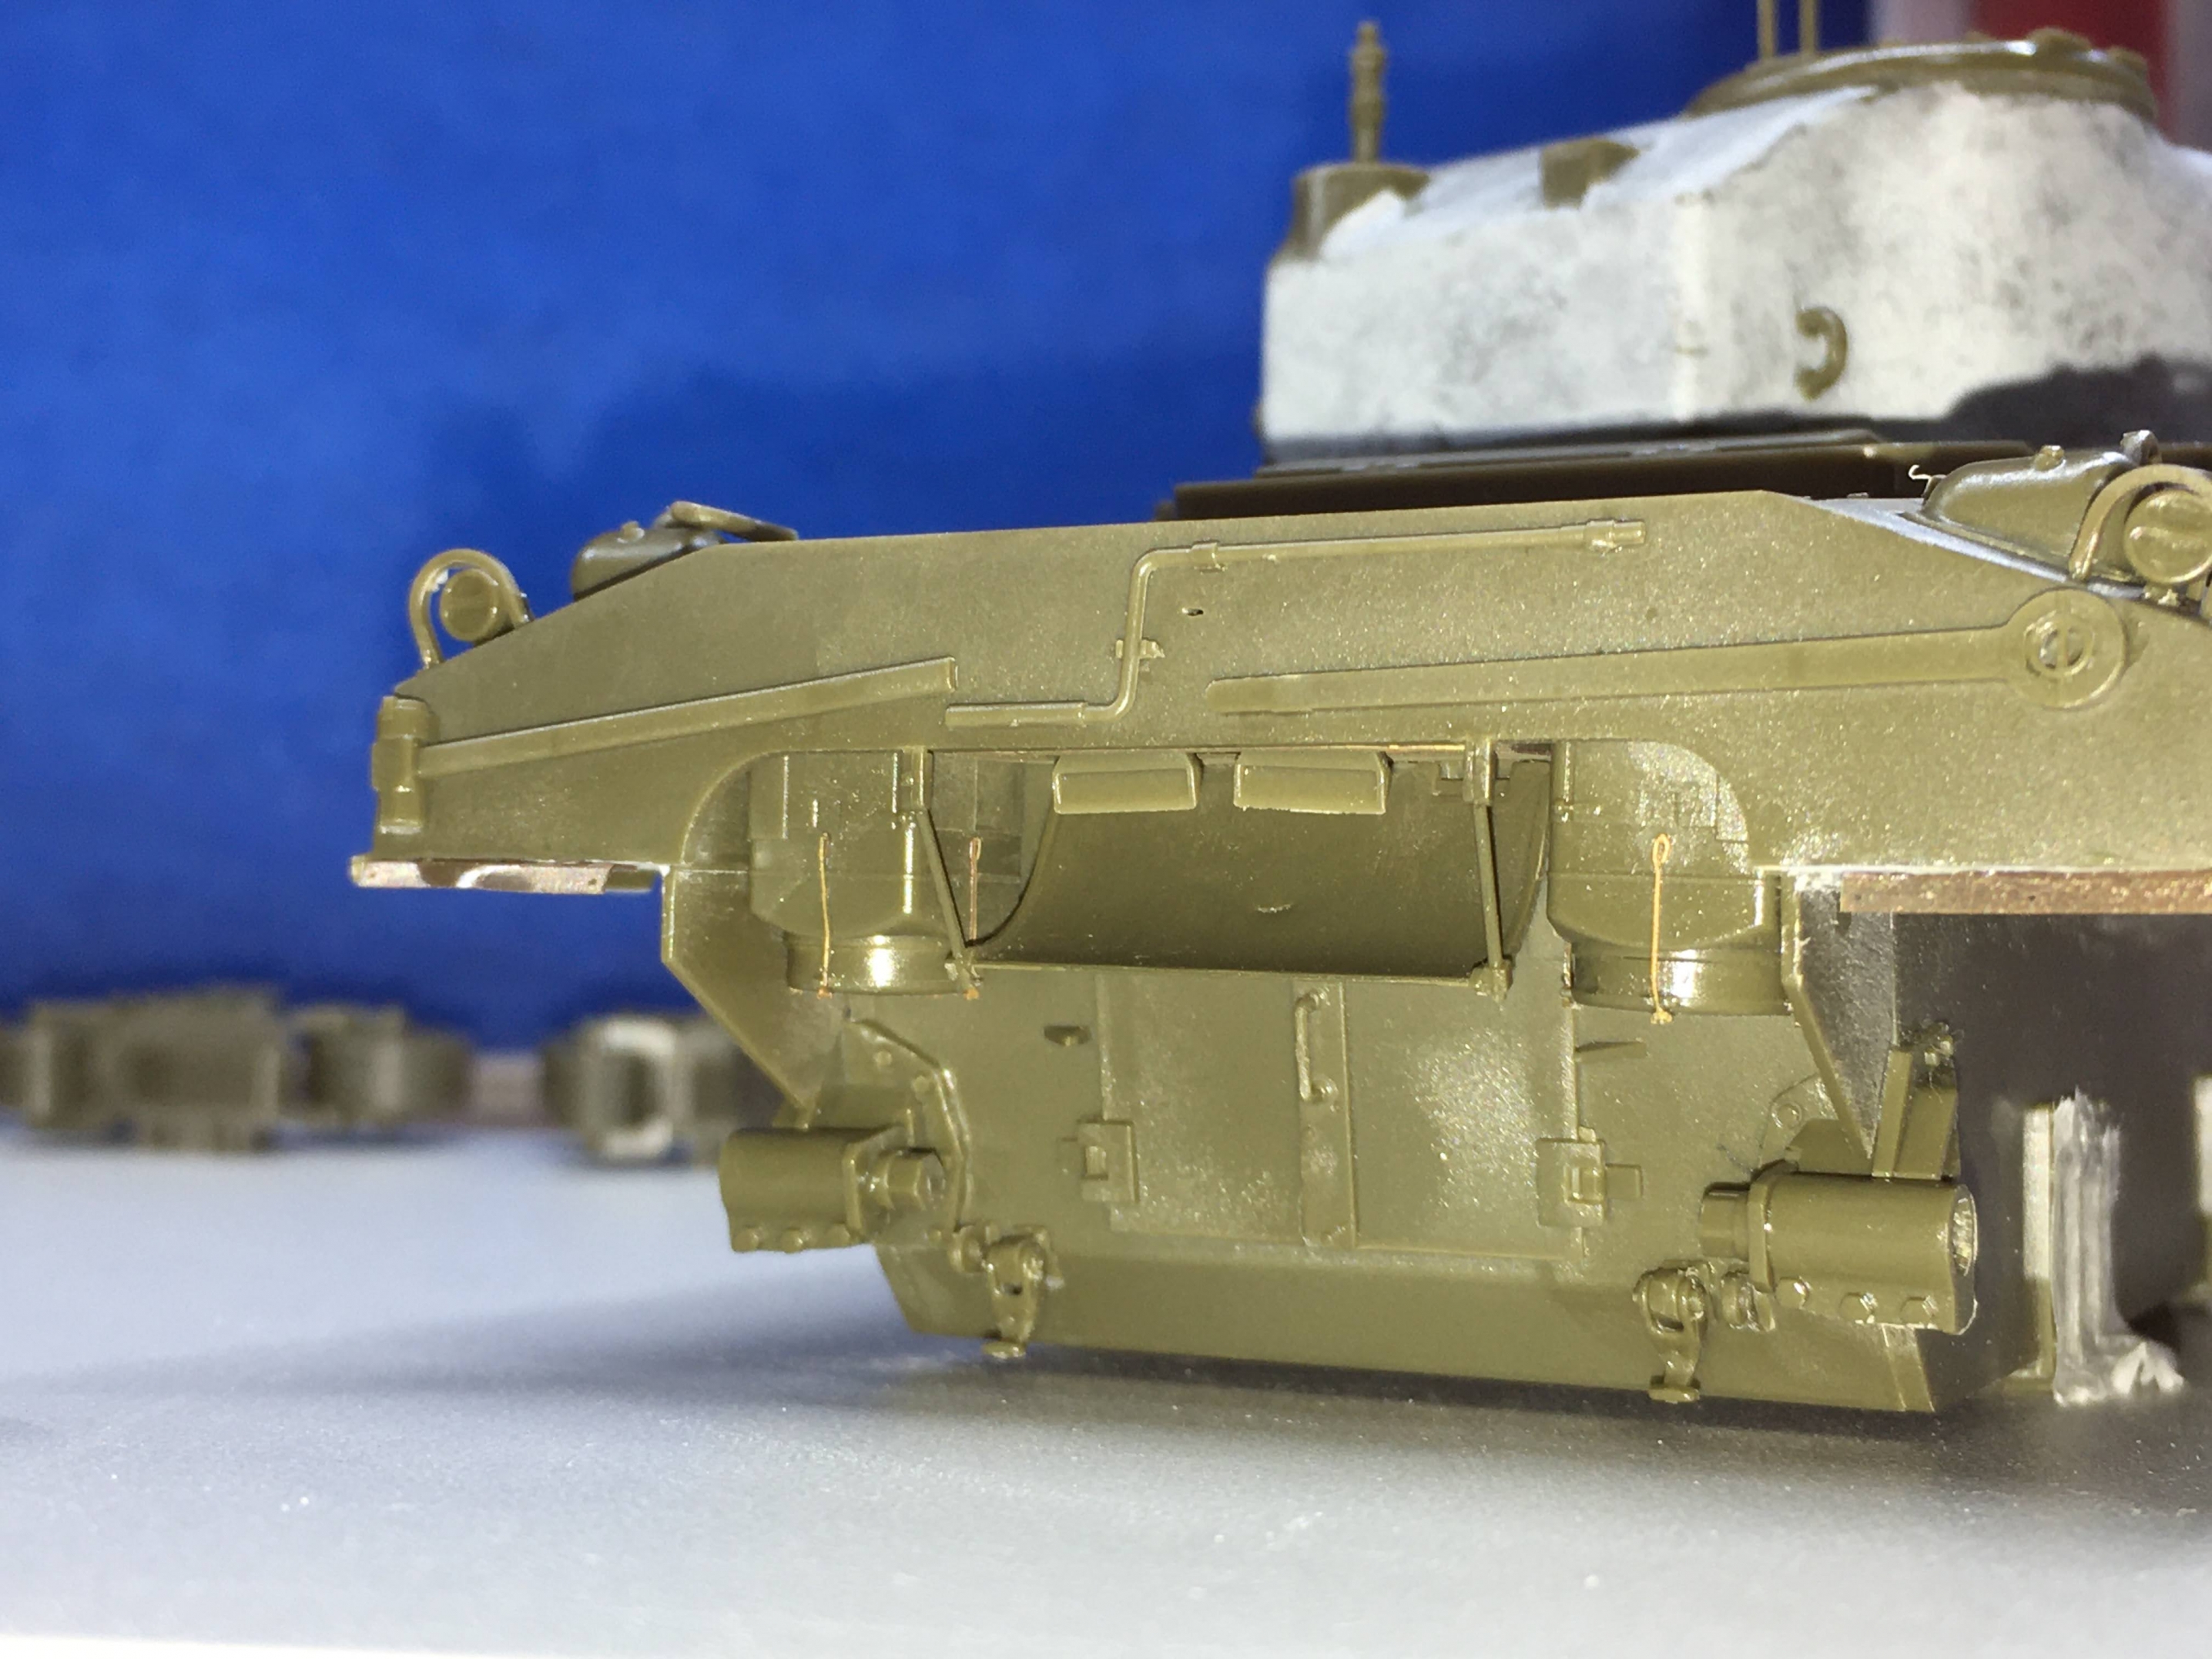
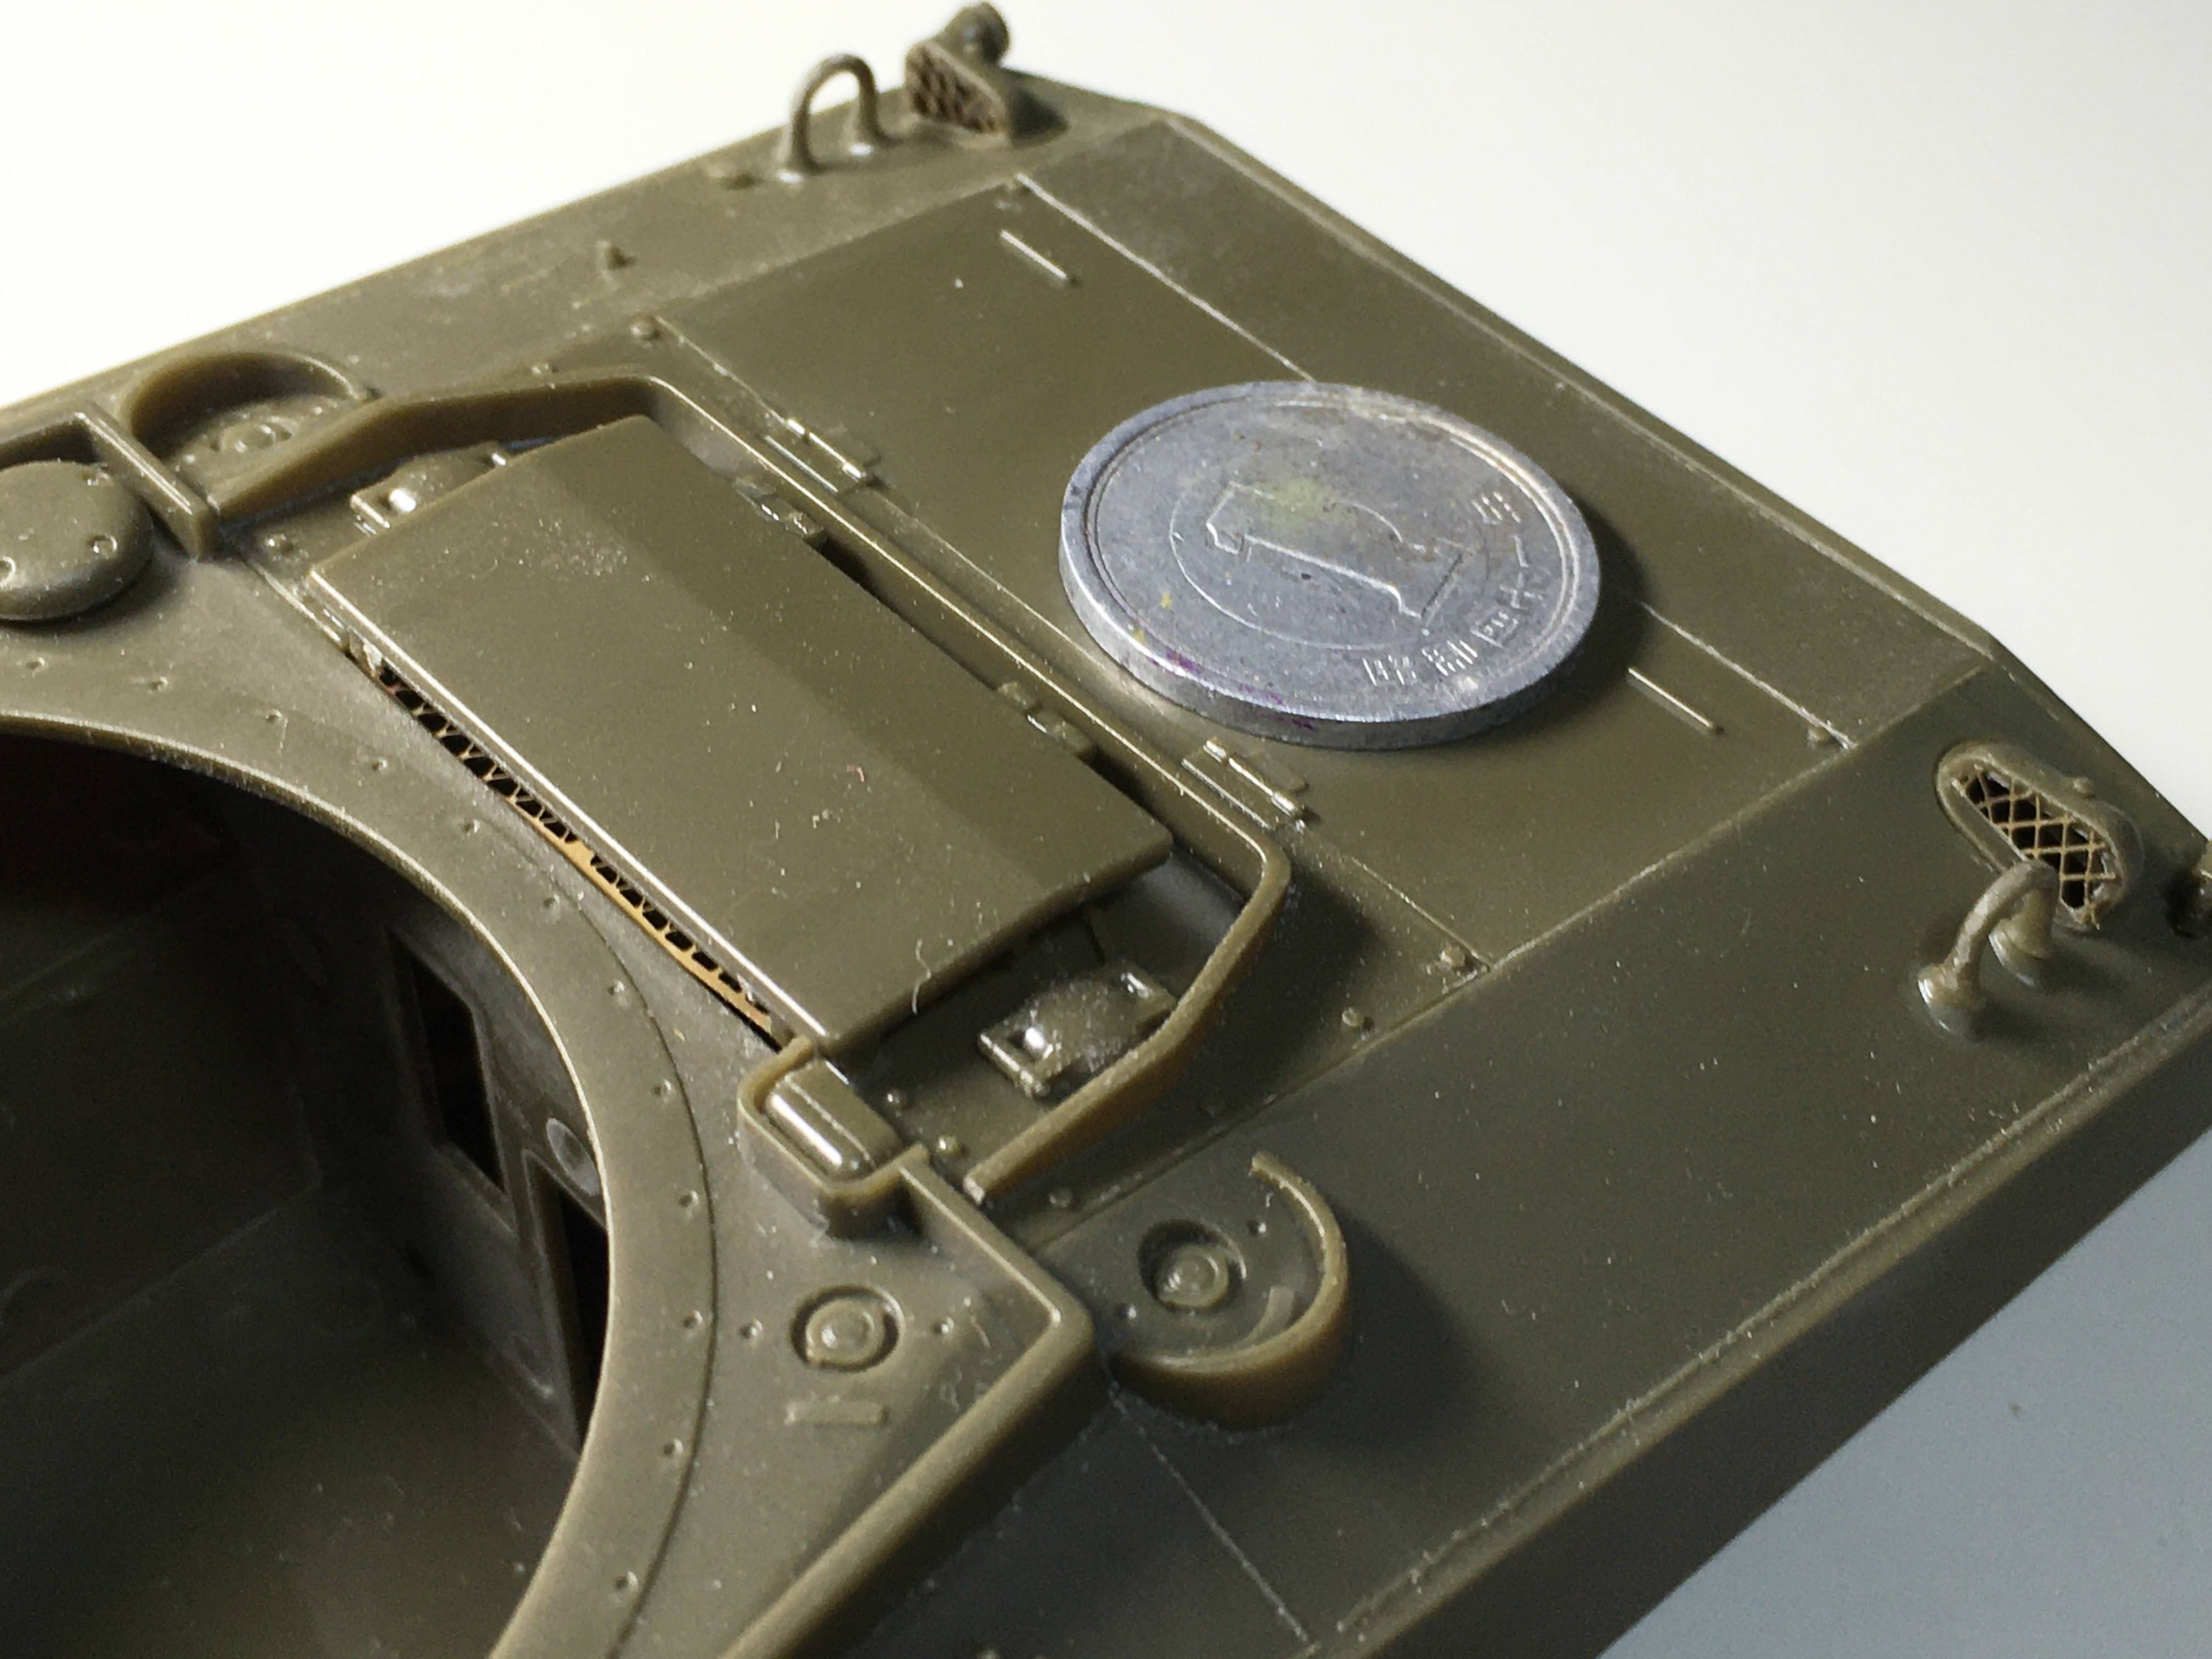
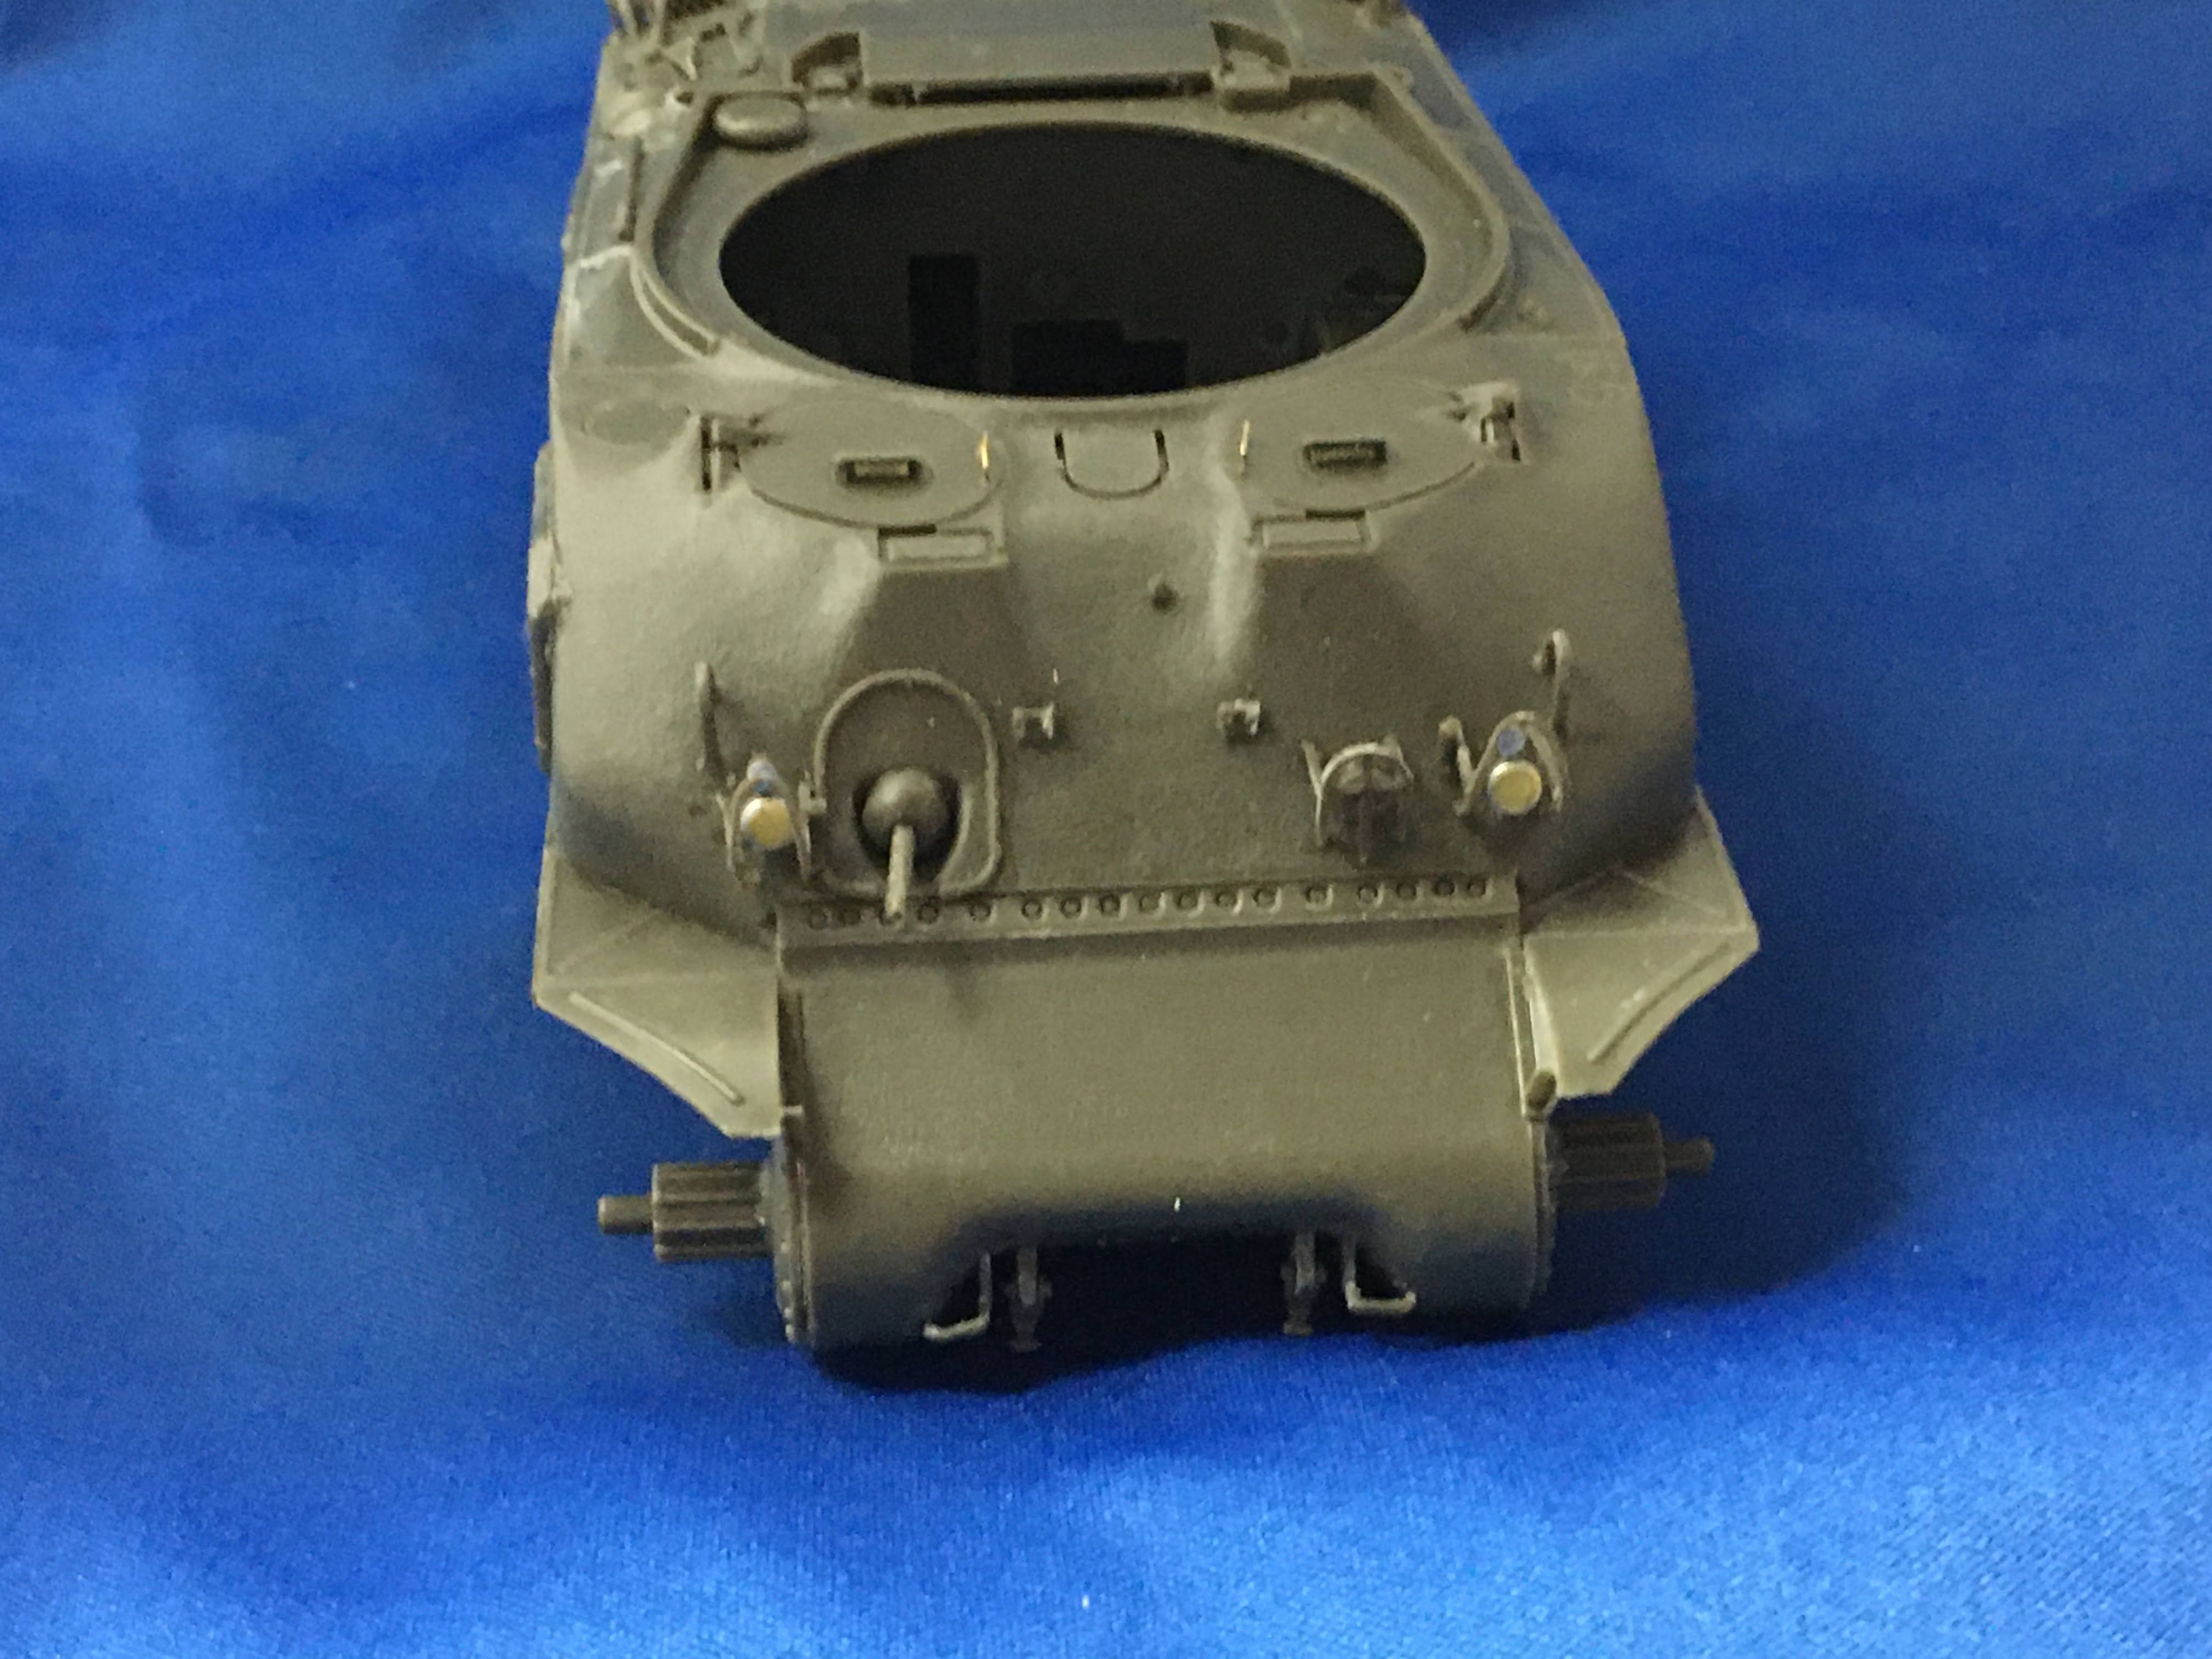
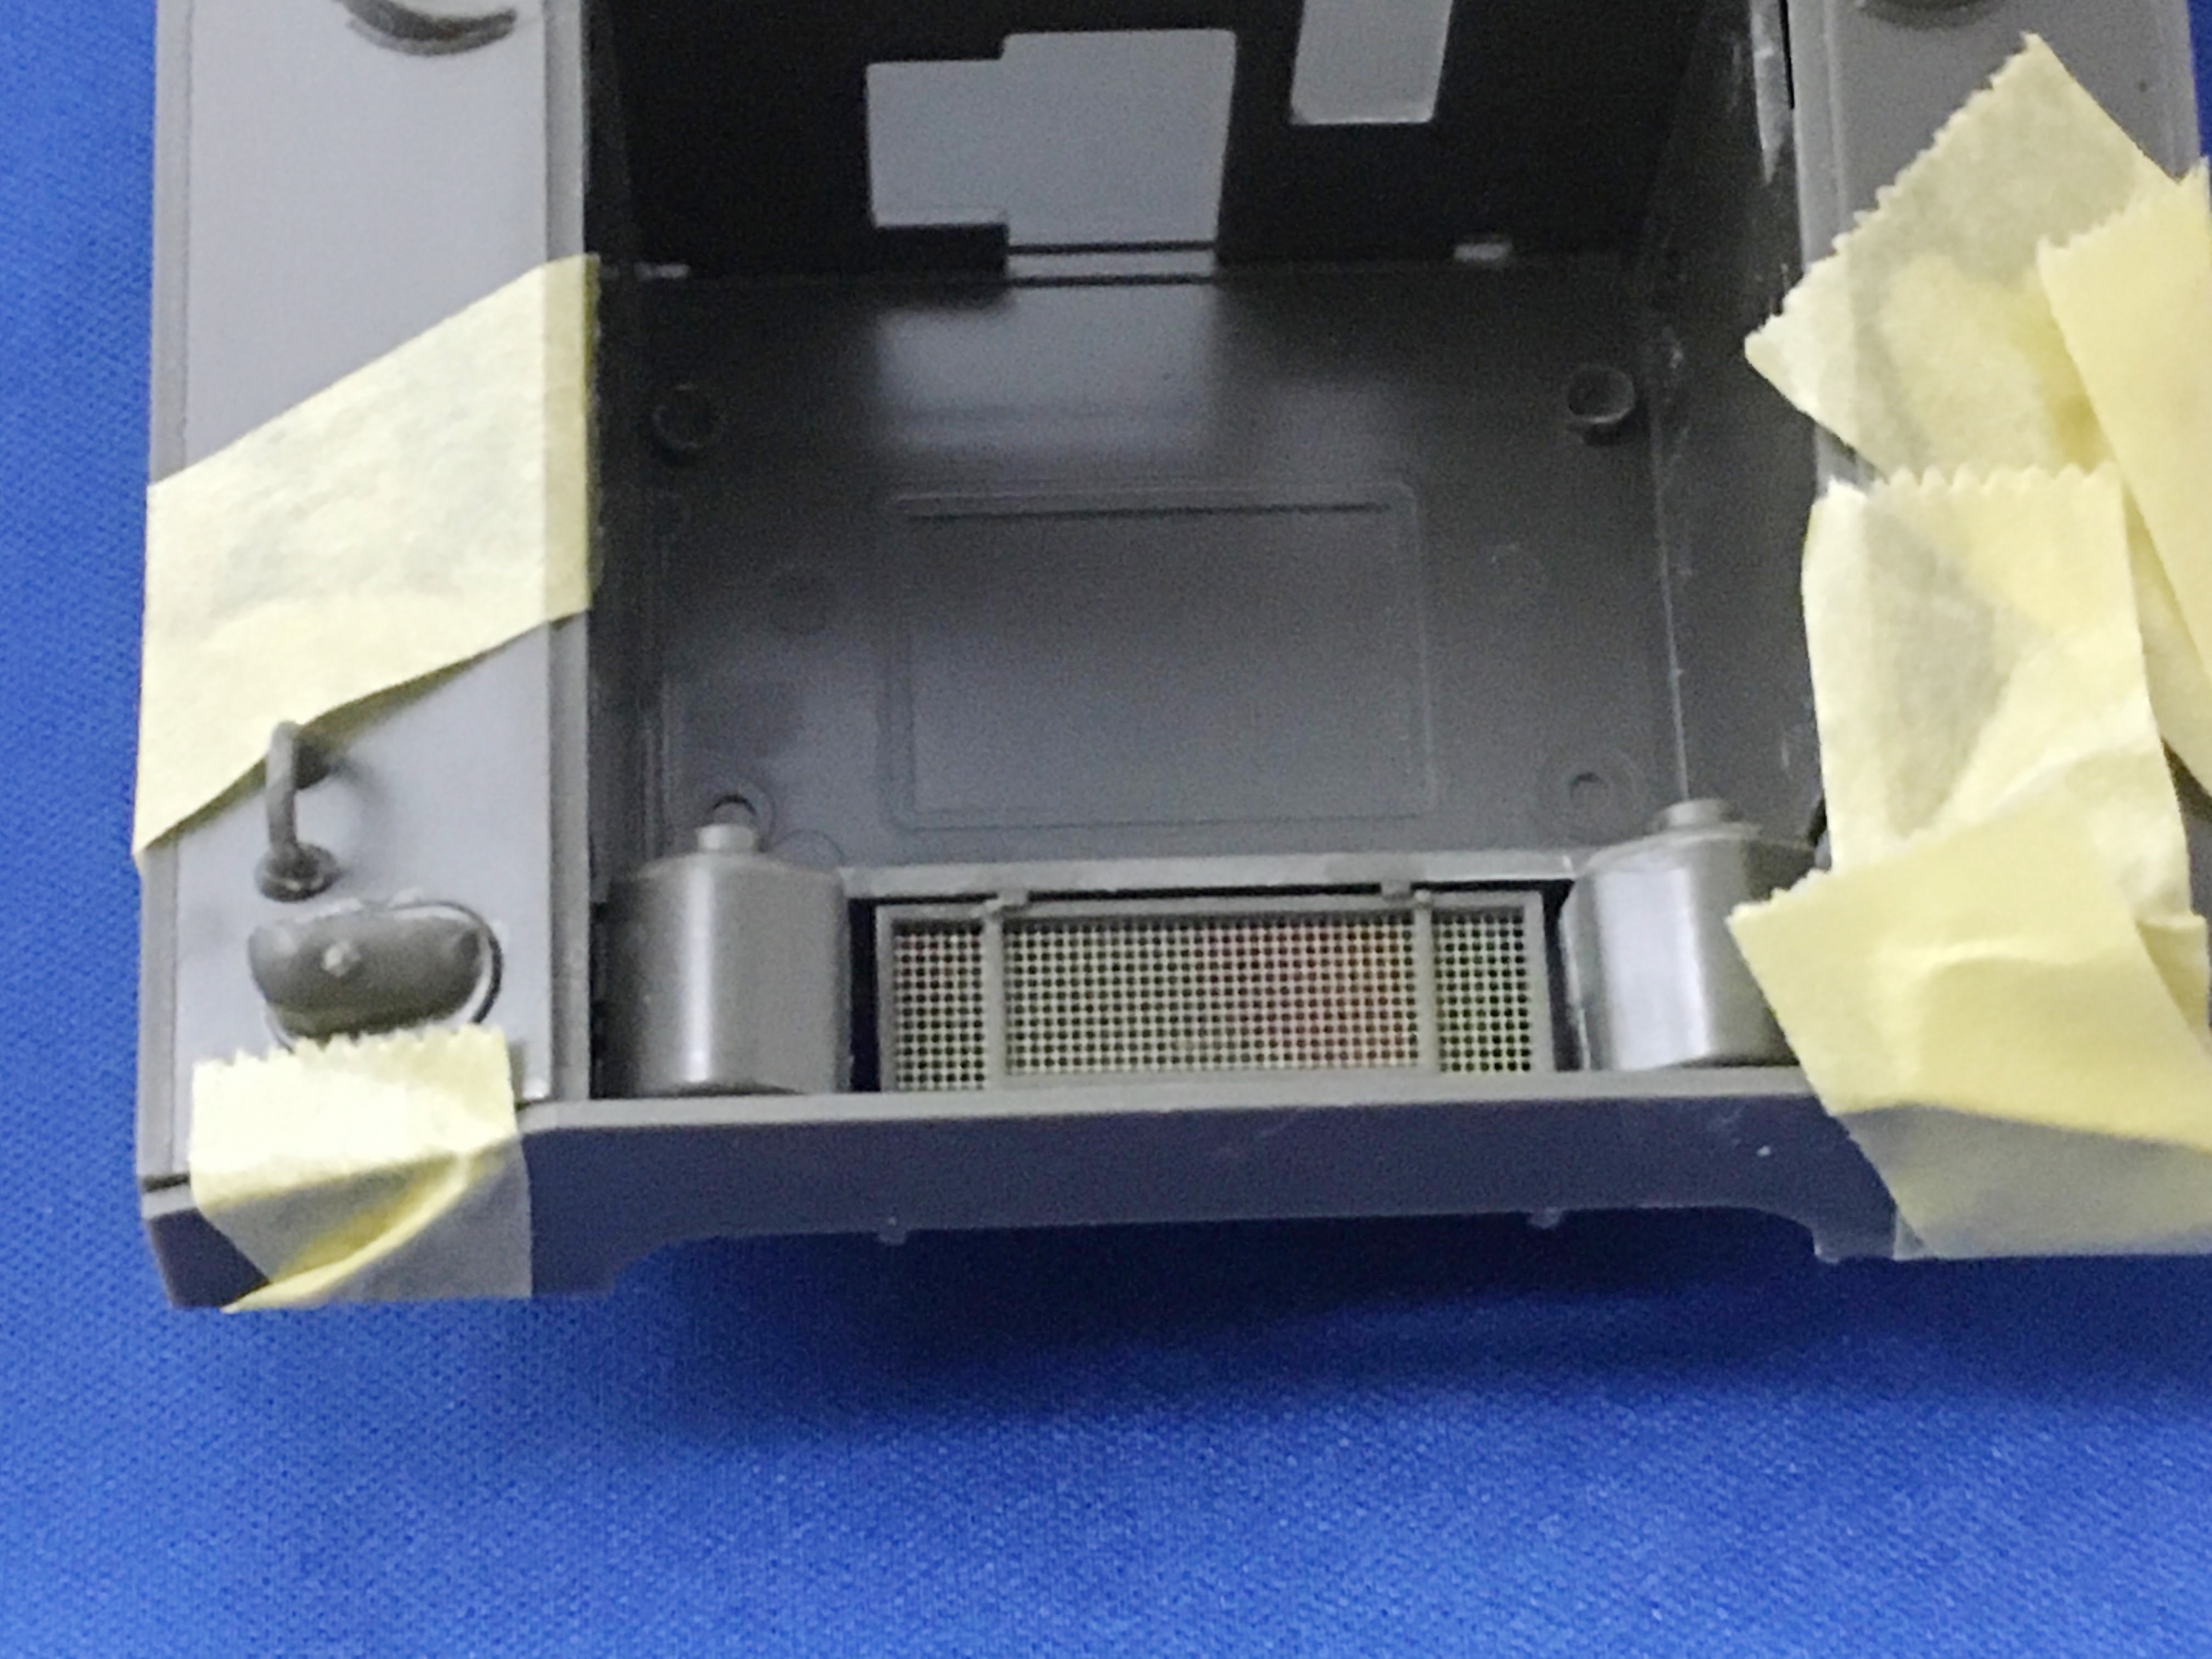
▲車体後部も組み上げています。
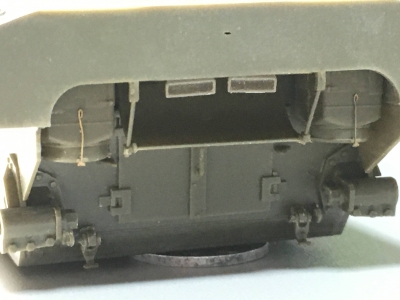
▲車体後部。

▲車体後部のこの部分は新規のパーツです。OVMを取り付ける凹みがないので、
OVMの凸を削って接着していきます。

▲無事せっやく出来ました。
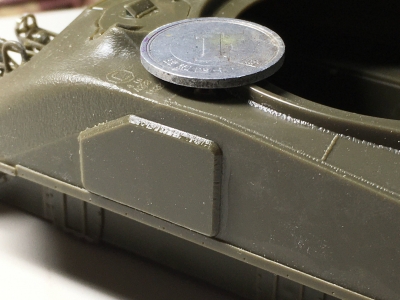
▲車体側部つぎはぎした部分の走行強化のための追加装甲
この部分は実車は溶接止めなので隙間ができないように圧着します。

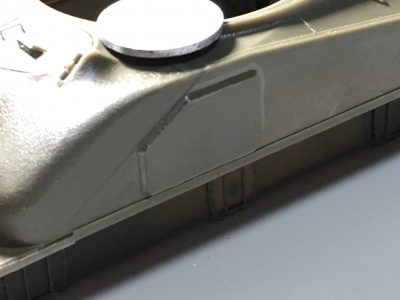
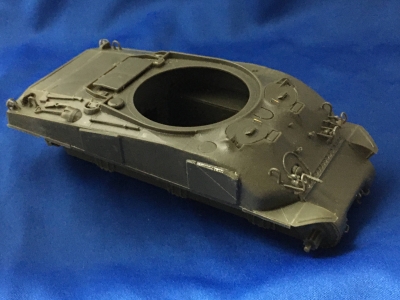
▲車体が無事組みあがりました
▲左サイドの追加装甲も圧着しました

▲一つだけパーツ取り付け位置が変わるようなので、連絡待ちです。
これで、車体は組みあがりました。明日から砲塔です。
デワデワ!!
**********************************************
Welcome to Ru ~ mu 335
I have a little time left (; ^ _ ^ A
Slowly, M4 Composite is assembled
▲ Driver's hatch handrail. As always
Replacing with brass wire is Teppan.
▲ I was able to move left and right. It feels good with a periscope.
▲ The periscope glass part is painted in clear blue.
Mask and paint in OD color.
▲ I painted it in OD color.
▲ I put a periscope in the driver's hatch.
▲ I attached small parts such as lights, light covers and horns.
▲ The rear part of the car body is also assembled.
▲ The rear part of the car body.
▲ This part at the rear of the car body is a new part. Since there is no recess to attach the OVM,
I will scrape the convex of OVM and glue it.
▲ I was able to do it safely.
▲ Additional armor to strengthen the running of the patched part on the side of the car body
Since this part is welded to the actual vehicle, it is crimped so that there is no gap.
▲ The car body was successfully assembled.
▲ The additional armor on the left side was also crimped.
▲ It seems that only one part mounting position will change, so I am waiting for contact.
The car body is now assembled. It will be a turret from tomorrow.
Dewa Dewa !!
**********************************************
いらっしゃいませ る~む335 です
早いもので9月の晦日になりました。
10月~12月休祭日があるのは11月のみ。
体調整えて頑張りましょう。
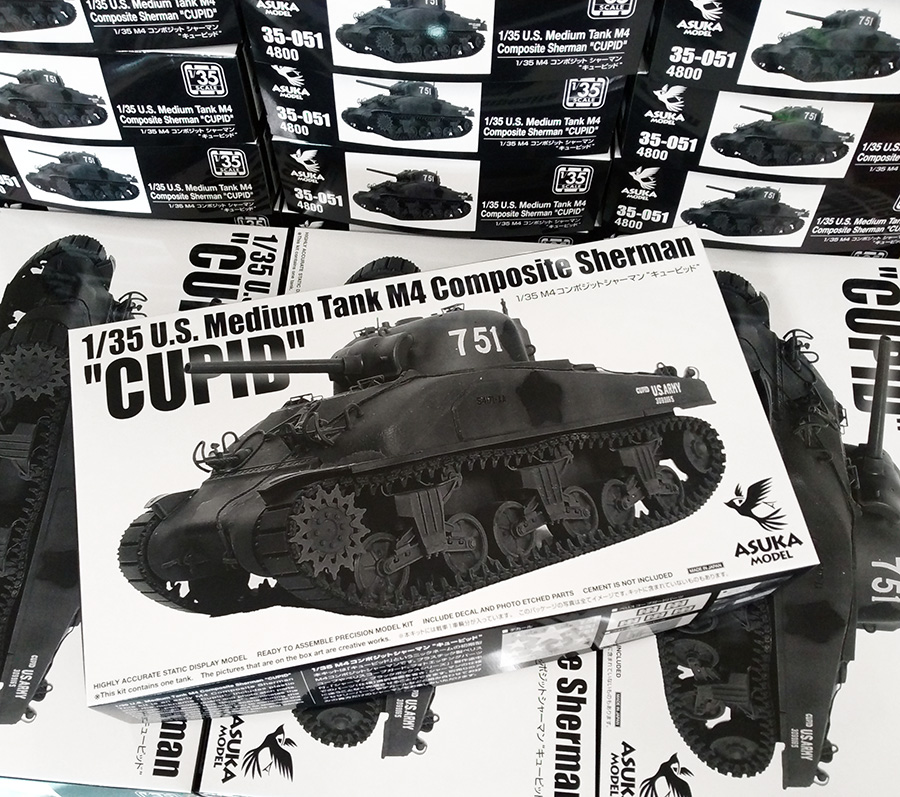
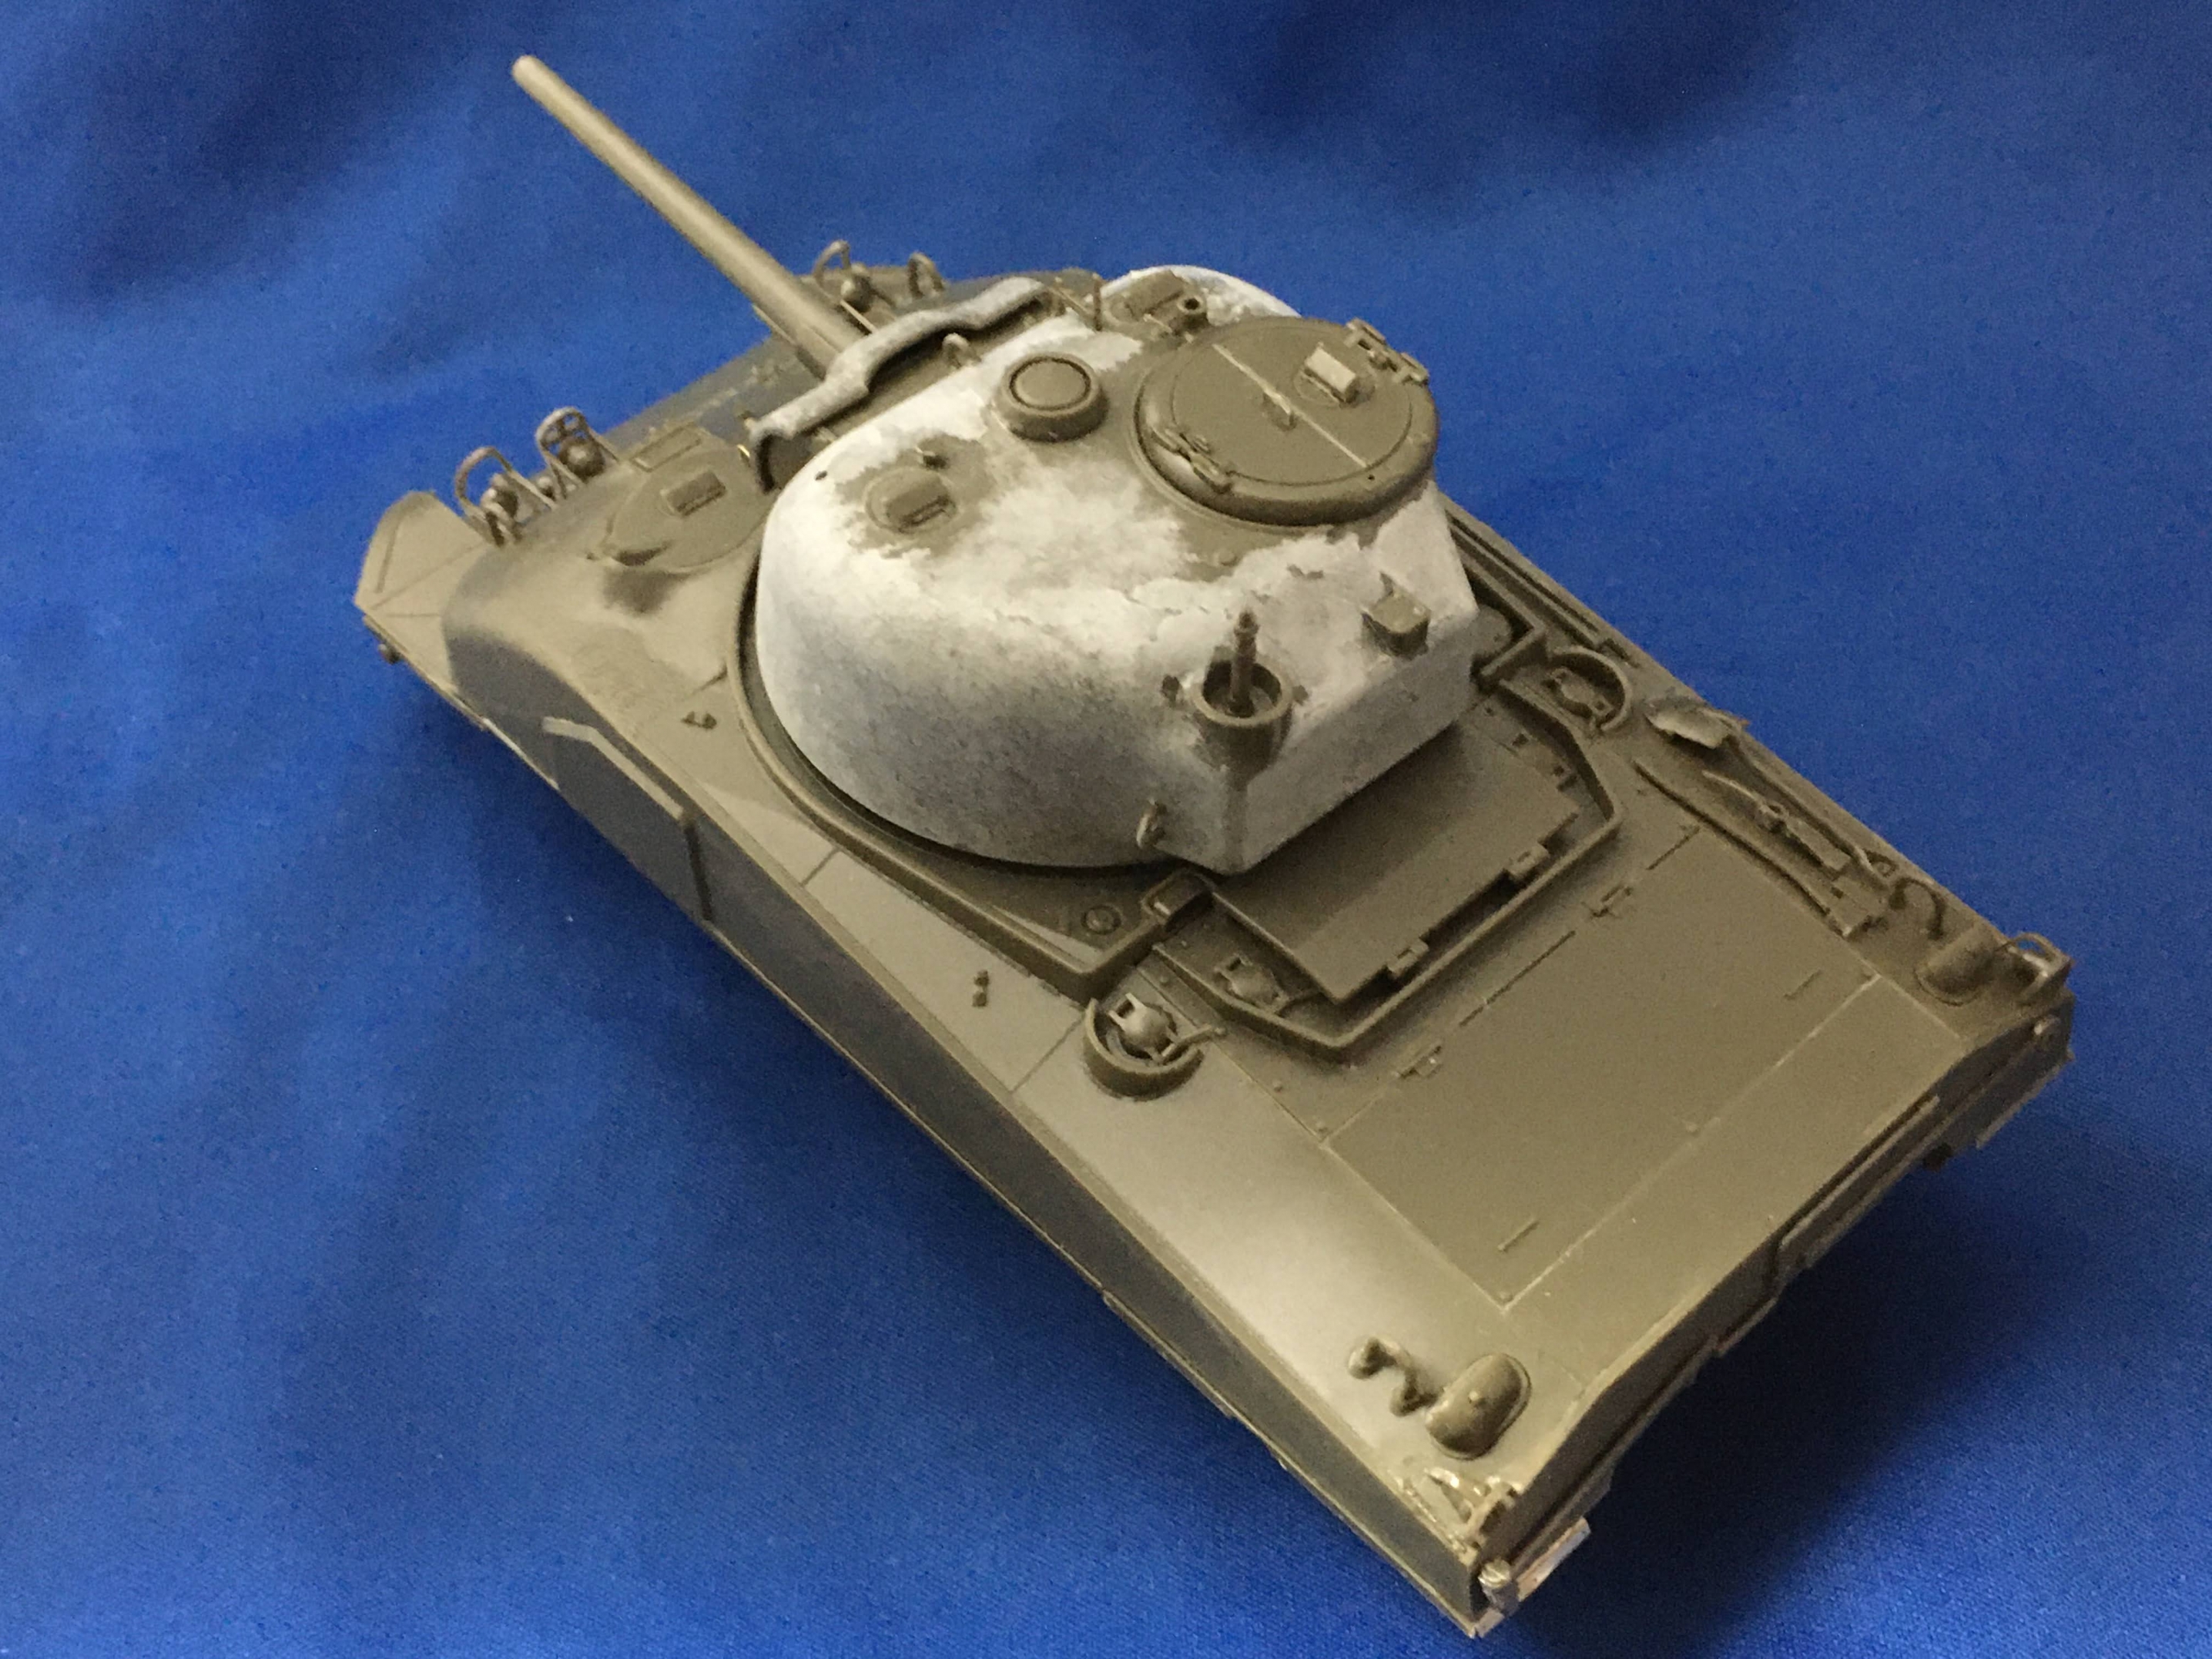
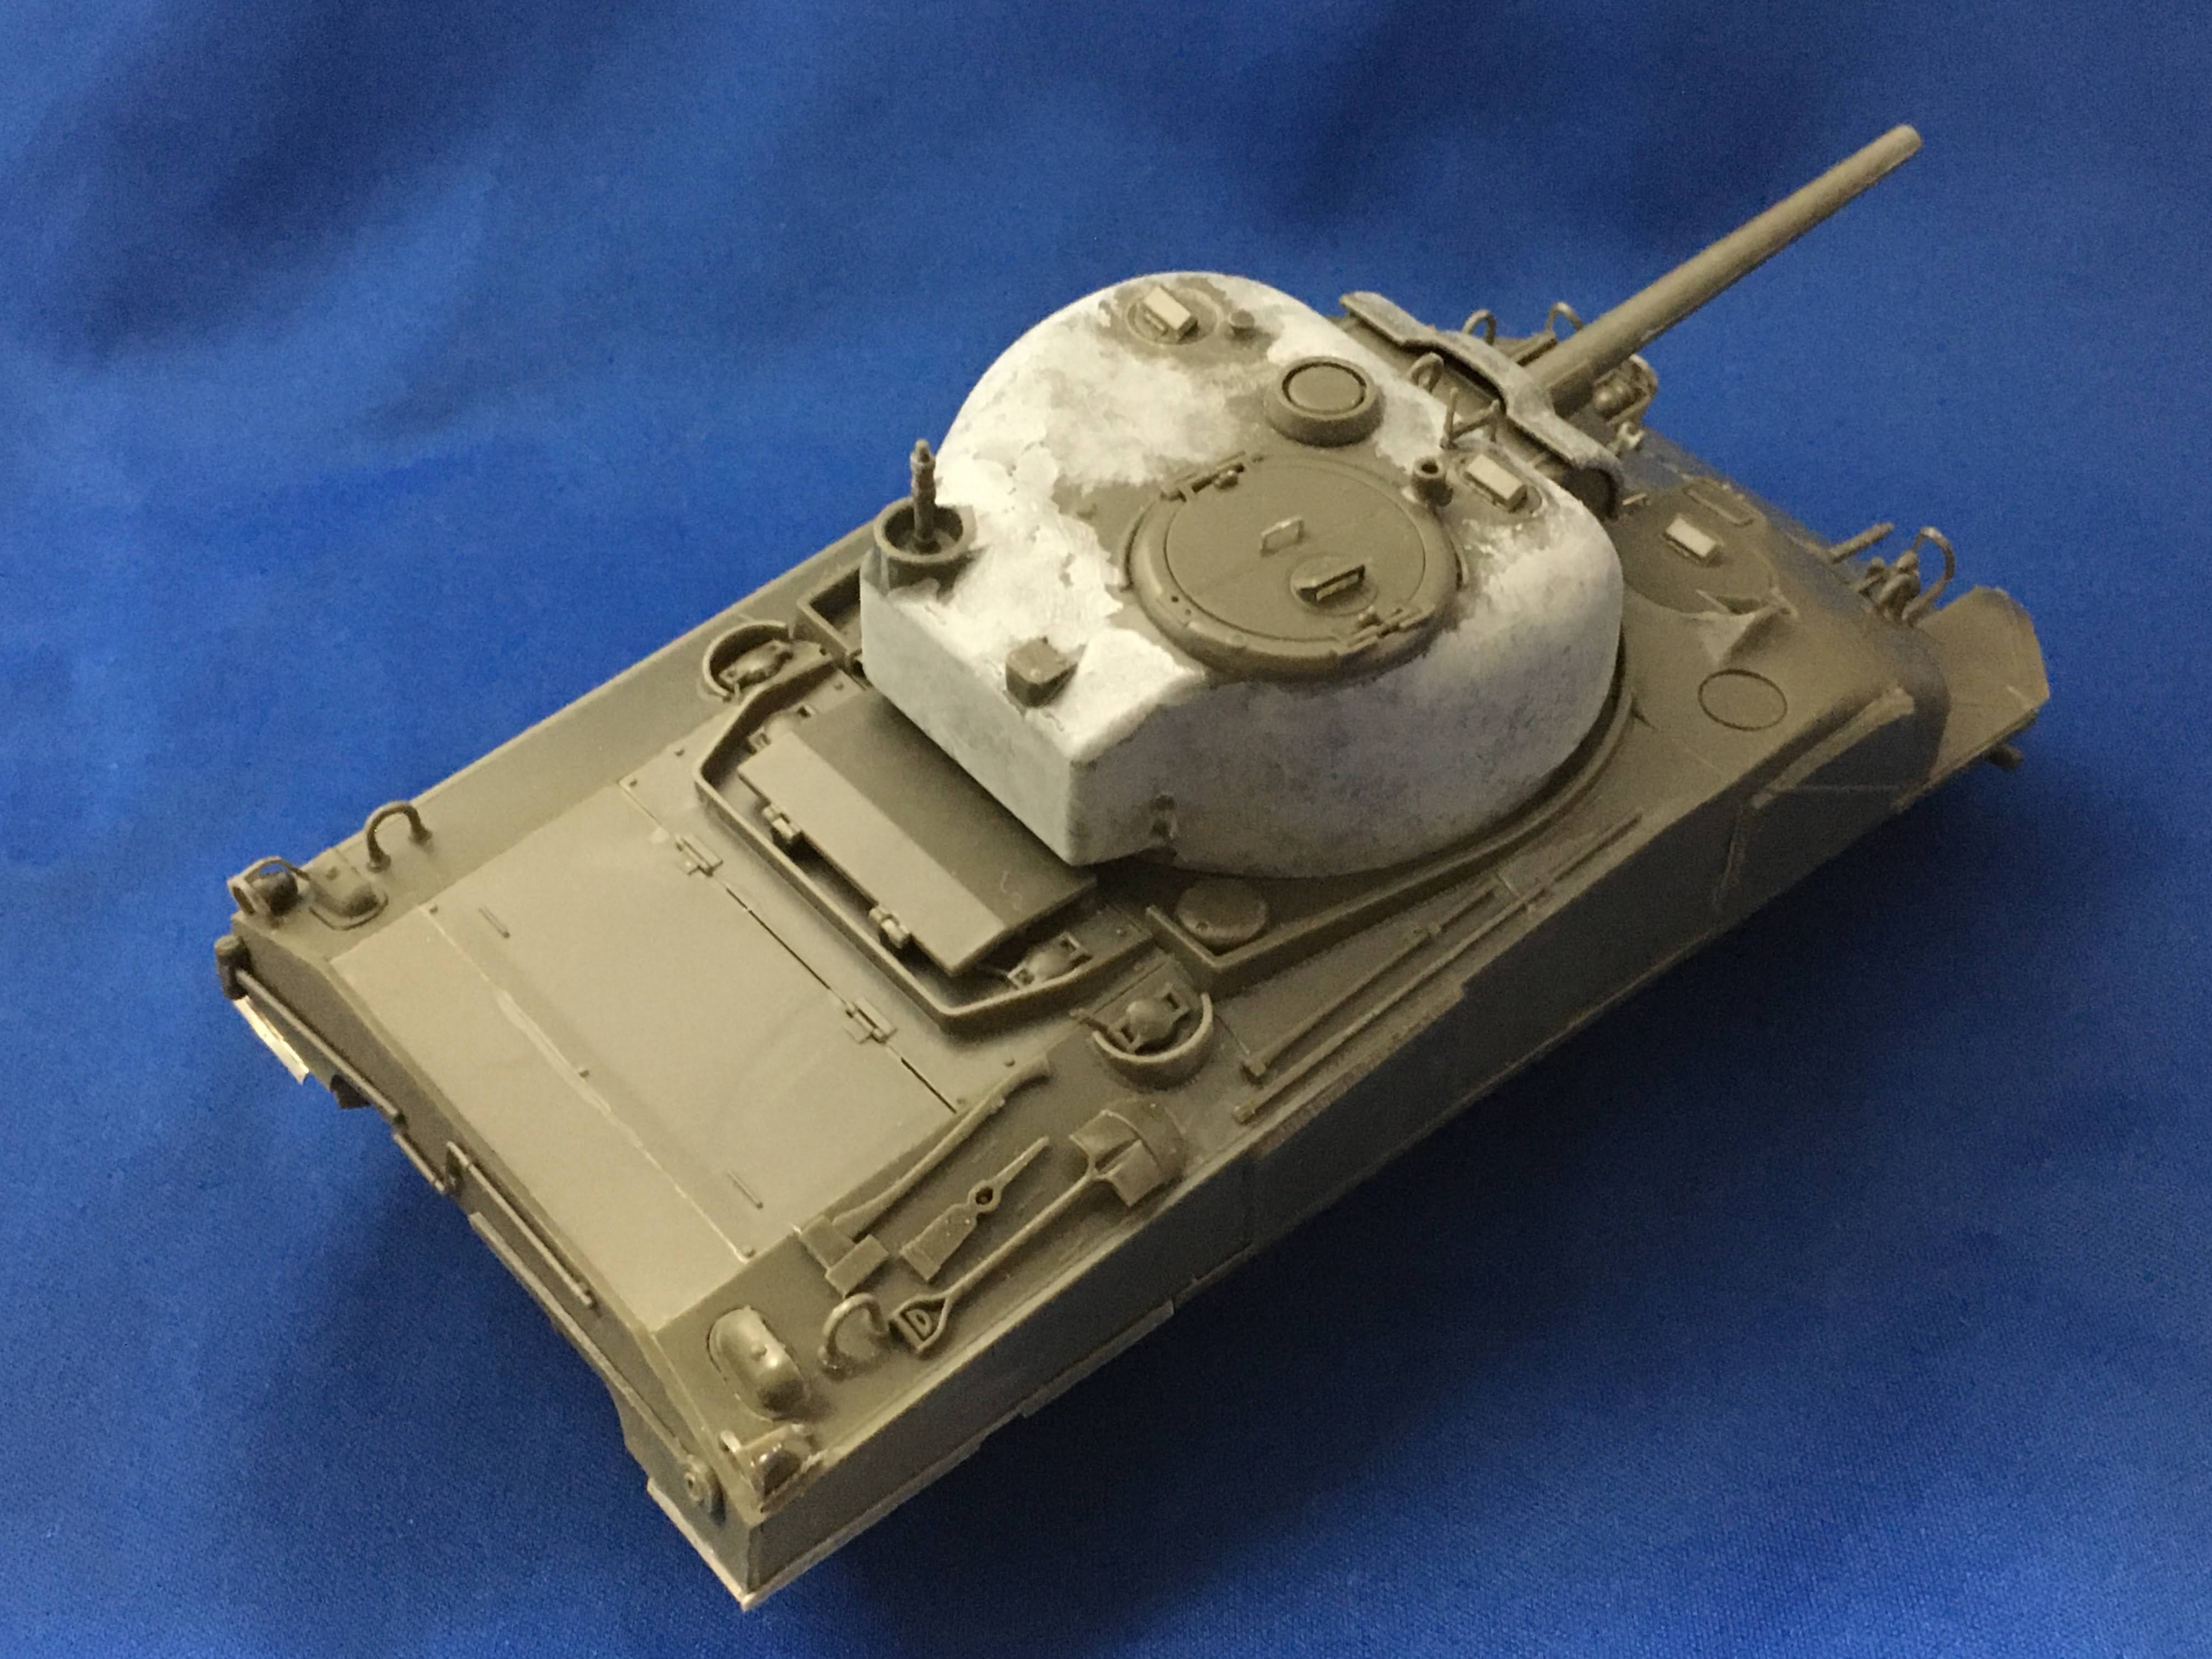
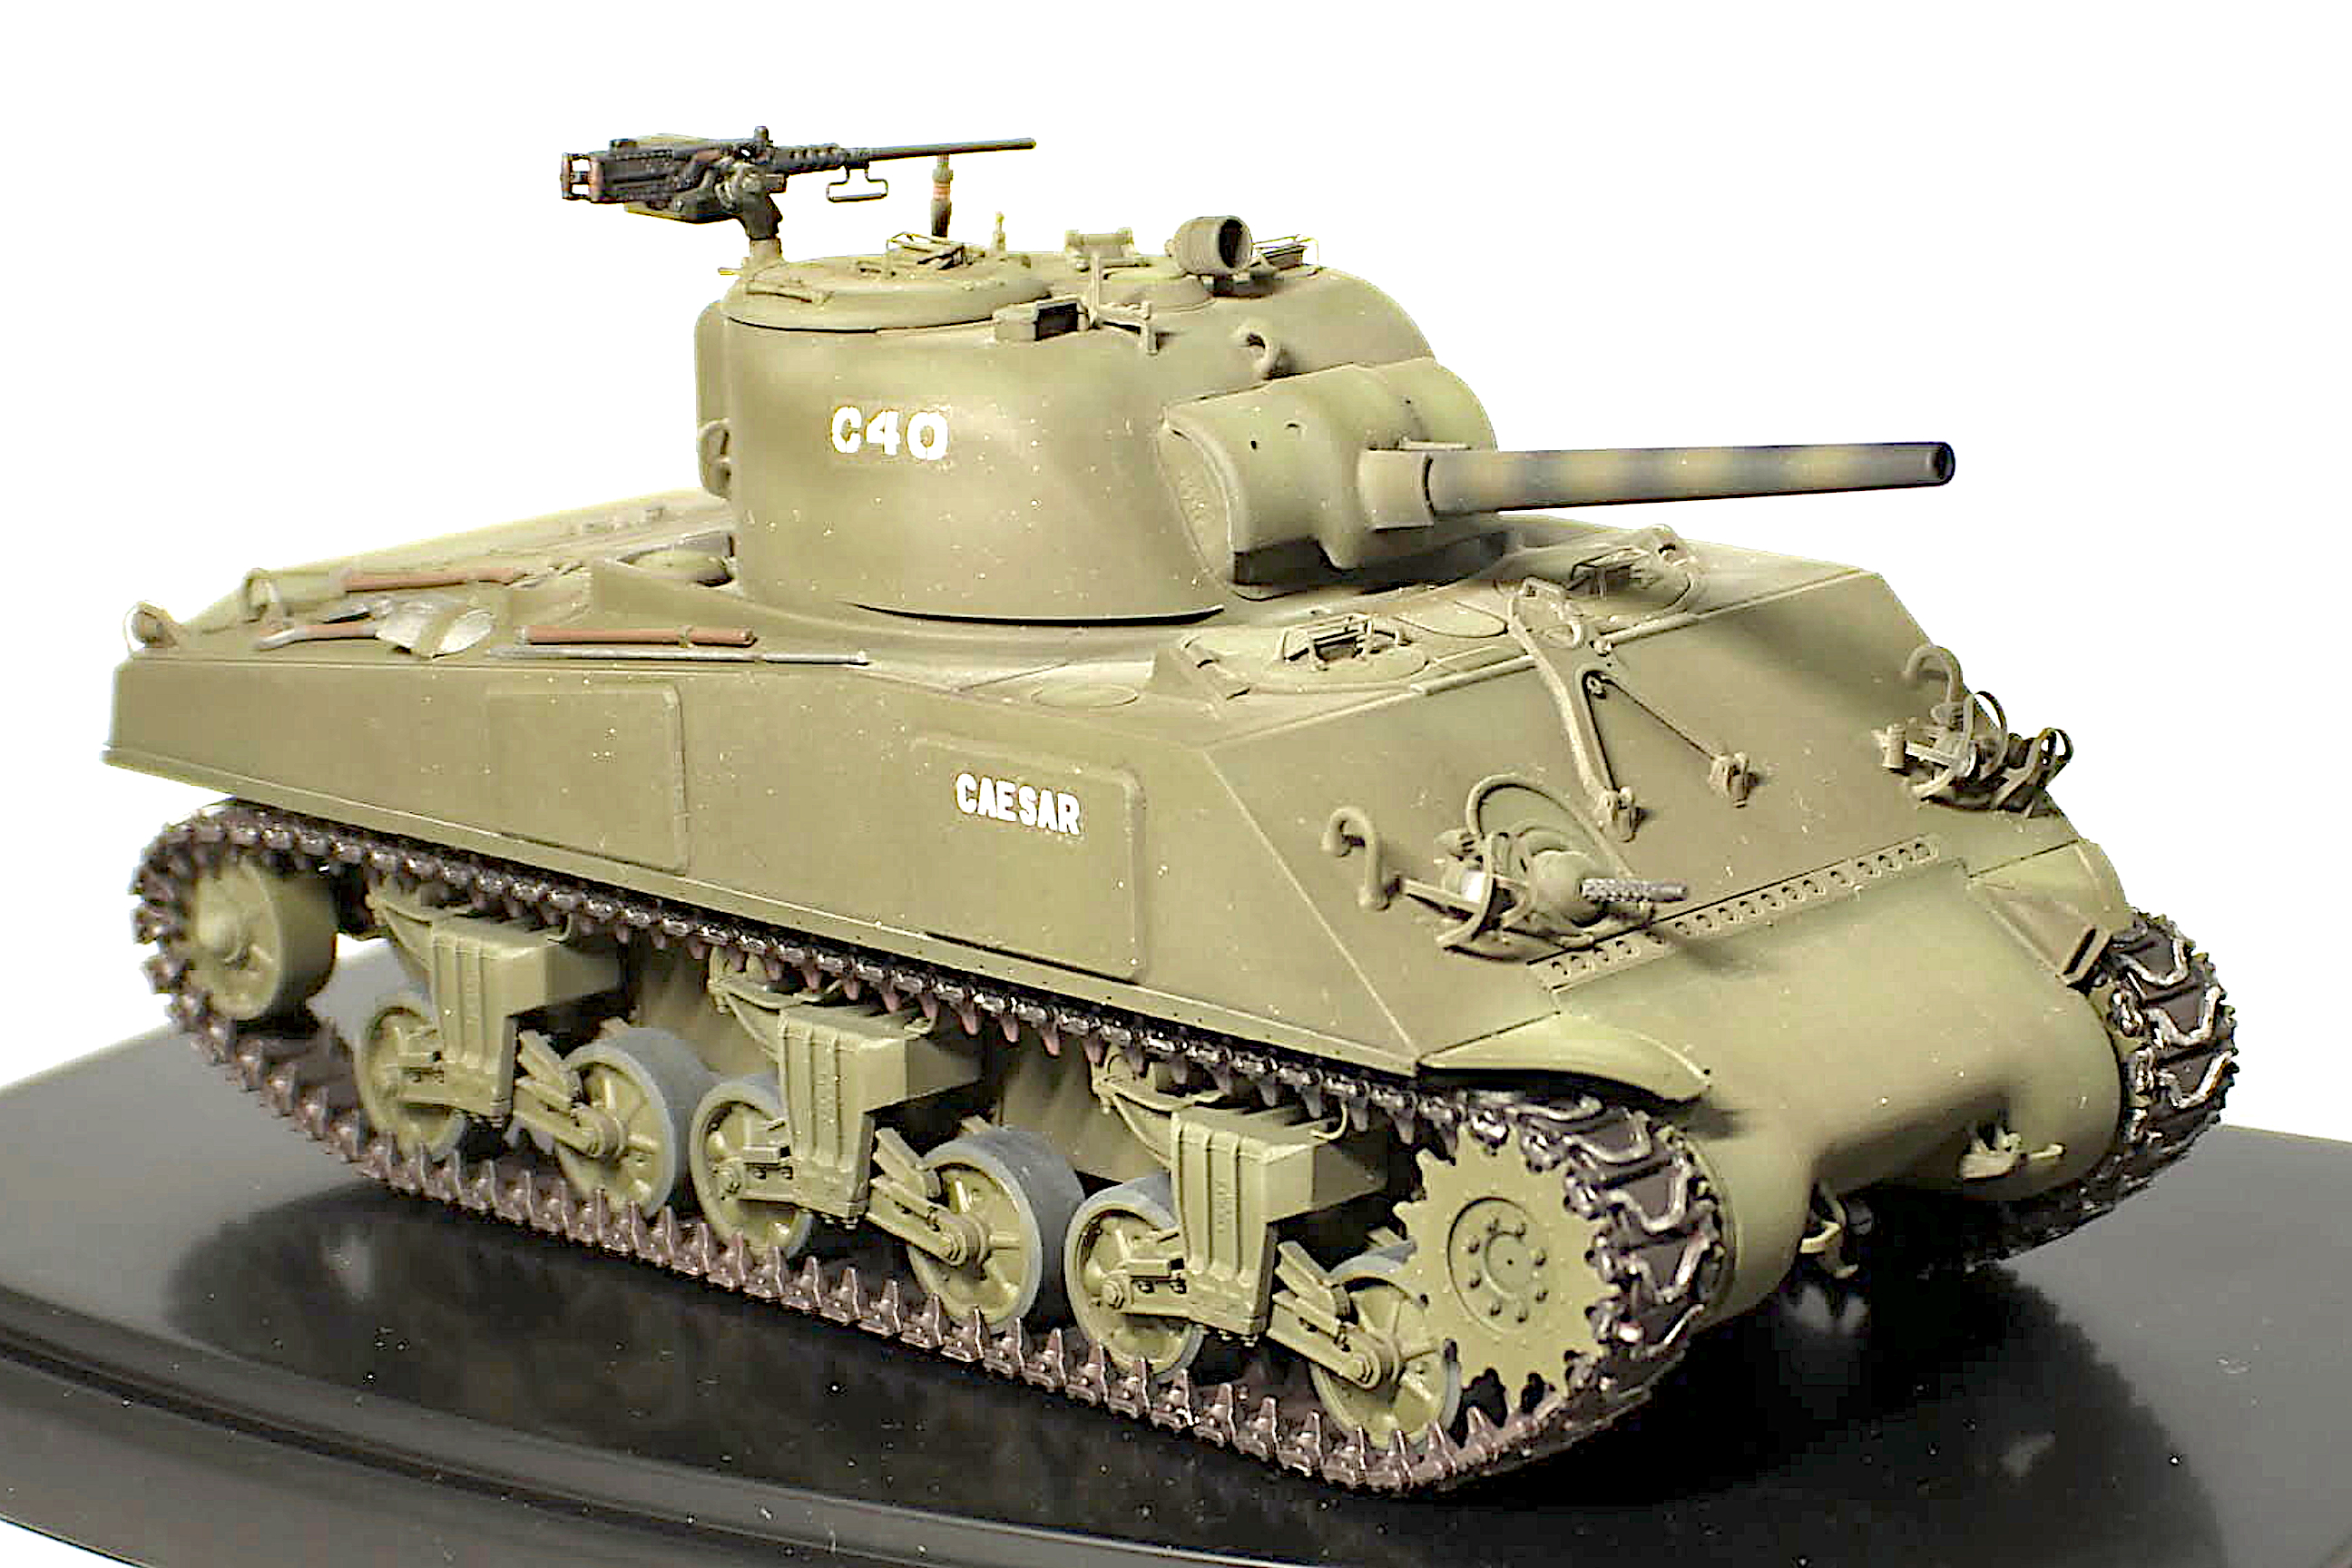
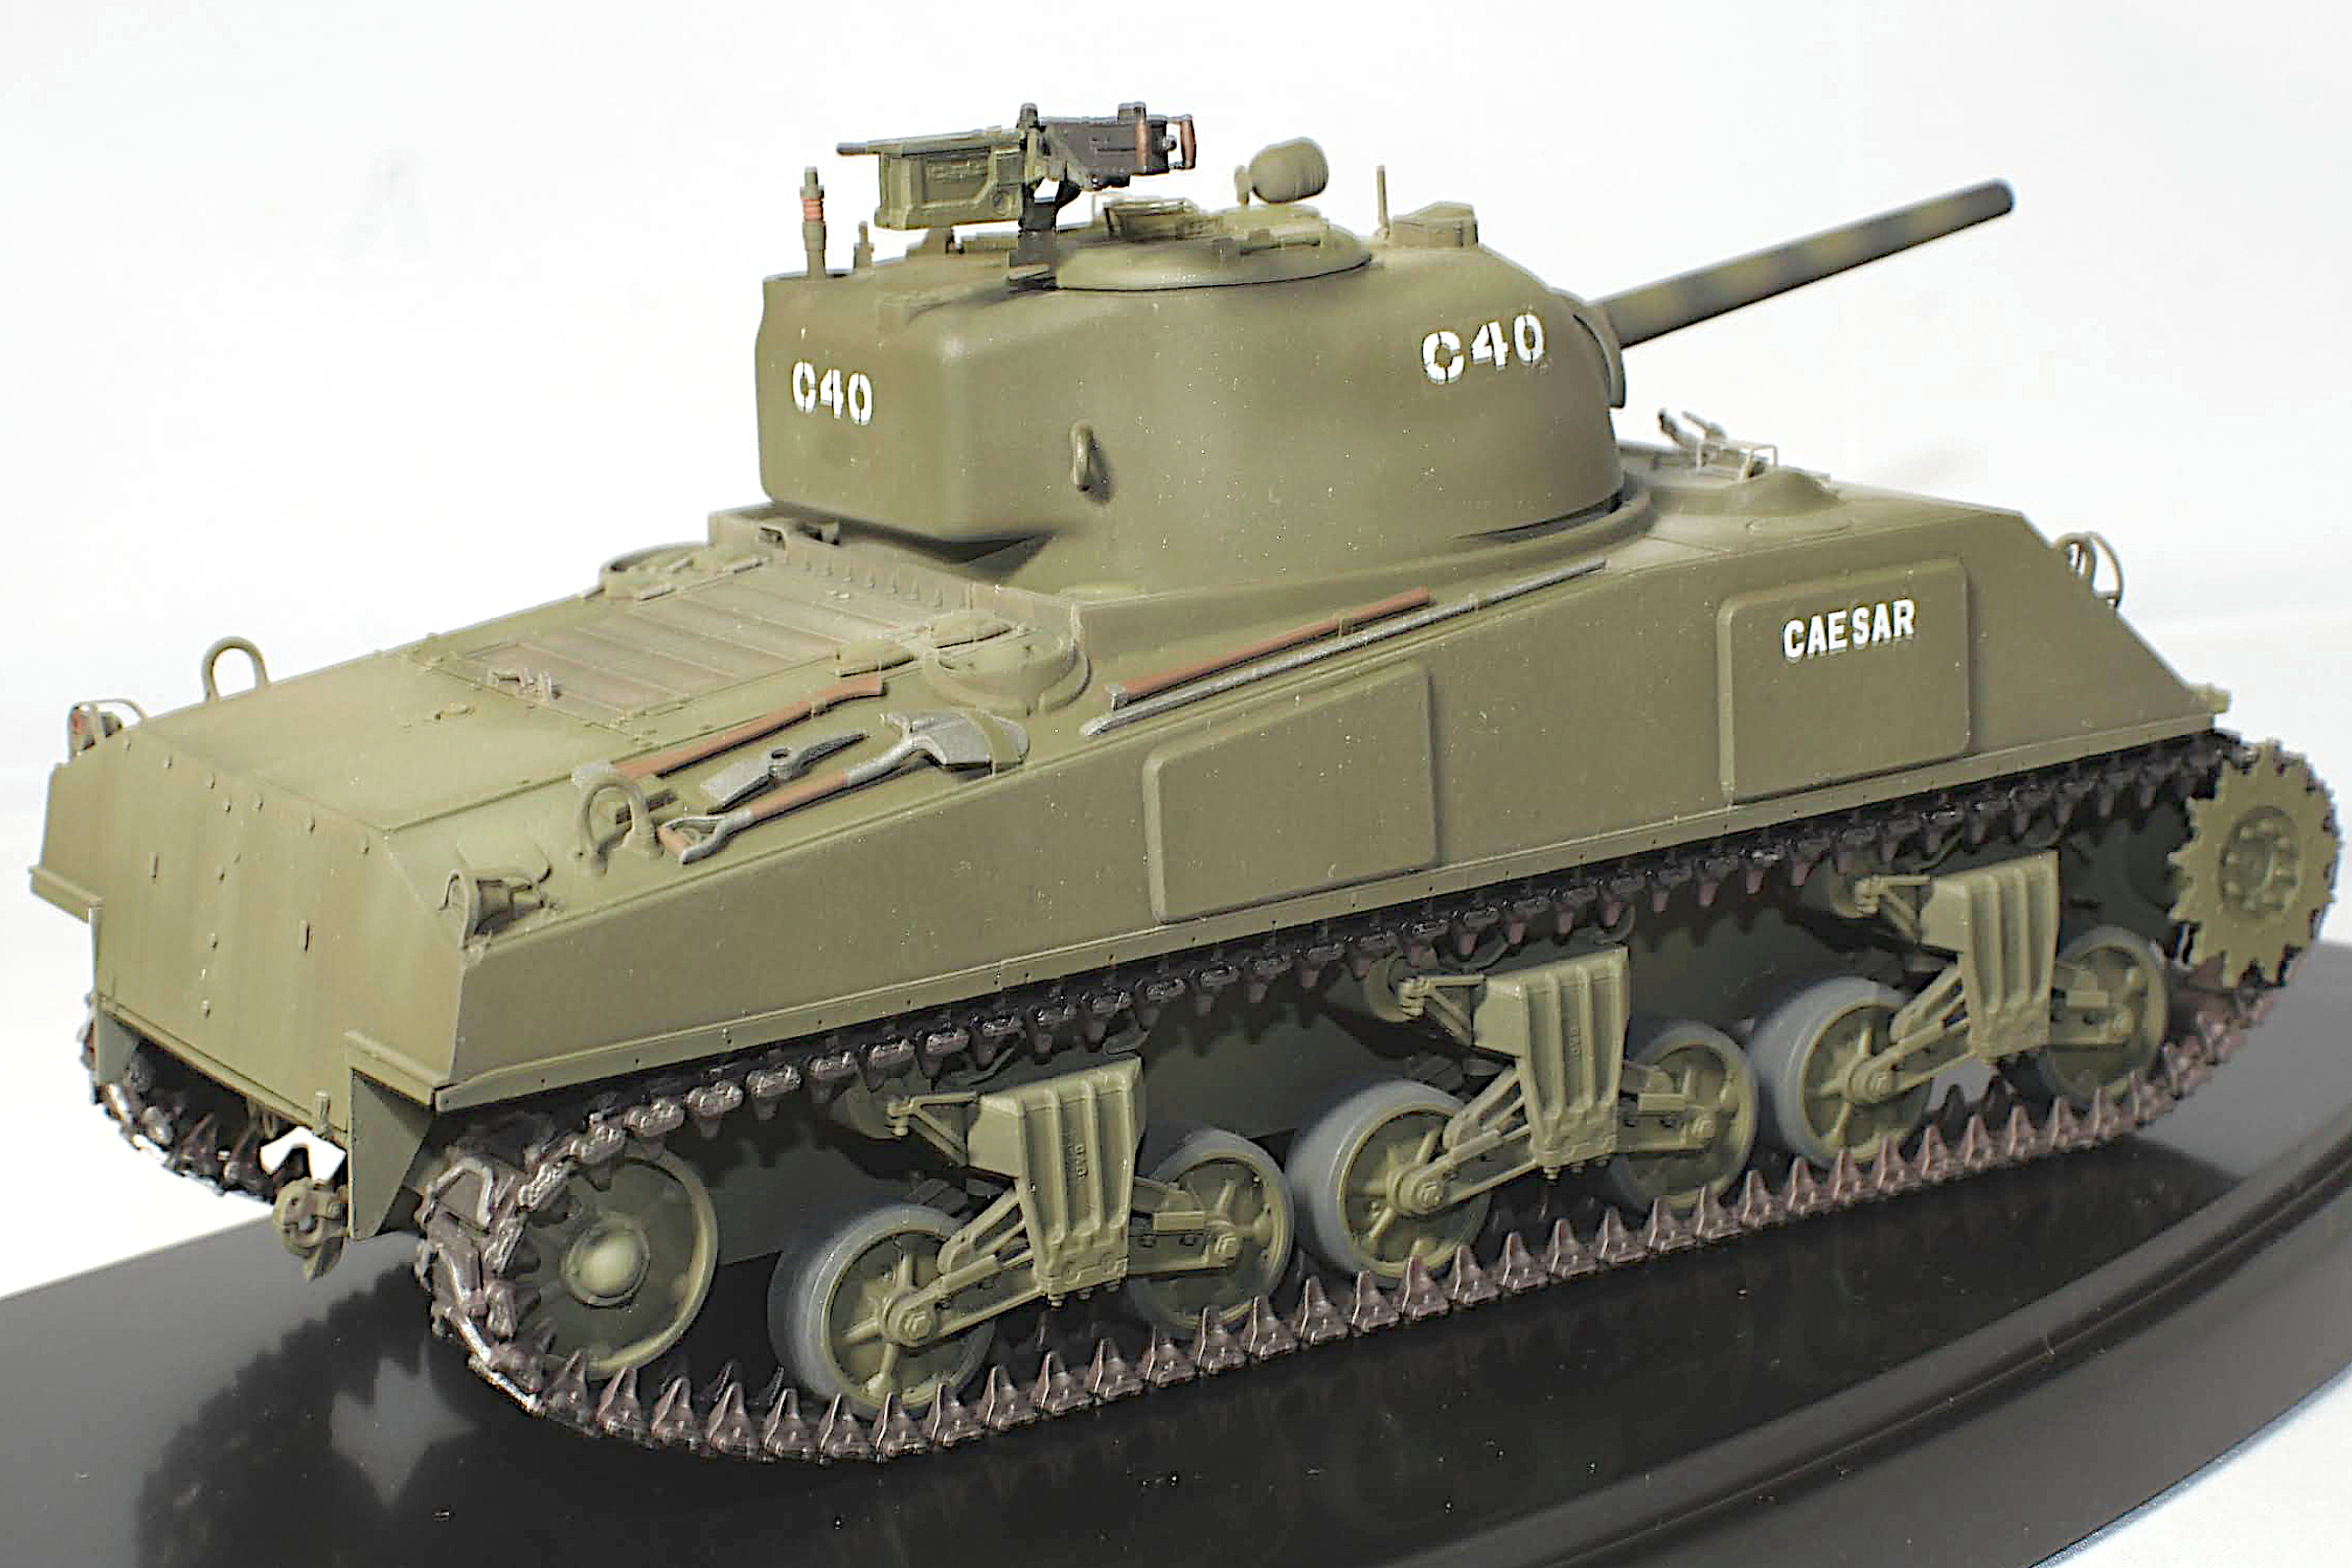
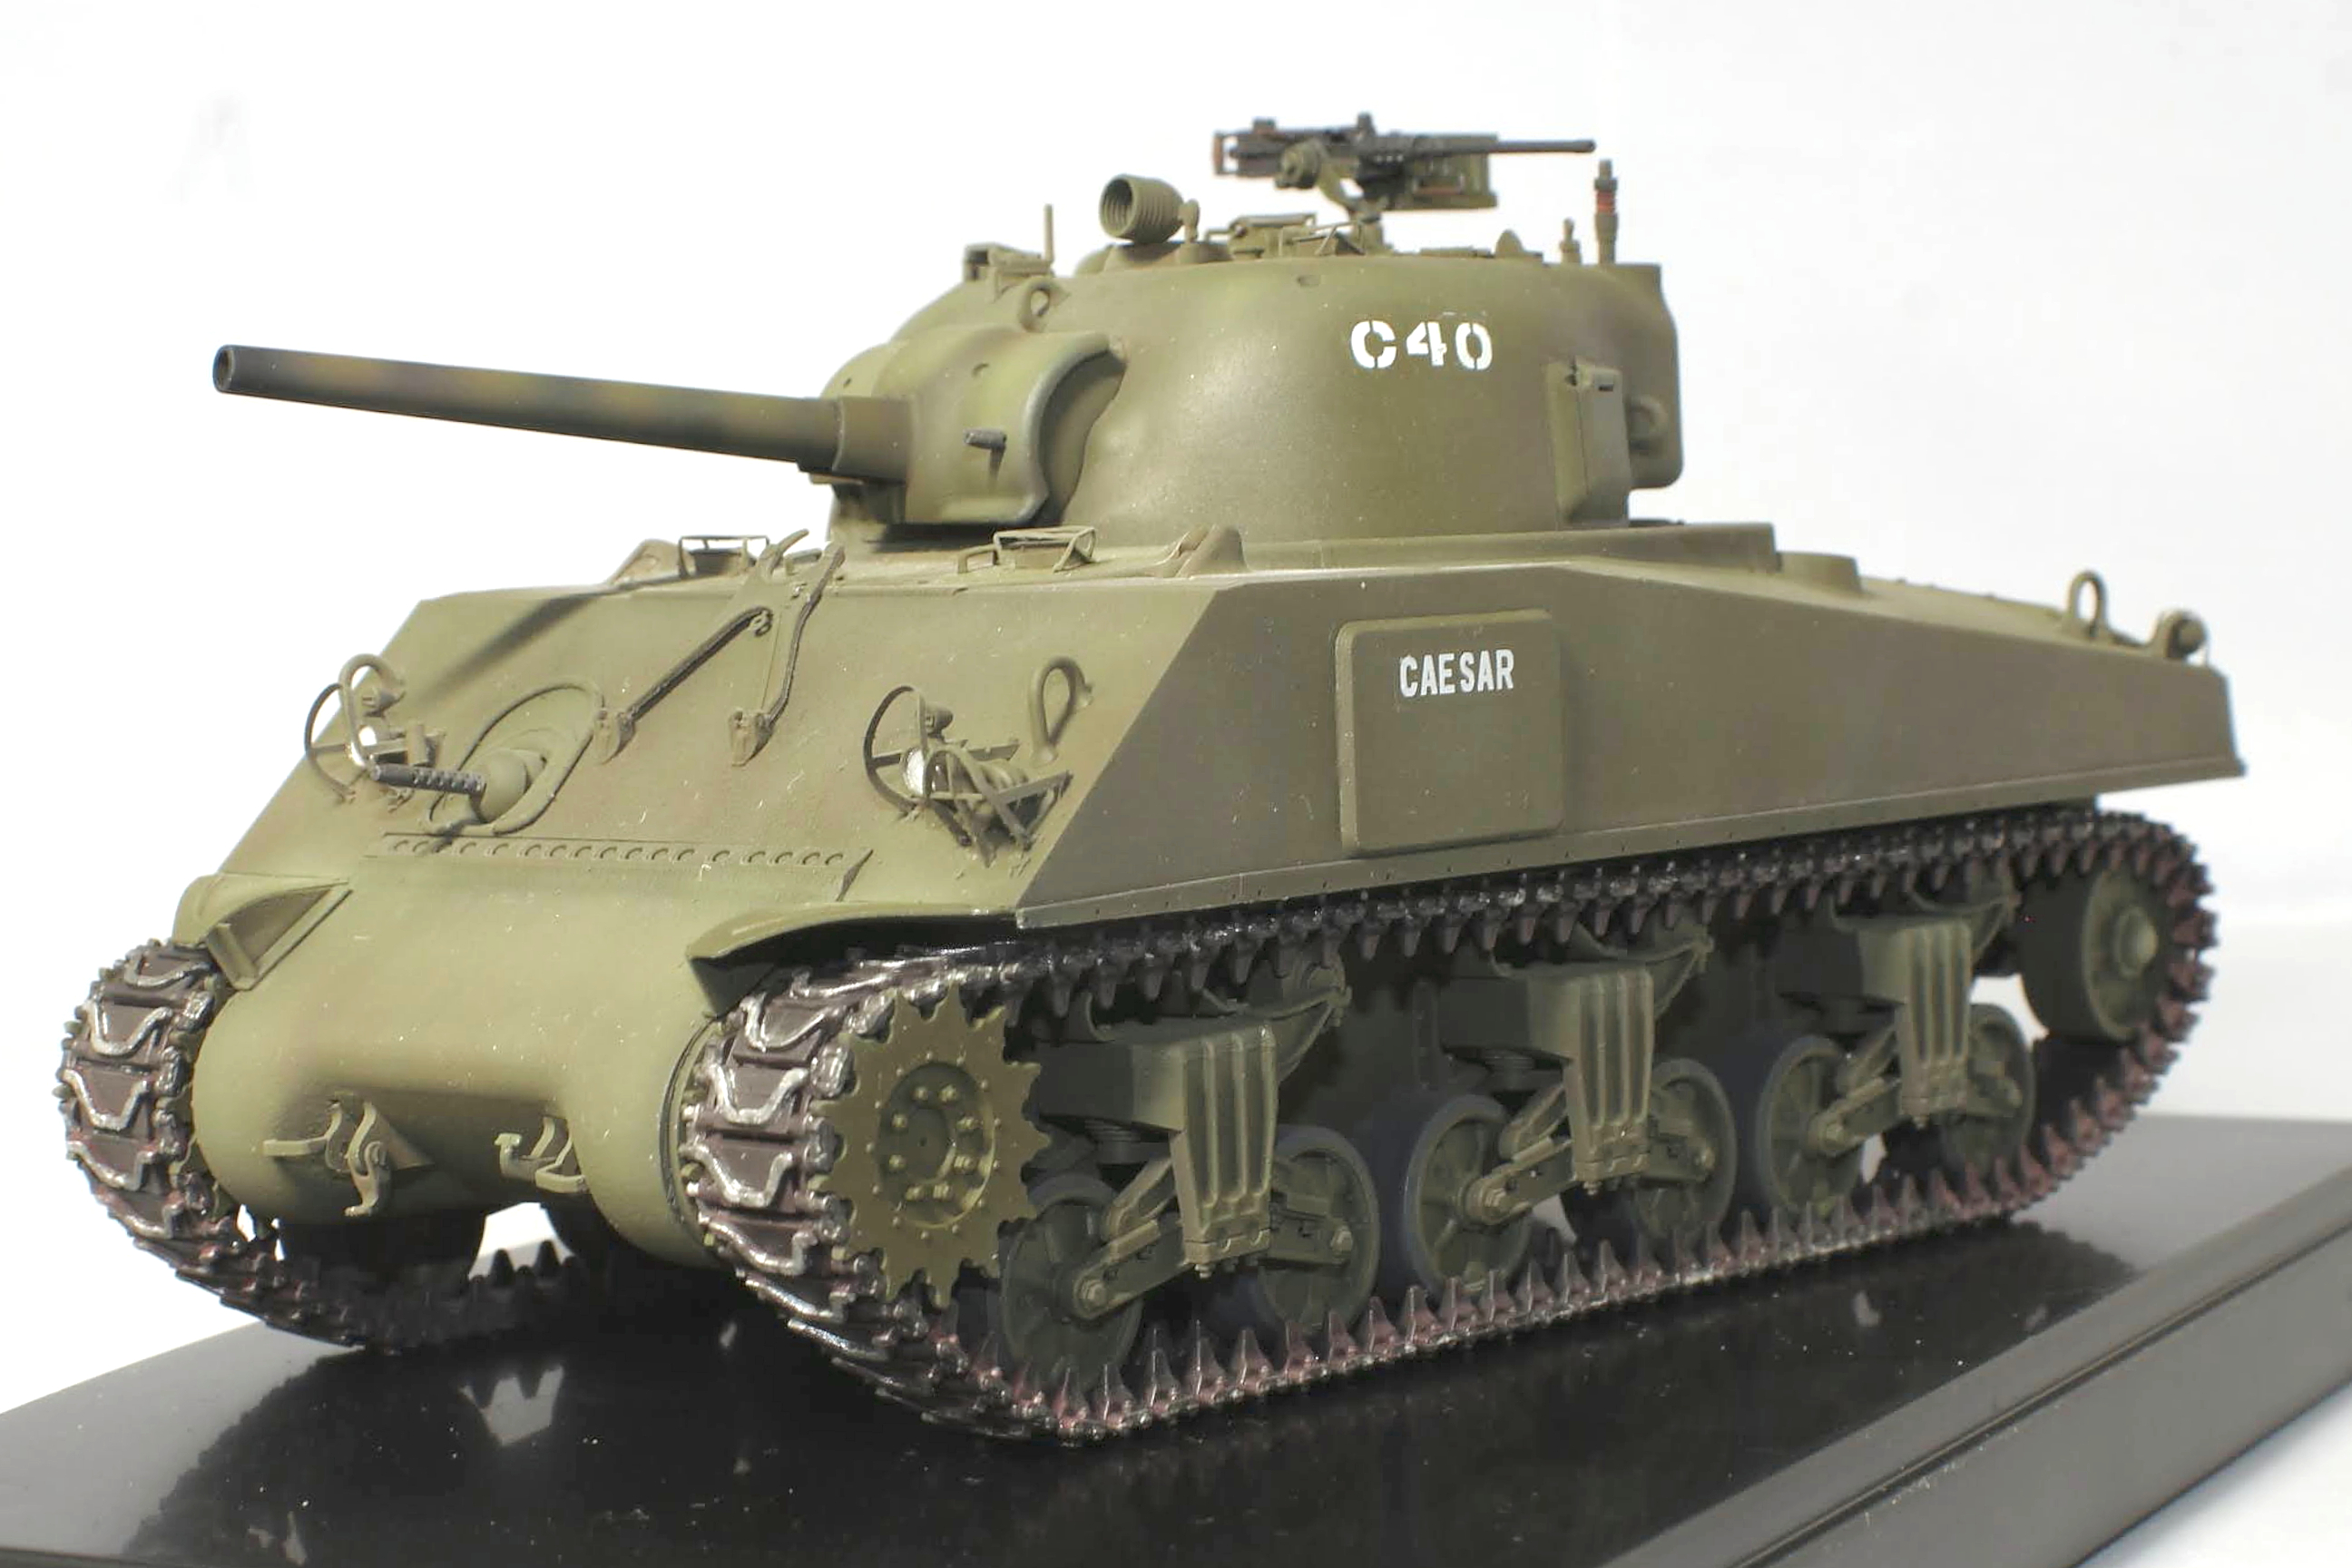
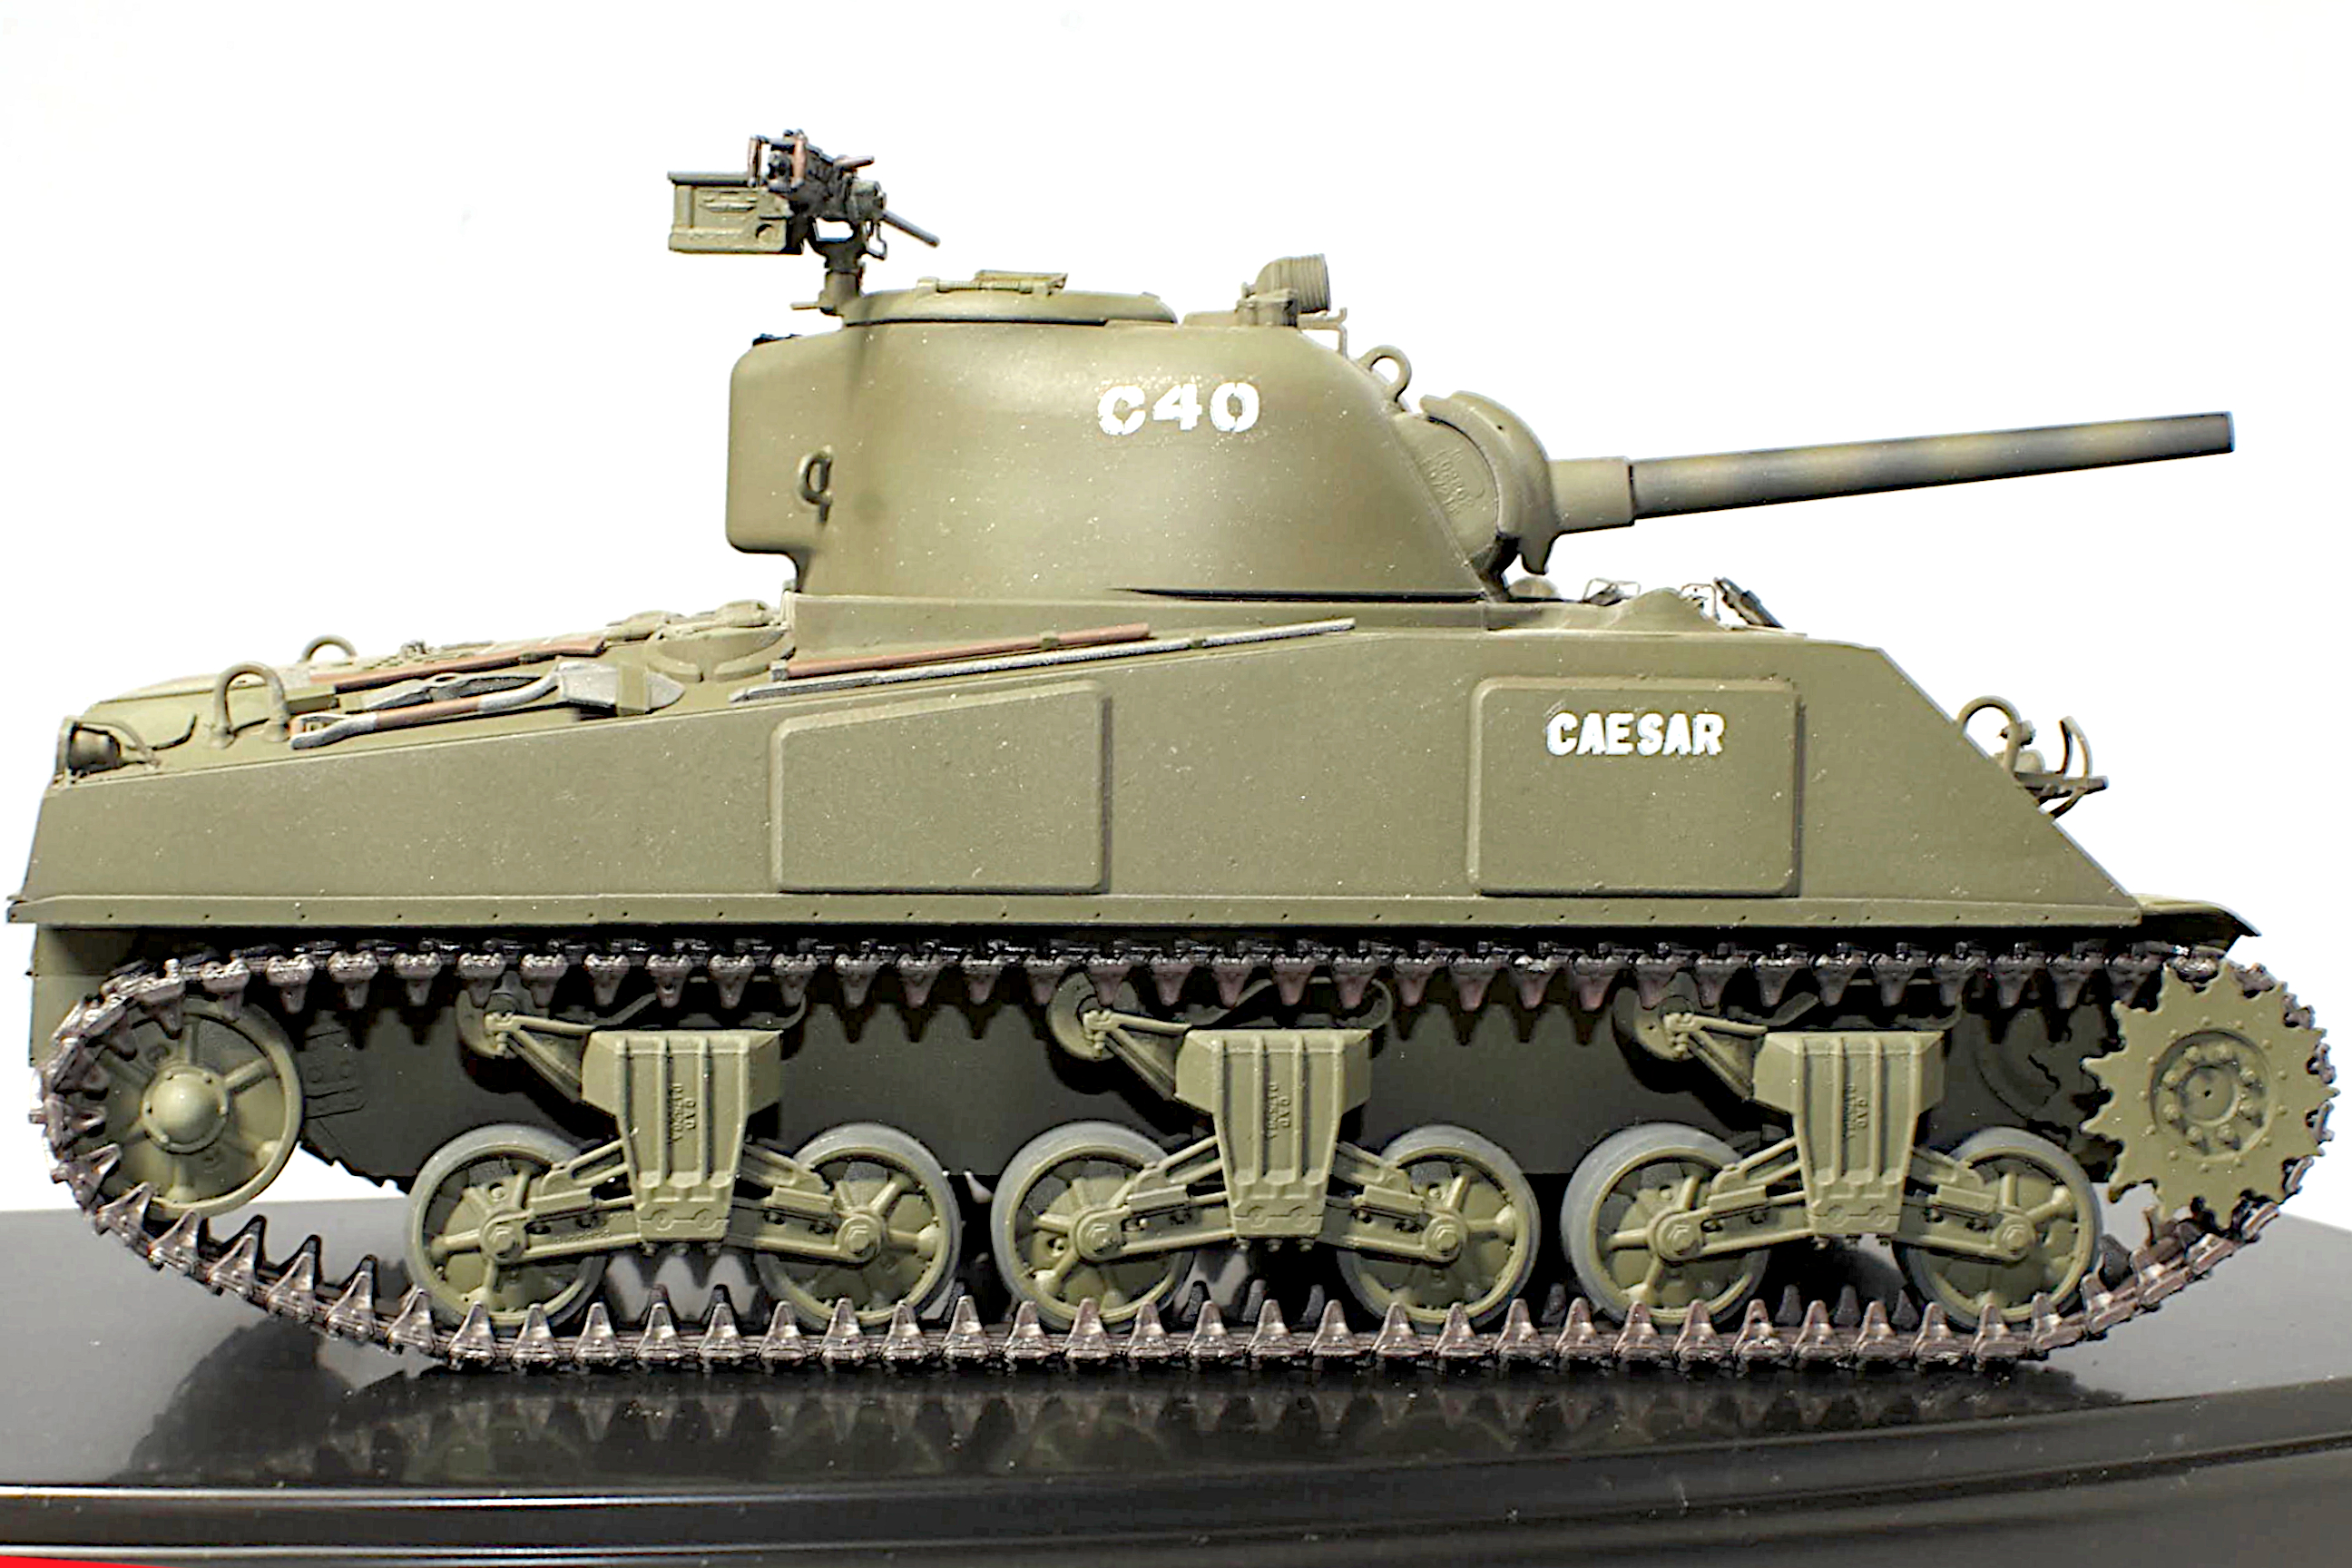
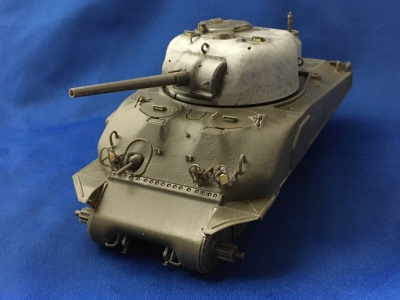
M4 コンポジットですが砲塔が組みあがり、ほぼほぼ完成状態になりました。

▲○△□が後ほど届くので今はこの状態です

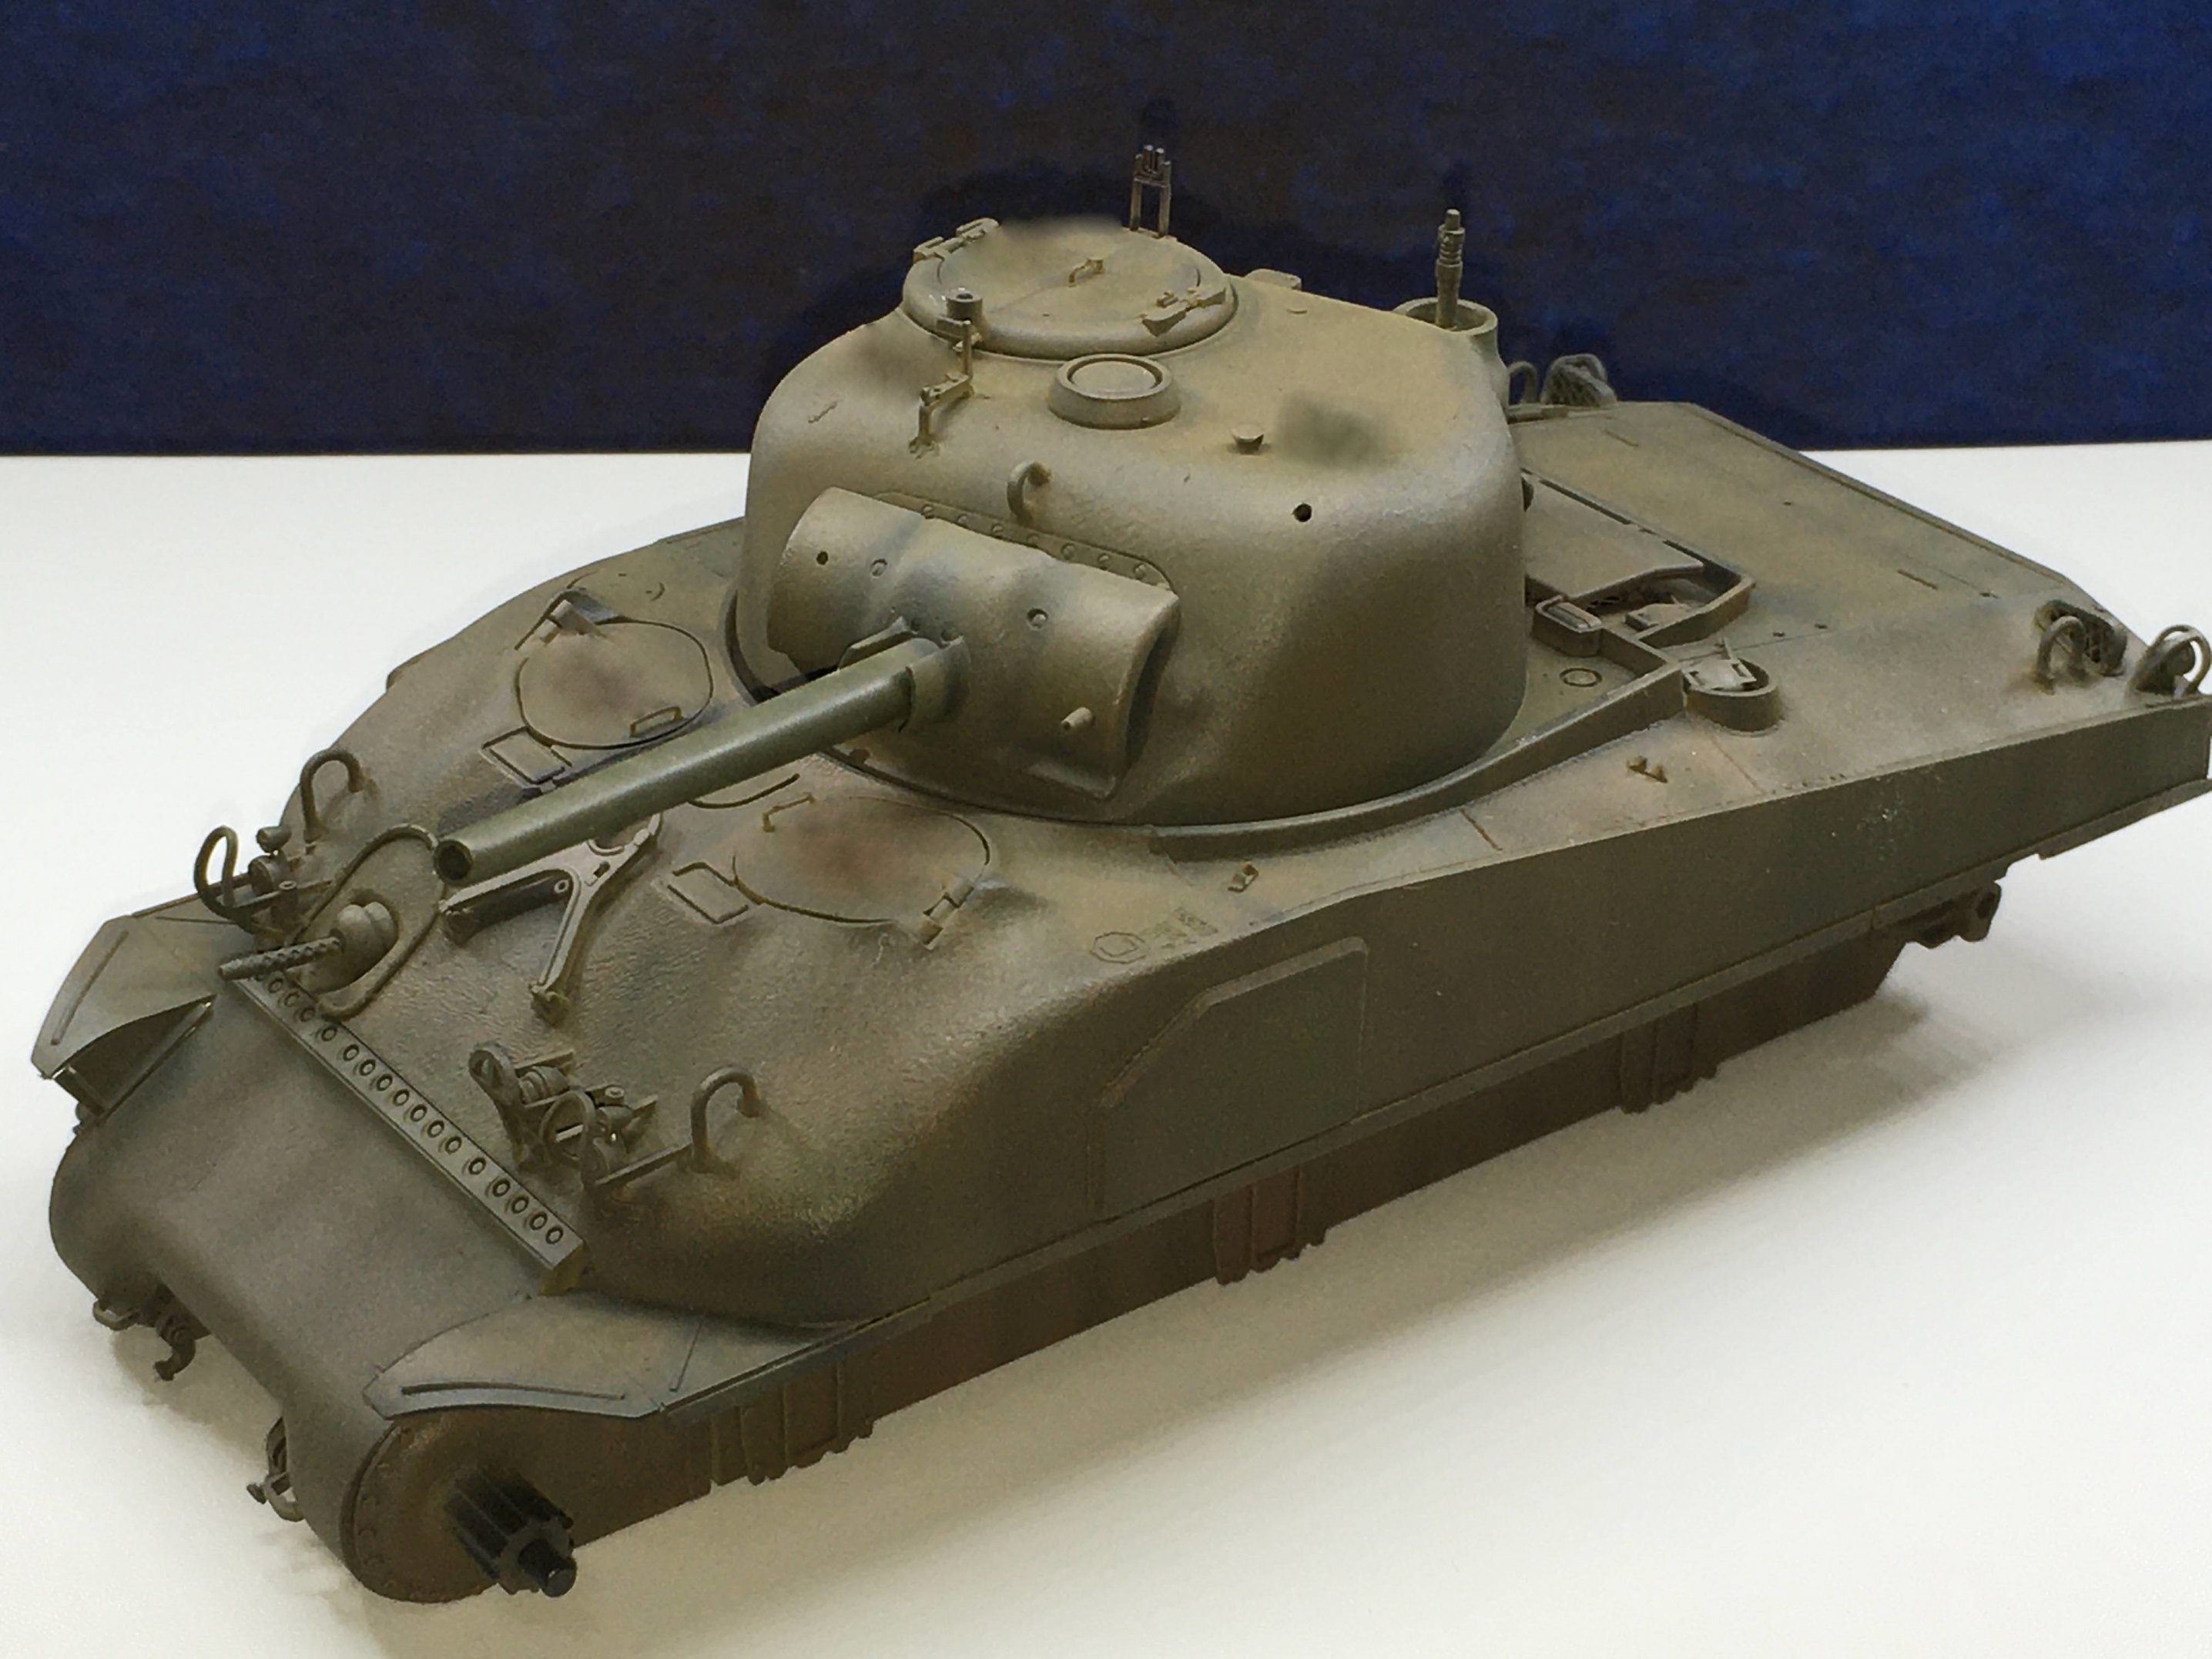
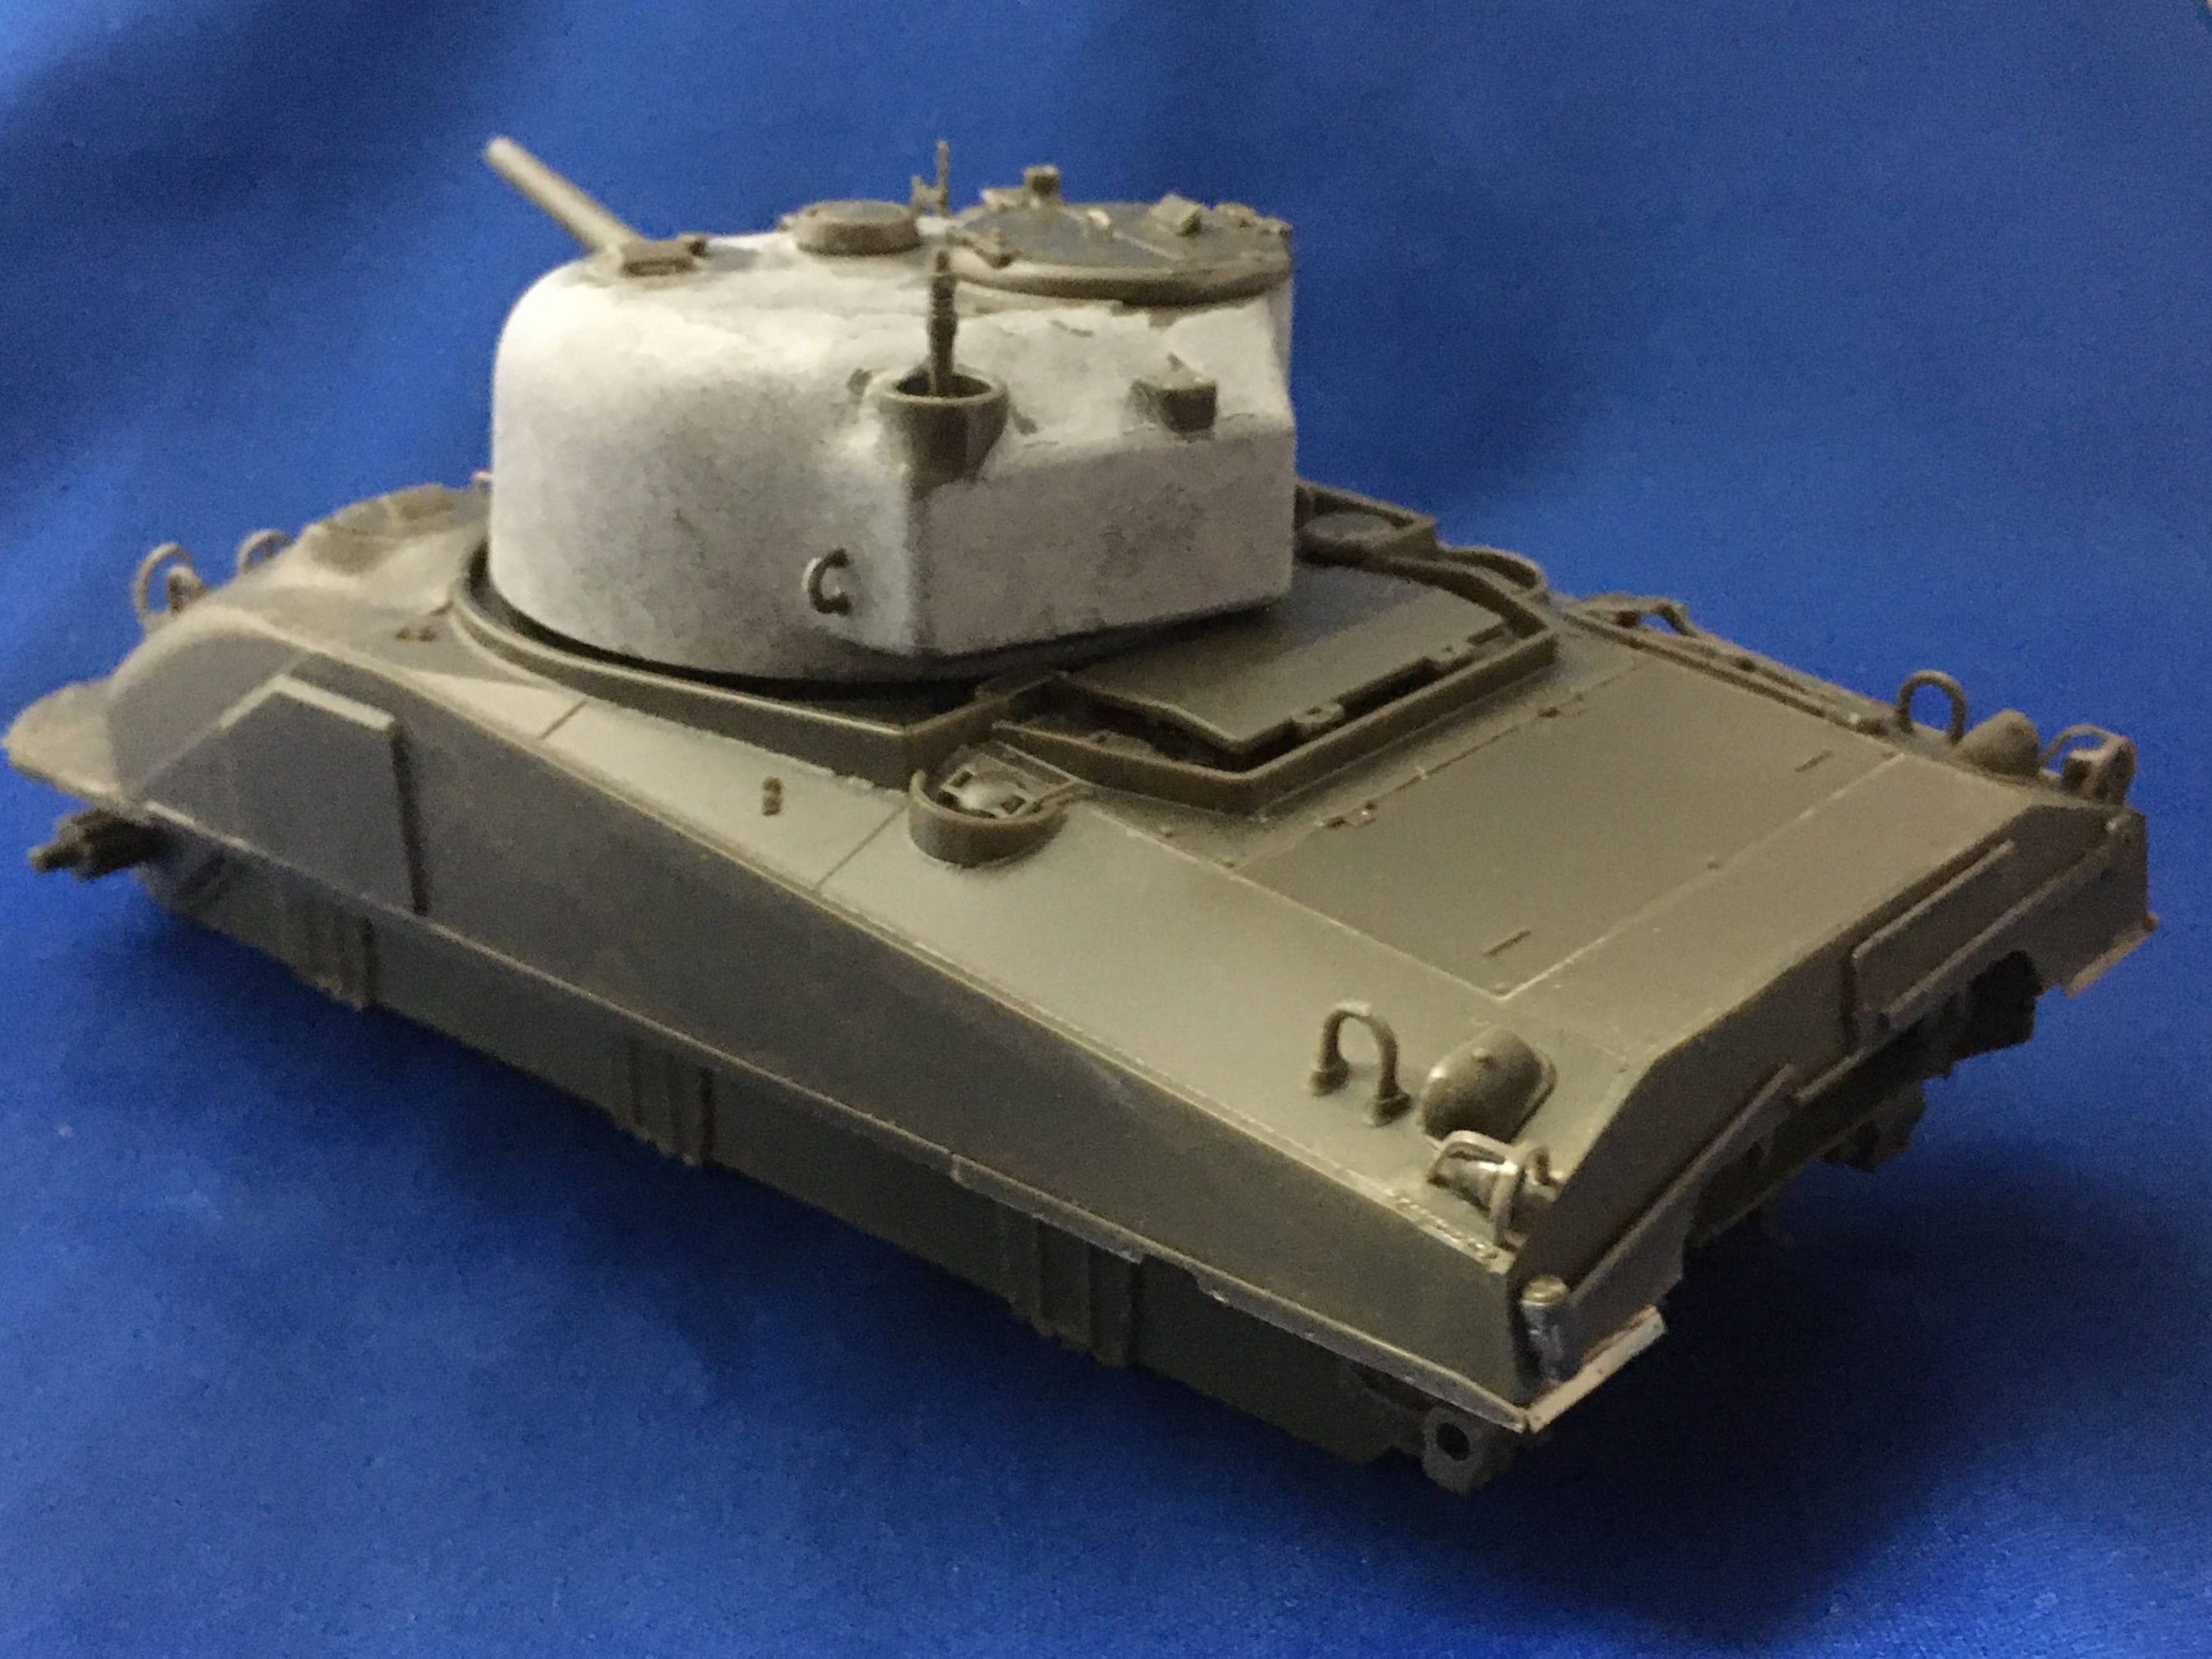
▲まるっころい砲塔にまるっころい車体がシャーマンっぽいです。

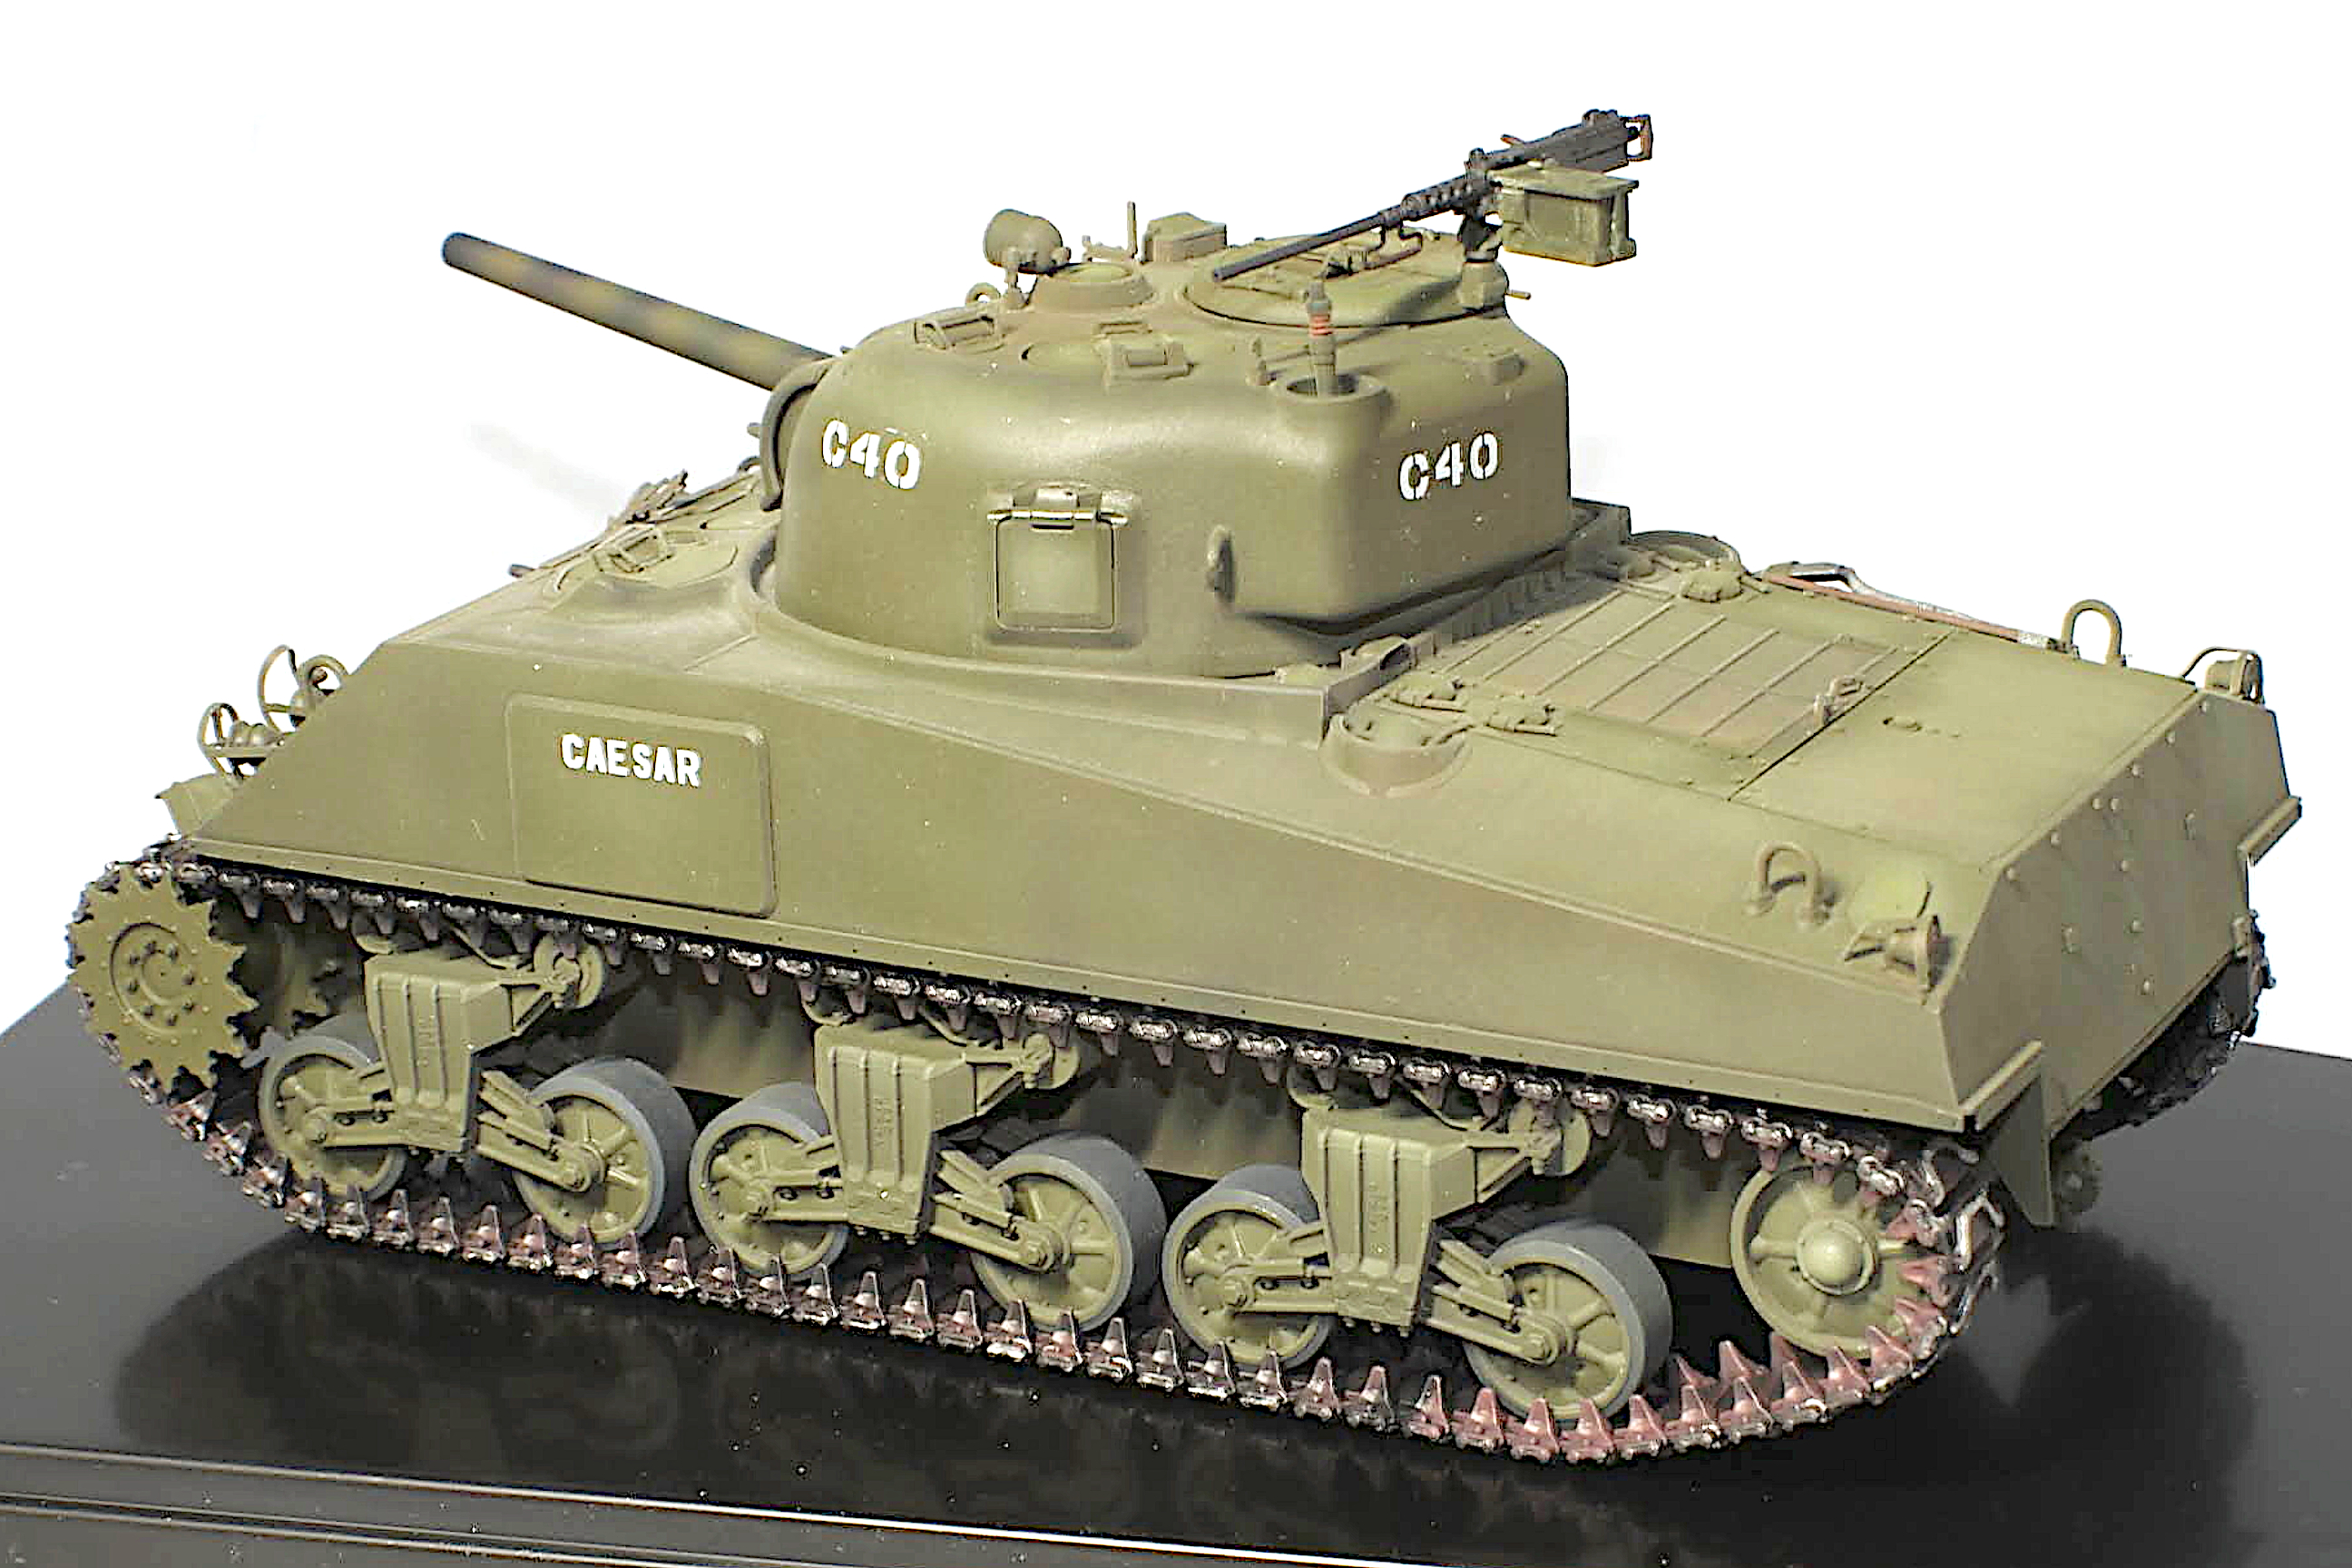
▲砲塔はパーツの合わせ目けしで表面がツルツルになったので
プラパテを叩き付けて、ボコボコにしてみました。
▲ええかんじです
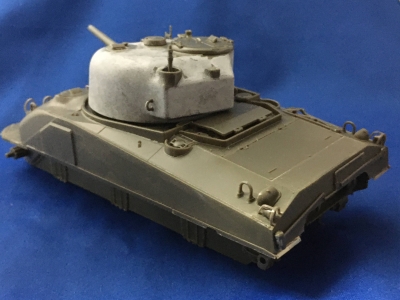
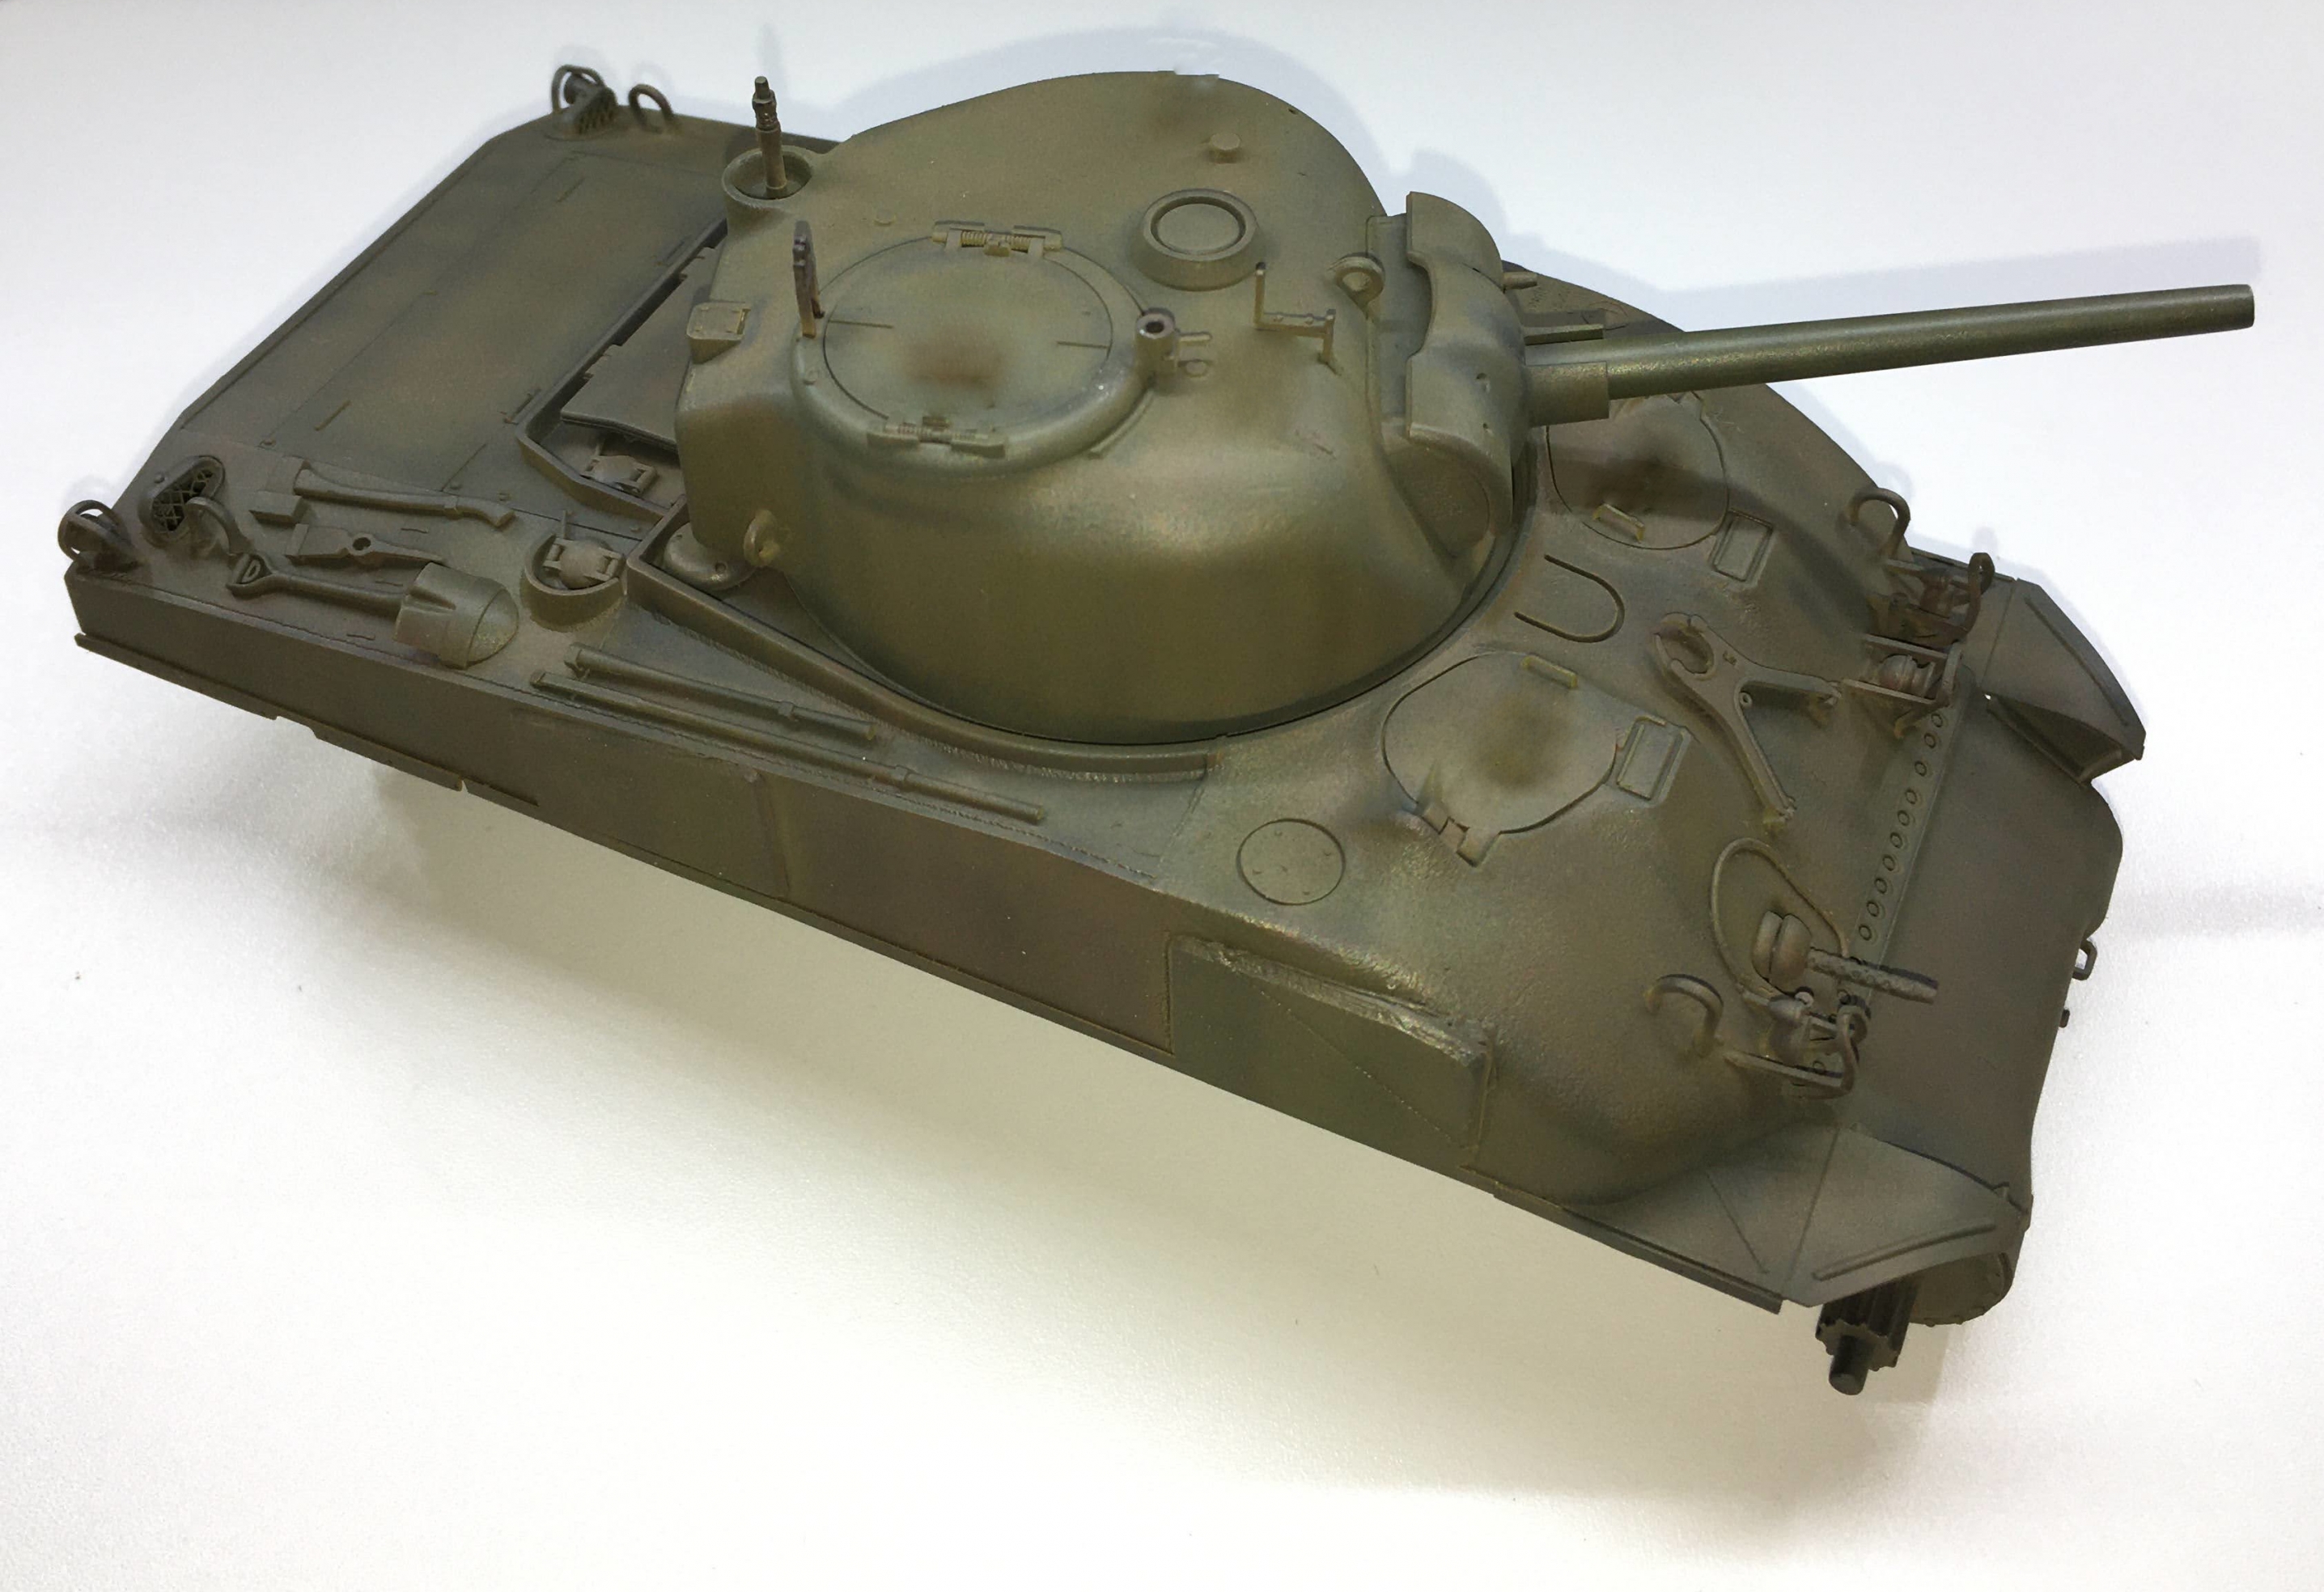
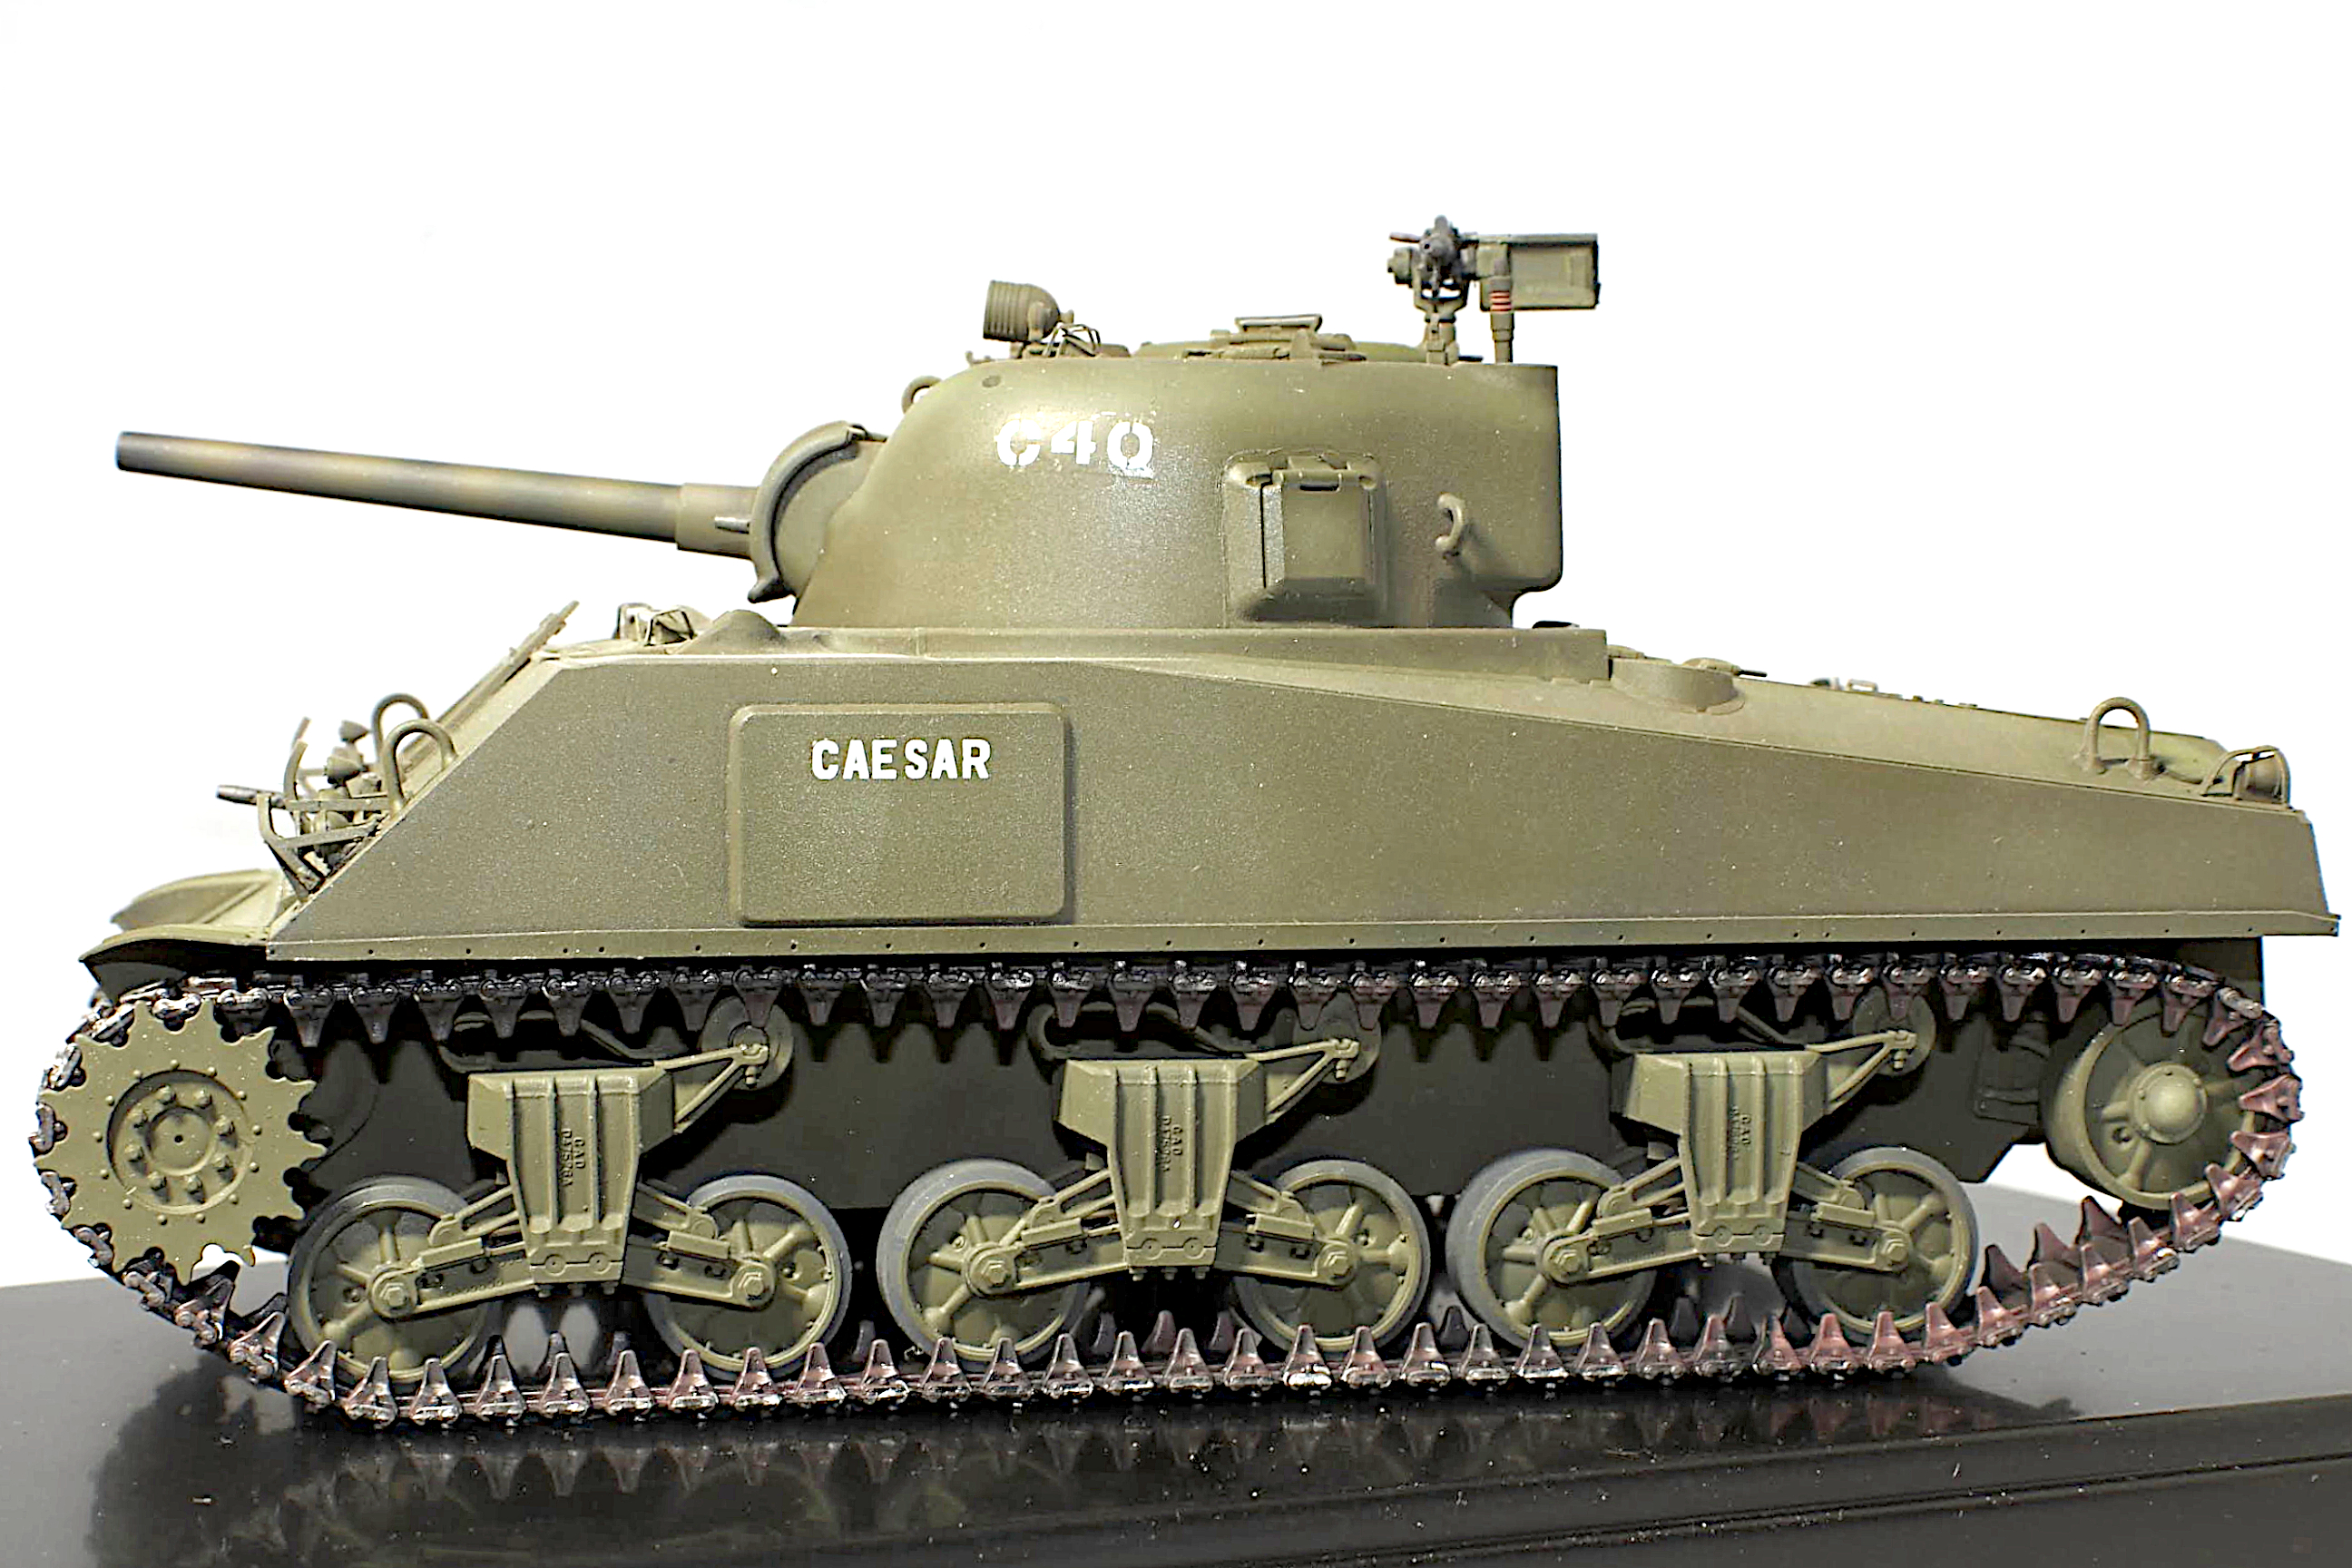
▲後方より。
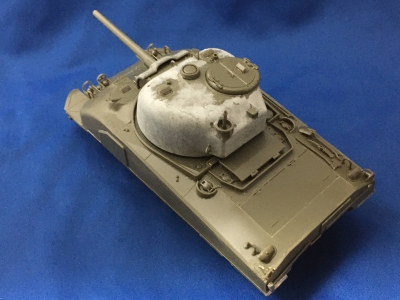
▲車載品はキットのままの様なので、右側に全て配置しました

▲この後、ガイアカラー・マルチプライマーを吹きます。
デワデワ!!
**********************************************
Welcome to Ru ~ mu 335
It was the new year of September at the earliest.
October-December Holidays are only available in November.
Let's adjust our body and do our best.
Although it is an M4 composite, the turret is assembled and it is almost completed.
▲ ○△□ will arrive later, so it is in this state now.
▲ The round body looks like a shaman in the round turret.
▲ The surface of the turret became smooth due to the joints of the parts.
I hit the plastic putty to make it bumpy.
▲ Yes
▲ From the back.
▲ The in-vehicle products seem to be the same as the kit, so I placed them all on the right side.
▲ After this, spray Gaia Color Multi-Primer.
Dewa Dewa !!
**********************************************


GALLERY:
***************************************************