
Self-laying laminate is a popular way to update the floor in an apartment or house without significant costs for professional craftsmen. Many choose this option because the process is relatively simple if approached with the right preparation. Laminate is practical, durable and has an aesthetic appearance imitating natural wood. However, success depends on knowledge of materials, tools and technology. In this article, we will consider in detail what exactly you will need for high-quality laying with your own hands.

Before starting work, it is important to understand that laminate is sensitive to unevenness of the base and humidity. If you ignore the preparation, the coating will quickly lose its appearance: cracks, creaks or swelling will appear. Therefore, the first step is the assessment of the premises and planning.
Preparation of premises and foundations
Preparation is the basis of successful laying. First, clear the room of furniture and old covering. Clean the floor from dust, dirt and glue residues. Check the humidity level: for a concrete base, it should not exceed 2-3%, for a wooden base - 8-10%. Use special devices or folk methods, for example, polyethylene film left overnight.
Level the floor. For concrete screed, use self-leveling mixtures. Height differences should not exceed 2-3 mm per 2 meters. If the base is wooden, strengthen the logs and replace the damaged boards. Remove the plinths and prepare the walls for the subsequent installation of new ones.
Consider the temperature regime. The laminate adapts to room conditions within 48 hours at a temperature of 18-22 degrees and a humidity of 40-60%. Do not store it in damp or cold rooms.
Necessary materials
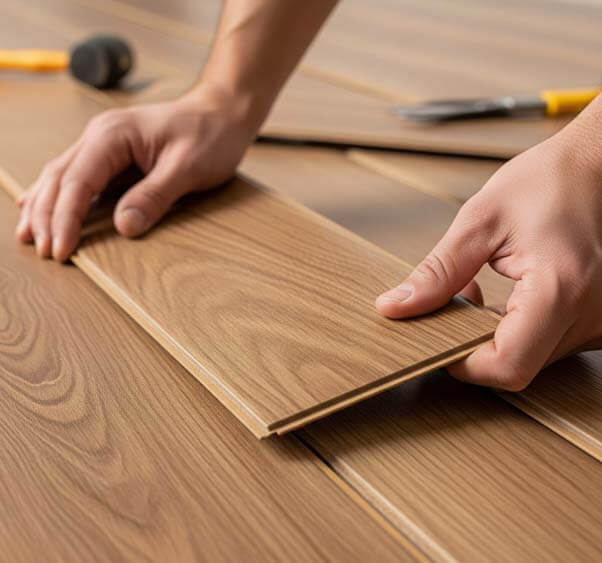
The choice of materials determines the quality and service life of the coating. The main element is the laminate itself. Choose the wear resistance class depending on the load: class 31-32 for living rooms, 33 - for the kitchen or corridor. Thickness - from 8 to 12 mm. Pay attention to the locking system: Click is easier to install than Lock.
You definitely need a lining. It compensates for small irregularities, provides sound and thermal insulation. Thickness 2-3 mm for flat floors, up to 5 mm - for problematic ones. Materials - foamed polyethylene, cork or coniferous boards. For a warm floor, choose special perforated options.
In addition, you will need: waterproofing film for the first floor, wedges for gaps near the walls (8-10 mm), plinths, thresholds for transitions between rooms. Calculate the quantity with a margin of 5-10% for trimming and possible shortage.
Tools for work
Quality tools speed up the process and minimize errors. The basic set includes a tape measure, a level, a square and a pencil for marking. For cutting - an electric jigsaw or a hacksaw with a small tooth. Rubber hammer for hammering panels.
Use a miter saw or miter saw for a precise fit. Do not forget about spacer wedges and tape to fix the substrate. Before starting work, carry out wet cleaning and use a vacuum cleaner. If the volume of work is large, a stapler for attaching the substrate will come in handy.
Additional equipment
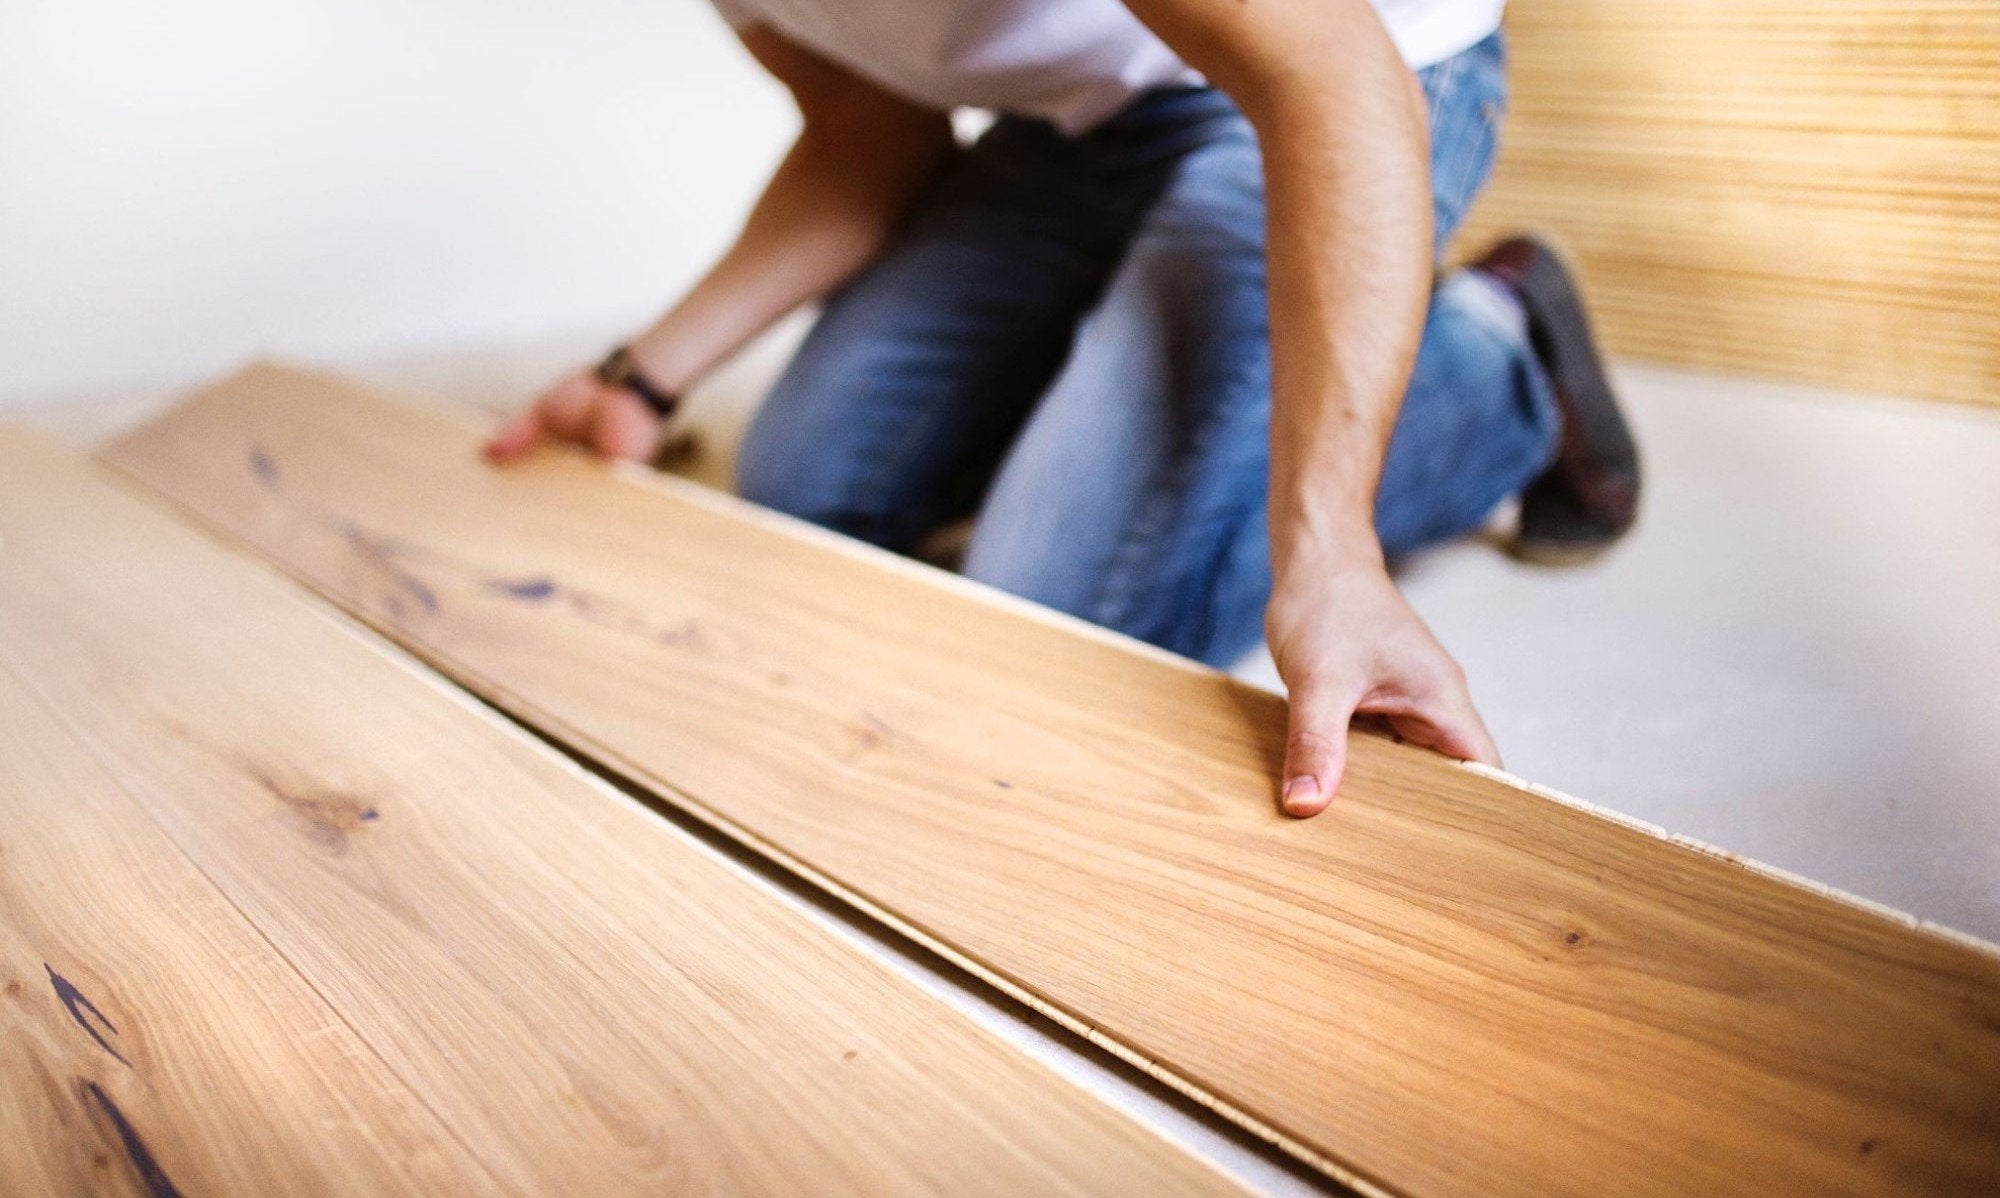
For complex rooms with pipes or columns, prepare templates for marking. Protective gloves and goggles will ensure safety. Some masters use systems for quick laying, but for the first time a standard set is enough.
Laminate laying technology
The process begins with laying the substrate. Roll out the rolls face to face and fasten them with tape. On the concrete base, lay the waterproofing with an overlap of 20 cm. Start laying from the corner, perpendicular to the window for natural lighting.
Assemble the first row, leaving a gap near the walls. Insert the second row at an angle, pinching the locks. Beat carefully so as not to damage the edges. Use cut-outs in doorways. Go around the pipes, cutting holes with a margin.
The last row often needs trimming. Take exact measurements, taking into account the gap. After the installation is complete, install the baseboards, hiding the gaps.
Features of different types of laying
Direct laying is the easiest option for beginners. Diagonal looks impressive, but increases material consumption by 10-15% and is more difficult to calculate. In wet areas, use moisture-resistant laminate and seam sealant.
Lay only compatible coverings with low thermal resistance on the warm floor. Avoid overheating above 27 degrees.
Common mistakes and how to avoid them
Often beginners ignore the acclimatization of the panels, which leads to deformation. Always wait 48 hours. An uneven base causes creaking - check its level at each stage.
Strong blows with a hammer can damage the locks. Use a riser. Incorrect calculation of the width of the last row spoils the appearance - plan in advance. Wet cleaning immediately after laying is prohibited, let the coating settle for 24 hours.
Laminate care after installation
Proper care extends the life of the coating. Use dry cleaning or a slightly damp cloth. Avoid abrasive products and large amounts of water. Use special polishes for shine. Protect the coating from furniture legs with felt pads.
Check gaps and baseboards regularly. If cracks appear, eliminate them immediately. In the kitchen and hallway, use rugs to protect against sand and moisture.

Conclusion
Self-laying laminate is an affordable project for those who are ready to learn all the nuances. If you have the right materials, tools and follow the sequence of work, the result will please you for many years. The main thing is patience and accuracy. If you follow the recommendations, the floor will be even, beautiful and functional.
- Prepare a perfectly even base.
- Choose a high-quality laminate and a suitable substrate.
- Use the right tools and stick to the technology.
- Consider the climatic conditions of the room.
- Take your time in the final stages.
Additional tips will help deepen knowledge. For example, in large rooms, use expansion joints every 8-10 meters. For complex configurations, draw a plan on paper. Watch the video tutorials for a better understanding of the techniques. Many masters recommend starting with a small room to gain experience.
Let's consider the types of substrates in more detail. Foamed polyethylene is a budget and universal option, but not too environmentally friendly. Cork lining is natural, provides excellent sound insulation, but is more expensive. Conifer board allows air to flow well and evens out the base. The choice depends on the budget and priorities.
Always leave a margin when cutting panels. Laminate is easy to cut, but the edges can crumble, so work from the front side. For round holes for pipes, use crowns or work carefully with an electric jigsaw. Gaps near the walls are hidden by plinths, but their size is critical for expanding the coverage.
In winter, heating affects the level of humidity. Control it with humidifiers. Laminate does not like sudden changes, so it is better to plan repairs in the off-season.
If the room has a complex geometry with niches and protrusions, marking will take more time. Use a laser level for accuracy. Trimmed panels in the corners should fit tightly, but without tension.
After completing the work, ventilate the room and examine the coating under different lighting. Eliminate minor defects immediately. The laminate will adapt over time, and the minor clicks of the locks will disappear.
For families with children and pets, choose laminate with a reinforced top layer. Antistatic coating will facilitate cleaning. Modern collections offer wood, stone or concrete textures.
Eco-friendliness matters: check the formaldehyde content - class E1 or lower. Manufacturers with a good reputation provide a guarantee from 10 to 25 years.
If the installation is carried out on the second floor or higher, sound insulation is especially important. A thick lining will reduce noise from footsteps. Combine materials to achieve optimal effect.
Practice shows that one person can handle a room in 1-2 days. Work will go faster with an assistant. Do not make long rows yourself - there is a risk of skewing.
Storage of panels: in a horizontal position, without direct sunlight. Avoid raw ingredients. Before buying, check the integrity of the package.
Comparison with other coverings: laminate is cheaper than parquet and looks more aesthetically pleasing than linoleum. However, it requires more careful preparation of the base than carpet.
At the final stage, pay special attention to plinths. They are plastic, wooden or MDF. Attached with clips or self-tapping screws. Choose the color to match the floor or door.
After installation, the door may need to be trimmed from below. Remove the door leaf and treat it. Design the transitions between rooms with neat thresholds or in a thresholdless way.
Maintenance: If necessary, treat the locks with silicone grease once a year. Avoid sharp objects and heavy furniture without protection.
Thus, self-laying laminate requires attention to detail, but gives an excellent result. With the acquired experience, the following rooms will be arranged faster and better. Good luck with the repair!