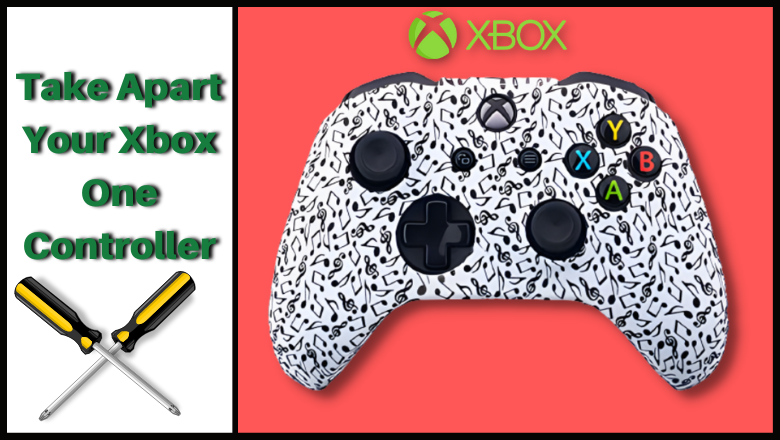
Whether you want to customize, tear it down, or replace a thumbstick, you need to know how to open your Xbox One controller
We put the Xbox One controller through a lot. Compatible with several devices (particularly PCs) as well as the Xbox One, this controller gets banged, dropped, and grimy.
Hand grease, sweat, food, and other detritus can be found over the surface and in nooks and crannies. Then there are issues with the feedback motors, buttons, and thumbsticks.
In short, your Xbox One controller needs looking after. To do this, you need to know how to take apart the Xbox One controller, clean it, repair it, and reassemble it.
And to make sure the Xbox controller is working properly after repairing and reassembling the console, I used the Xbox controller test to find out.
Four Reasons to Take Apart an Xbox One Controller
Your Xbox One controller gets a lot of action. As a result, it needs to be regularly maintained. Beyond occasionally wiping the buttons clean, you probably don't do this.
However, maintenance to ensure long-term performance from the controller requires you need to know how to safely take the Xbox One controller apart. This might be to:
- Repair or replace a thumbstick
- Repair or replace a button or trigger
- Check battery connections
- Clean any dirt that has accumulated around the controls
Keep reading to learn how to open your Xbox One controller for cleaning and repairs. Note that these steps are specifically for Microsoft-produced Xbox One and Xbox One S controllers rather than later or third-party devices.
If you have a third-party Xbox One controller, these typically feature eight screws than can be removed with a small Philips screwdriver.
Having said that, you can use this guide to open the first generation Xbox Series X/S controller.
What You Will Need to Disassemble Your Xbox One Controller
Opening an Xbox One controller isn't as easy as cracking open an old radio.
You can't use standard screwdrivers to get inside an Xbox One controller. Instead, you'll need a Torx screwdriver and that's not all:
- Torx screwdriver (T8 or T9, depending on controller model)
- Flathead screwdriver
- Plastic prying tools (guitar plectrum/pick is a good substitute)
- A plastic spudger or disposable knife
Don't have all the tools needed to gain access to your Xbox One controller's interior? Worry not various Xbox One controller tool kits can be bought online.
How to Take Apart a Microsoft Xbox One Controller
The process for opening the Xbox One controller is straightforward with the right tools.
- Remove the battery cover and any batteries
- Remove the grip plastic
- Unscrew the five Torx screws
- Lift the rear cover from the controller
- Lift the internals away from the front fascia
Below we'll go through the steps in more detail. Note that opening the first generation Xbox Series X/S controller follows the same procedure.
How to Open the Xbox One or Xbox Series X/S Controller
Before proceeding, ensure your Xbox One controller is powered off. Place it on a table or similar hard surface with the tools within easy reach.
Follow these steps to open the Xbox One controller.
- Remove the door to the battery compartment and set it aside.
- Remove the batteries, saving them for later.
- Using the plectrum or spudger, detach the plastic panels on the back of the controller's "handles" where the controller sits in your hand. This can take a while, so take your time patiently wiggling the plectrum along each edge to unclip them.

4. With the controller face down, unscrew the five Torx screws. You'll find two on the left, two on the right,
and another beneath the label in the battery compartment. Put the screws aside safely for later.

5.The back panel should now simply lift off.
6. You can now lift out the main controller. Notice how this is a secondary
plastic case, which houses a pair of PCBs (printed circuit boards).
7. At this stage, you can now replace thumbsticks, D-pad, and the other
buttons if you're planning on some customizations.
Further disassembly at this stage requires some electronics knowledge so don't proceed if you're inexperienced with PCBs and electrical components (see below).
Congratulations you've successfully taken apart your Xbox One controller.
Did you open Your Xbox One Controller: What Next?
You now have your Xbox One controller in pieces on your surface. But what can you do next? Here are some ways you might continue.
1. Clean Your Xbox One Controller
Keeping your controller clean is highly recommended, whatever the circumstances. From hygiene steps to managing infection control to keeping the Xbox One controller buttons responsive, cleaning is important.
Microsoft recommends isopropyl alcohol for cleaning dirt; use cotton swabs to clean difficult-to-reach areas. Most cleaning will take place around the plastic components.
If you have a small vacuum cleaner, suitable for electronics, use this to collect any loose dirt that falls out of reach.
Once reassembled, use disinfectant wipes to deal with infection risks.
2. Repair the Xbox One Controller Thumbstick
Various repairs can be performed once the Xbox One controller is open. Unresponsive buttons can be checked (often fixed with additional cleaning) and thumbsticks repaired.
The Xbox One controller is prone to thumbsticks (joysticks) coming loose. In most cases, this problem can be resolved by gluing a small pole of metal perhaps from a thumbtack into the thumbstick itself and pushing this into the analog controller mounted on the circuit board.
3. Fully Teardown Your Xbox One Controller
Want to know more about how your Xbox One controller works? Consider a full teardown, stripping the device down to just the PCBs.
You might even take this a step further and detach the triggers, thumbsticks, buttons, and more.
Be aware that a further teardown will expose electrical components. As such, you will need to take precautions to deal with the risk of static electricity damaging your controller.
Going further, four thin wires can be found on the left and right sides of the controller (eight wires in total). Two wires on each side are for the rumble motor, while the other four connect the two PCBs.
These can be de-soldered with care, but this is only really necessary if you're stripping it down for replacement components.
The PCBs, meanwhile, can be detached from the interior plastic chassis by removing four small screws. Take care labeling and annotating the procedure, however, or else you'll end up with a controller you can't play with!
4. Customize the Xbox One Controller
Tearing down is also a great way to add customizations (new LEDs, etc.) to your Xbox One controller.
However, more striking customizations to your controller's appearance can be made with a can of paint and adhesion promoter.
Reassemble an Xbox One Controller
When you're satisfied the Xbox One Controller is ready to use again, simply follow the instructions above in reverse to reassemble the device.
Whether you've cleaned it or made a repair, once reassembled your Xbox One controller should be working as normal once again.
If not, consider buying a replacement controller, or looking at other troubleshooting steps.