Salt, sun, and constant motion do things to a boat that a garage queen will never see. Gelcoat chalks, vinyl dries and cracks, stainless blooms with tea stains, and non‑skid decks trap grime that seems to regenerate. Marine detailing is its own craft, close kin to car detailing but with different chemistry, tools, and expectations. If you are new to it, you can avoid a lot of missteps by understanding why boats age the way they do and how to bring them back without wearing yourself out or damaging expensive surfaces.
What makes marine detailing different from car detailing
Cars live in a world of clearcoat paint, flexible plastics, and predictable contours. Boats live in a soup of UV, salt ions, organic film from water, and mechanical abrasion from lines and fenders. Gelcoat is not paint, it is a hard polyester resin layer that oxidizes from the outside in. It turns chalky, then porous, and eventually opens pinholes that trap stains. That is why a marine compound that cuts fast on gelcoat looks too aggressive for automotive clear, and why an automotive polish may barely touch a dull hull.
Salt is the second villain. It crystallizes on every surface, including canvas zippers and stitching. If you do not dissolve it before you agitate, you grind it in like pumice. UV is the third. Anything polymer based, from eisenglass to vinyl cushions, will degrade unless it is protected often. This is where a mobile detailing approach helps. You show up on a clear morning, wash the boat before the day bakes it, and leave protection behind that does not react badly to saltwater.
Setting up your beginner kit for marine work
You can spend a small fortune chasing pro gear. Start with a kit that respects gelcoat hardness and the size of boats, but does not weigh more than you do when you carry it down the dock.
- Dual action polisher with 5 and 6 inch backing plates, a small rotary for tight spots, and a selection of foam and wool pads suited to gelcoat. Marine wash that is salt neutralizing, pH balanced, and free of gloss enhancers that smear on porous gelcoat. Oxidation remover or compound graded for gelcoat, a finishing polish, and a dedicated metal polish that will not trash adjacent gel. Protection options: a marine sealant, a polymer wax for quick gloss, and a ceramic coating rated for gelcoat if you plan longer term protection. Specialty items: acid‑based water spot remover safe for gelcoat, non‑skid deck cleaner with chelating agents, mildew stain remover for vinyl, and a plastic cleaner and protectant for eisenglass.
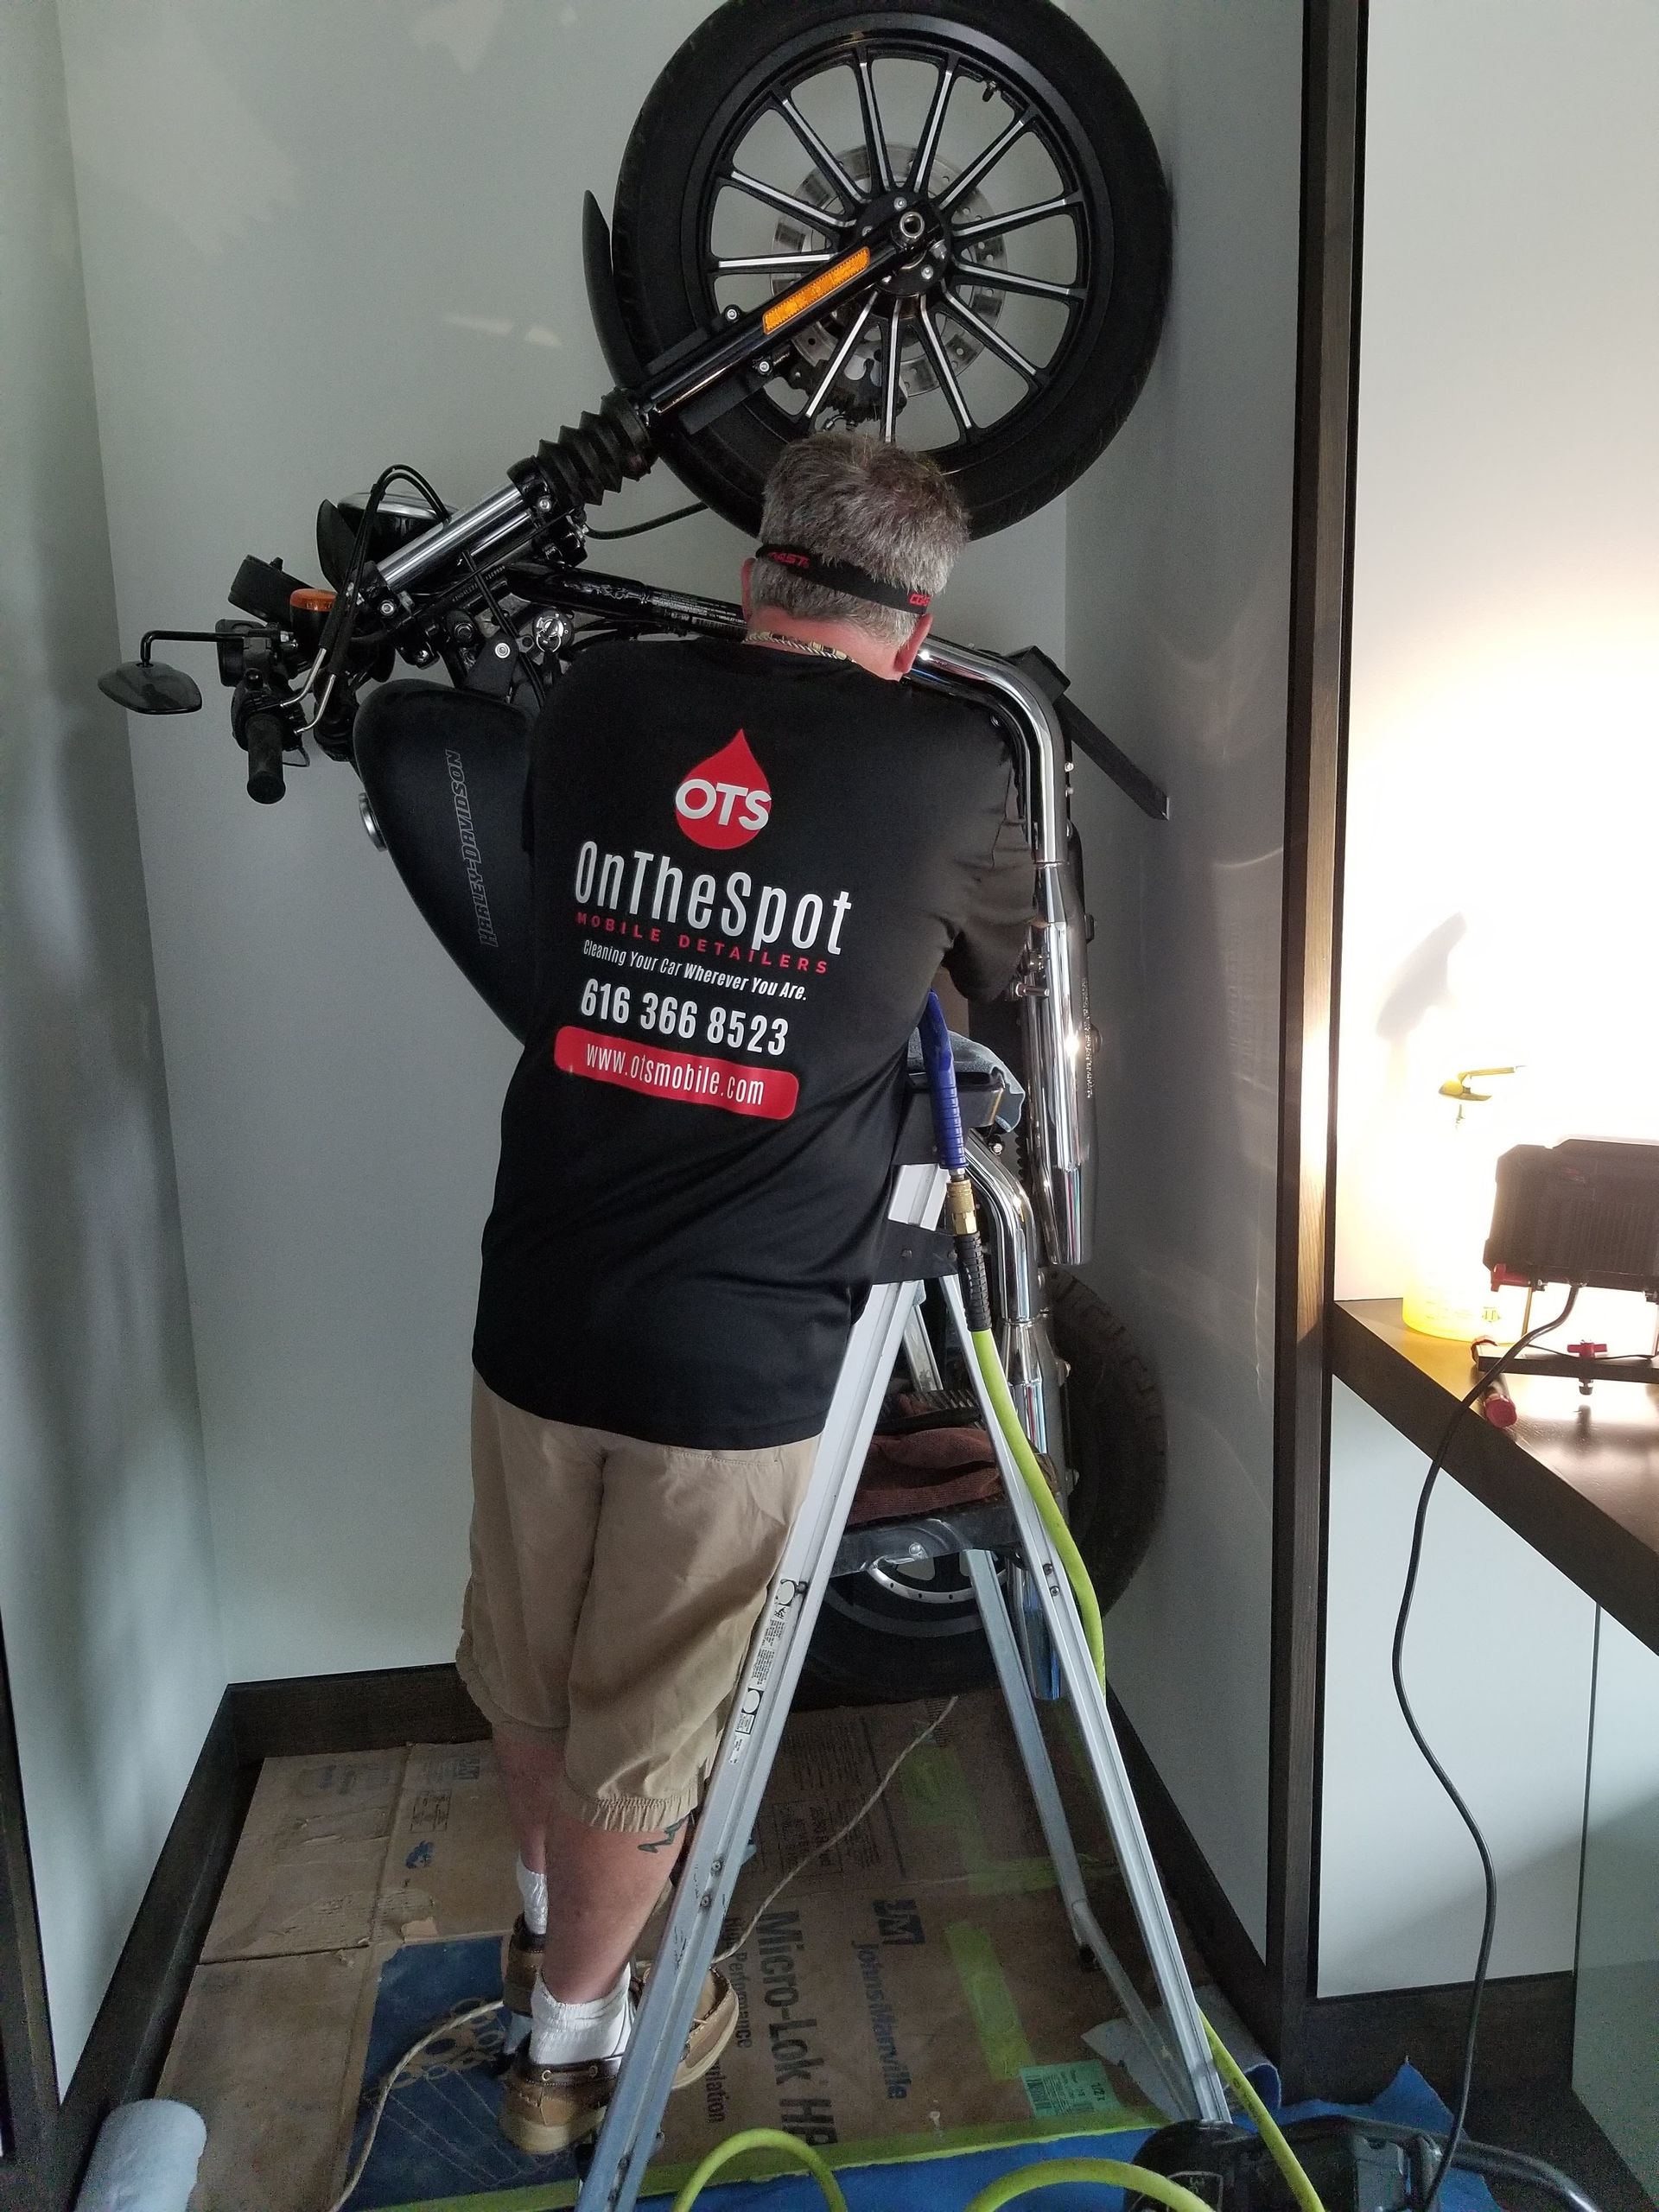
If you already do car detailing, you will notice overlap. Clay bars, microfiber towels, applicators, and interior brushes transfer nicely. The differences are in solvents and lubricity. Marine products tend to be thicker and use solvents that chase oily residue, because fish film and diesel soot are real.
The right wash process on a boat
Pressure washers on docks look efficient, but they drive water into wiring chase runs and past seals. You can wash a hull and deck with a foam cannon and a gentle rinse if you mind your technique. Start at the top, canopy down, and dissolve salt before you touch the surface. I have watched new techs at a marina swirl a sponge on a salty windshield and create fine trails. Dry salt is an abrasive. Wet it, then let it dwell for two minutes.
Non‑skid on decks needs a different approach than glossy gel. A medium bristle brush plus a non‑skid cleaner will lift grime without sealing it in. Rinse across, not back into hatches or scuppers. Stainless should be rinsed and dried early to avoid spots. Work in sections so water does not bake into droplets in the sun. If your boat lives on a lift, bring a soft extension brush for the hull sides. If it lives in water, plan to detail the waterline by hand from a dinghy or on the hard during a haul‑out.
Dealing with oxidation on gelcoat
Light oxidation wipes off on your hand. Moderate oxidation looks flat and catches the pad. Severe oxidation comes with pores and fading graphics. Your plan changes with levels.
For light to moderate oxidation on white hulls, a dual action with a wool pad and a medium marine compound is efficient. Keep the pad moving, edge flat, and your machine around speed 4 to 5. Wipe residue often and inspect under shade and sun. On colored hulls, especially dark blue, be cautious. Heat builds fast and can distort or reveal underlying pigment issues. Gelcoat is thicker than automotive paint, often in the 15 to 25 mil range, but do not assume you have room to burn. Tape off rub rails and decals. Wool cuts fast but leaves micro marring. Follow with a foam polishing pad and a finishing polish to refine.
If you encounter severe oxidation, where gel looks chalky and porous, you may need a more aggressive compound or a rotary. This is where experience and restraint matter. The rotary will clear oxidation fast, but it will also heat edges and distort stripes. Short cycles, light pressure, and constant panel checks keep you out of trouble. Expect two steps minimum, sometimes three. Compounding dust on a dock loves wind, so stage your work so residue does not blow into the cabin. Vacuum or rinse work areas as you go.
Many beginners ask whether paint correction techniques from auto detailing apply. They do, but with a different goal. On a car, you chase defect removal to near perfection. On a boat, you are restoring gloss and depth while preserving gelcoat and graphics. You accept a few deeper marks that only a repaint would cure. You also deal with larger areas, so fatigue is real. Use scaffolding or stable platforms. The extra minute to set up safely saves your shoulders and prevents a swim with the polisher.
The protection layer: wax, sealant, or ceramic coating
Marine waxes give a great look, but they do not last long in salt, often 4 to 8 weeks under full exposure. Sealants extend that to 2 to 4 months if maintained. Ceramic coating on gelcoat can push protection far longer, often a full season for a weekend boater, more with proper washing. The chemistry matters. A ceramic coating designed for gelcoat bonds differently than one for clearcoat. Gel is more porous, so prep is everything.
At On the Spot Mobile Detailers, we have coated new center consoles right off the trailer and older cruisers after heavy deoxidation. The difference in prep time is not subtle. New gel needs a light polish and an IPA or panel wipe. Older gel often needs two to three rounds of compounding and polishing to restore surface energy and remove oils. If you skip the final wipe or rush application in wind, high spots will flash, and you will chase them later with a polisher. When applied properly, ceramic coating resists water spotting and holds gloss under real dock life, from ropes slapping to kids climbing with sandy feet. A wheel coating style product can also be useful on hardware, stanchion bases, and even on outboard cowlings that see heat and spray.
For owners who store boats outside, an interior coating strategy helps. Vinyl seat coatings repel dye transfer from swimsuits and mildew staining. A light, flexible interior coating on gelcoat inside the cabin makes it easier to wipe away sunscreen and cooking splatter. Choose a product rated as an interior coating that stays flexible. Hard, glassy coatings can crack on cushions or bead cool condensation in a way that feels unpleasant.
Brightwork and stainless without chasing tea stains
Nothing dates a boat faster than streaked stainless and dull cleats. Metal brights up quickly if you avoid two common mistakes, too much acid and not enough tape. An oxalic based cleaner will pull brown precipitates without biting gel too hard. That is good for waterlines and stubborn spots around drains. Do not spray it everywhere. Mask or rinse adjacent gel before and after. Use a dedicated metal polish with a soft cloth on railings, then seal with a polymer or ceramic. On the Spot Mobile Detailers often applies a thin ceramic on stainless after polishing, the same chemistry we use for wheel coating in auto detailing. It resists salt spray and fingerprints for months, and it makes the next cleanup easier.
If you hit pitting, polish will not cure it. That is a corrosion issue, often from winter covers trapping moisture. Clean, neutralize, and protect. Going too aggressive with a scuff pad can make satin stainless look patchy. Stay patient and accept that some pieces might need replacement down the road.
Non‑skid decks that look clean and stay grippy
Smooth deck areas will pop after a polish, but non‑skid needs clean, not shiny. Oil based dressings make it slick, which is exactly the wrong idea. Use a cleaner designed for texture. The best ones rely on chelators that break bonds with mineral grime and biological film. Agitate with a medium bristle brush, rinse thoroughly, and let it dry. For protection, there are non‑skid sealants that fill micro pores without creating a gloss. They help grime rinse off and resist mildew. Test on a small area. Some textured patterns retain product and look blotchy if overapplied. Wipe high spots with a damp microfiber.
Vinyl, canvas, and eisenglass
Vinyl is easy to scratch with the wrong brush and easy to ruin with bleach. Use a dedicated marine vinyl cleaner, soft brush, then apply a UV protectant with inhibitors. Reapply often, monthly if the boat lives uncovered. Mildew removers that work in cabins can bleach stitching if left too long. Rinse thoroughly and neutralize with a pH balanced cleaner afterward.
Eisenglass scratches if you look at it wrong. Use a plastic cleaner, soft microfiber, and never dry wipe. If it has haze, a plastic polish in two steps can restore clarity. Keep it cooler than you would gel, and work small. Canvas zippers love to collect salt and grit. Rinse them during every wash. A light lubricant on zippers avoids broken pulls when you need to close up in a hurry.
Engines, bilges, and the parts most people ignore
Even outboards and stern drives benefit from gentle detailing. Cowlings take a beating from UV and spray. Wash, polish lightly, and protect with a product that tolerates heat. Under cowlings, wipe dust and spray with a protectant that is safe around electronics. Avoid greasy dressings that attract grime.
Bilges tell a story about a boat. Clean bilges reduce smells, help spot leaks, and make every other detail feel complete. Use a degreaser sparingly, capture runoff, and dispose of waste properly. Harbors watch this closely for good reason. A shop vac with a wet filter helps capture rinse water before it reaches the sump.
Where automotive habits help, and where they do not
If you have experience with car detailing, your discipline around paint correction, interior care, and test spots is an asset. Transfer those habits. Where they mislead is in two places, the expectation of perfection and the timelines. Boats are large, and marine detailing is closer to rv detailing than to a coupe. You will spend hours moving ladders and staging cords. Plan your day around the sun and tide. Morning compound on the port side in shade beats fighting glare all afternoon.
Auto products that sing on clearcoat may underperform on gel. Conversely, strong marine compounds can chew through automotive edges too fast. Keep bins labeled. One trick from the car world that does help is headlight restoration thinking applied to oxidized hatches and skylights. The same logic, moving from a cut to a polish to a protectant, brightens faded acrylic. Tape like you mean it. That edge management is what keeps compound off teak or caulking.
A simple maintenance rhythm that keeps you off the buffer
Detailing is not a one‑time rescue. The trick is to set a schedule that your boat life can support. Weekly rinses after use with a salt neutralizing soap reduce spotting. Monthly top ups of sealant fight UV. Quarterly deep cleans of non‑skid and vinyl block mildew that Florida humidity or a damp marina locker will encourage. If you have a ceramic coating, gentle washes are enough most weeks. Avoid harsh degreasers that strip protection. A drying aid or silica spray maintains slickness and makes grime release with a hose.
At On the Spot Mobile ceramic coating Detailers, crews doing mobile detailing builds a maintenance log for each boat. That is not a fancy CRM thing, just a shared note with dates, products used, and any issues spotted, like a loose cleat or a tiny crack near a stanchion. That log informs the next visit. We borrow that habit from residential coating projects and rv detailing routes where exposure and wear vary by where clients park or dock. It also helps owners prioritize, maybe headlight restoration and wheel coating for the tow vehicle in spring, then ceramic coating for the boat in early summer when water temperatures rise and the season starts in earnest.
Troubleshooting common problems
Water spots on dark gel after a hot day can look baked in. Most are mineral deposits. A mild acid water spot remover, left to dwell, then neutralized and rinsed, clears them without abrasives. For stubborn deposits, a light polish afterward brings back depth. Do not jump to heavy compound right away, you might thin gel unnecessarily.
Scuffs from dock lines and fenders show up as grey streaks. A solvent safe for gelcoat, like a plastic safe adhesive remover, lifts most. Reapply wax or sealant afterward on that spot. If fender socks are dirty, wash or replace them. Clean fenders are cheap insurance against hours spent scrubbing.
Yellowing at the waterline comes from tannins and organics. A targeted acid cleaner handles it quickly. Mask water intakes and rubber before application. Do not leave acid on stainless fasteners. Rinse thoroughly and test first if your hull has colored gel.
Mildew on headliners and cabin vinyl thrives where condensation lingers. Increase airflow, use a dehumidifier if shore power allows, and switch to cleaners with inhibitors. If threads on cushions start to fuzz or lighten, back off the strength and dwell of your cleaner.
When to step up to advanced protection
Ceramic coating on boats is not a magic shield, but it is a sensible step for owners who use their boats often or store them outdoors. It is also a good fit when you have recently invested in paint correction level polishing on a colored hull, because it helps lock in that depth. Expect a day of prep and a day of application for mid size boats, more for large cruisers. The edge case is older gel with micro porosity. Coating can darken pores. A test spot tells the truth. If the look blotches, you may be better with a sealant until a future repaint or re‑gel.
Interior coatings make sense on high traffic areas, helm seats, and steps where sunscreen and bare feet live. They are also helpful on white vinyl with kids and pets aboard. Reapply annually or when water stops beading. If you tow your boat, consider coating your tow vehicle’s wheels and headlights. The synergy makes sense, wheel coating keeps brake dust in check, and headlight restoration makes those predawn launches safer.
Safety, setup, and weather
Docks are not garages. Power cords, rotating equipment, and water mix poorly. Use GFCI protected circuits, secure cords high, and keep towels out of the drink. A bucket in the water on a line is not a wastebasket. Secure it or you will fish for it. Work around tides. What is easy to reach at noon might be hard at four. Wind changes residue behavior. Compounding upwind of open cabins saves cleanup inside.
Sun position matters. On a 30 foot hull, buffing in direct sun cooks polish on the pad and the panel. Ride the shade line. If you must work in sun, switch to longer working polishes and keep pads clean and cool. Rotaries overheat fast on corners. Feather pressure and back off if the panel warms. Your fingertips are a better temperature gauge than an infrared gun on bright gel.
A small case study: tuning the process on a family center console
A family brought us a 24 foot center console that lived on a lift. White hull, light blue boot stripe, non‑skid decks, and vinyl with early mildew spotting. The boat was used every weekend and rinsed, but never sealed. We started with a salt neutralizing wash, then targeted the waterline with a mild acid to clear yellowing. The hull sides showed mild oxidation, so a dual action with wool and a medium marine compound at speed 4 brought back gloss in two passes per section. We refined with a foam pad and a finishing polish.
For protection, the owners wanted less upkeep. We applied a ceramic coating rated for gelcoat on hull and topsides, and a non‑skid sealant on decks. Vinyl was cleaned with a pH balanced cleaner, mildew treated, and then coated with a flexible interior coating. Stainless got a polish and ceramic. Two techs, two days, because we worked mornings to avoid high sun on the port side. Six months later, we returned. The hull beaded, non‑skid rinsed clean with a hose, and vinyl still resisted dye transfer from ski vests. The log reminded us to inspect a rub rail seam that had separated by a quarter inch. The owner had missed it. Simple reseal prevented water ingress that would have stained the liner.
Where beginners often overspend or underinvest
Polishers matter, but pads matter more. Beginners buy an expensive machine and cheap pads, then fight dust and skip. Good wool and foam last, and clean up better. Likewise, buying a heavy rotary without mastering a dual action first is tempting because it corrects faster, but it also creates more mistakes on curves and near decals.
Underinvesting shows up in wash buckets and hoses. A proper hose nozzle, long enough extension brush, and a high capacity rinse bucket save time and back strain. A small, well stocked bag of tapes, from standard painter to a flexible fineline, keeps edges safe. That tape is the insurance against paying for new stripes next month.
How On the Spot Mobile Detailers builds a marine workflow
On the Spot Mobile Detailers treats a marine detail like a route job with moving parts. A lead tech walks the boat with the owner, notes sun exposure, slip access, and power. We sequence work to chase shade. Wash and decontamination happen first thing, compounding next, then polish, then protection. Interior care and metal polish thread between while compounds cure or after rinses. The crew carries separate bins for automotive gear and marine detailing gear so a ceramic made for clearcoat does not end up on gel.
We also think about crossover. Many of our clients have tow vehicles and RVs. When a boat is down for weather, we handle rv detailing on site or take care of car detailing tasks that help the same family’s summer go smoothly. Ceramic coating plans span assets. A residential coating on a garage floor where the trailer lives means less grit transfers to the boat through shoes and gear. That holistic view reduces rework and improves results across the board.
Getting comfortable with scale and patience
A 30 foot boat has roughly the exterior surface area of three sedans. That alone changes how you plan. Break the job into zones. Celebrate the bow done before you move to the transom. Protect finished areas from your own footprints and hoses. If you feel yourself rushing, stop. Marine detailing rewards measured pacing. You will know you have found your rhythm when you end the day without sore shoulders and the boat looks as fresh at dusk as it did at noon.
The best part is simple, you will see the difference on the water. A hull that sheds spray, a deck that rinses clean, vinyl that resists sunscreen streaks, and stainless that stays bright make every trip more pleasant. The techniques you built here travel well. They sharpen your auto detailing game and expand your range into projects like headlight restoration, interior coating, and wheel coating on the road side, while you keep boats looking right at the dock.
With the right tools and a clear process, even a beginner can handle marine detailing confidently. The water and the sun will keep trying to win. With a little craft and the right chemistry, you will keep them at a stalemate, season after season.